
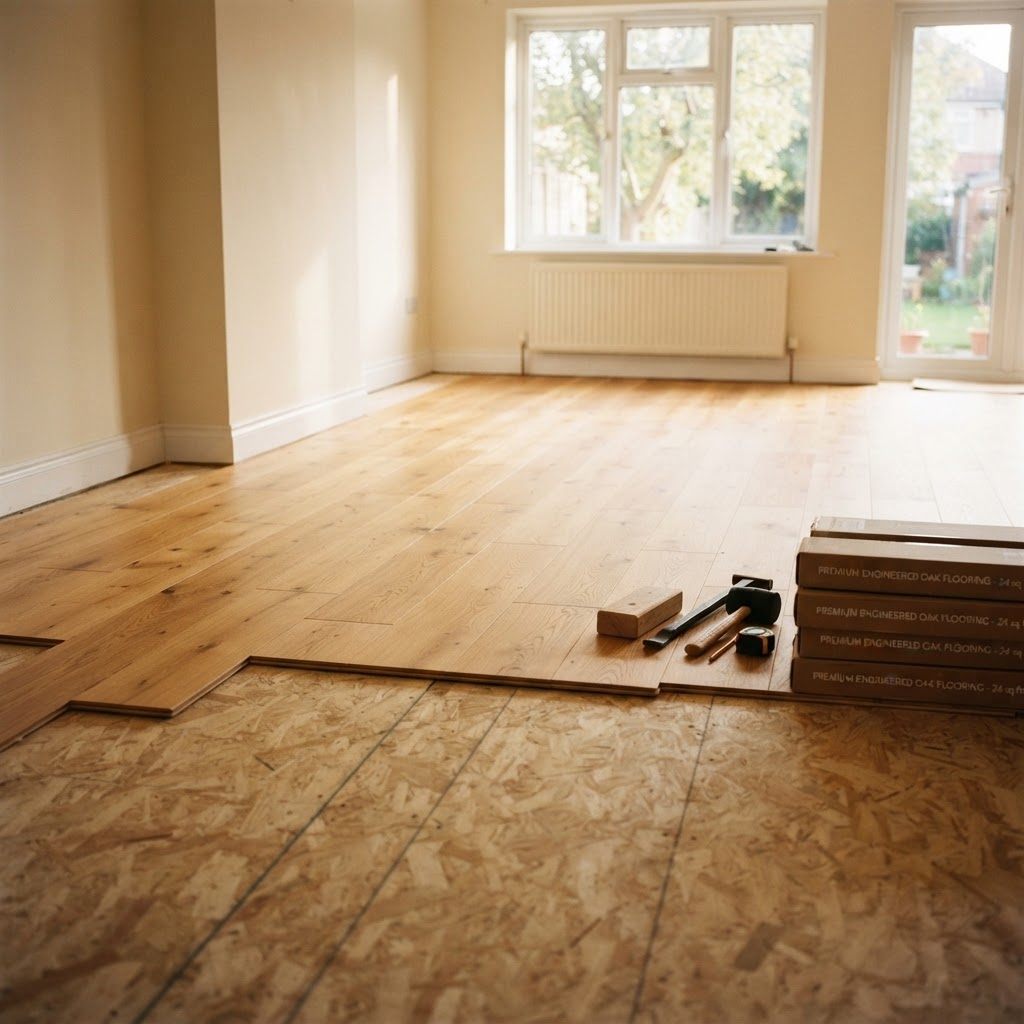
Engineered hardwood gives you a real wood surface on a stable, layered core, and it can go where solid hardwood cannot, including over concrete and in finished basements. The installation matters as much as the product. The same plank can look beautiful for decades or fail within a year depending on how the subfloor was prepared, which method was used and whether the wood was allowed to adjust to the home. This guide walks through the installation of engineered hardwood flooring from the first visit to the final trim, explains the three main methods, covers preparation and moisture and describes what a careful crew does. Floors and Beyond VA is a family-owned flooring company that has served Northern Virginia since 1987, and our own crews handle the work from the first visit to the final cleanup.
Before Installation: The Visit and the Plan
A good installation starts with an in-home visit. The estimator measures each room, checks the subfloor, notes whether it is wood or concrete, asks about humidity and radiant heat and looks at stairs, transitions and the rooms the floor will flow into. You should receive a written plan that names the product, the method, the preparation and the schedule. In condos and townhome communities, the plan also covers sound ratings and association approval.
Acclimation
Wood responds to moisture in the air. Most manufacturers ask that the planks sit in the home, in their boxes, for a period before installation so they can adjust to the room's temperature and humidity. The period varies by product, so follow the instructions for yours. The home should be at its normal living temperature, and a slab or crawlspace should be dry. Skipping this step is a common cause of gaps and cupping.
Subfloor Preparation
The subfloor decides how the floor behaves. It must be clean, dry, sound and flat, usually within a tight tolerance over a span of several feet. Wood subfloors are checked for loose areas and squeaks, and screwed down where needed. Concrete is checked for moisture, cracks and high or low spots, then ground, patched or leveled. Old adhesive, paint and debris are removed. Time spent here is rarely visible afterward, and it is the best predictor of a quiet, level floor.
The Three Installation Methods
Floating. The planks lock or glue to each other and rest on an underlayment without being attached to the subfloor. It is fast, works over wood or concrete and is common in condos. Glue-down. The planks are bonded to the subfloor with adhesive. It feels solid, is very quiet and suits concrete and some sound-controlled assemblies. Nail-down or staple-down. The planks are fastened through the tongue into a wood subfloor. It is traditional and secure, but only works over wood. Which method is allowed depends on the product, so check the manufacturer's instructions.
Layout and the First Rows
The crew chooses a starting wall, usually the straightest or the longest, and plans the layout so the last row is not a thin sliver. Planks from several boxes are mixed to blend color and grain. Expansion space is left at walls and fixed objects, which baseboard or trim later covers. The first rows are set carefully because they guide the rest of the floor.
Doorways, Vents, Stairs and Transitions
Planks are cut around door casings, vents and cabinets. Thresholds and transition strips are chosen to match height and look. Stairs can be finished with matching treads and nosing, or refinished separately, and the transition at the top and bottom should look planned. A careful crew discusses these details in the plan so nothing is improvised on installation day.
Finishing the Job
After installation, baseboards or quarter round are replaced, the floor is cleaned and you are walked through the results. Ask about care: how soon you can place furniture, how to protect the floor and which cleaners are safe. Keep a few spare planks for future repairs.
Common Mistakes
Skipping the moisture test on a slab. Installing over an uneven subfloor. Ignoring acclimation. Forgetting expansion gaps. Using the wrong underlayment. Choosing a method the manufacturer does not allow. Each one can void a warranty or shorten the life of the floor. See our guide to underlayment for engineered hardwood for the details on pads and barriers.
In Northern Virginia Homes
Northern Virginia homes vary a great deal, and so does the installation. A Fairfax split-level with a wood subfloor on the main level and a slab in the basement can use two methods in one house. A Reston or Arlington condo adds association approval, sound ratings and elevator reservations to the schedule. An older Alexandria rowhouse may have uneven subfloors that need leveling before anything is laid. Ask your installer how these local conditions will change the plan, and confirm that the written plan reflects them. The best installations are the ones where nothing surprising happens on the day, because the surprises were found at the visit.
Frequently Asked Questions
How long does installation take?
A single room can take a day. A whole level often takes several days, depending on preparation and the method.
Can engineered hardwood go over concrete?
Yes, if the slab is dry and flat, with the method and moisture barrier the manufacturer calls for.
Do I need to move out during installation?
Usually not, but noise, dust from preparation and odors from adhesives are factors. Tell us about sensitivities.
Can engineered hardwood be refinished later?
Sometimes, depending on the thickness of the top layer. Ask before you buy.
Which method is best?
It depends on the subfloor, the product and the building. We recommend one after the visit.
Ready When You are
If you are planning the installation of engineered hardwood and want the method, preparation and product named in writing, the best first step is a visit. Floors and Beyond VA serves Fairfax, Loudoun, Prince William and Arlington counties, Alexandria and the Washington, DC area. Schedule an in-home estimate at floorsandbeyondva.com/Contact or call (703) 906-5698.

