How do you replace hardwood floors in a McLean home?
Replacing hardwood in a McLean home means confirming the old floor truly cannot be refinished, removing it carefully, inspecting and correcting the subfloor, acclimating and installing the new boards, then finishing, trimming and cleaning up, with the subfloor check being the step that most determines whether the new floor lasts. Floors and Beyond VA follows a refinish-first philosophy, so we start by asking whether replacement is needed at all, and when it is, our in-house crews with no subcontractors handle every step from tear-out to final walkthrough. This guide explains what replacement involves in the kinds of homes found along Chain Bridge Road, Old Dominion Drive, Lewinsville Road and Dolley Madison Boulevard, and what to check before you commit.
McLean is a community of large, individual houses, many of which have had additions, renovations and second owners. That means floors here have histories. A kitchen may have been expanded onto a slab, an upper level may have been added, a family room may have been opened to a hall. Replacing a hardwood floor in such a house is rarely a simple swap. It is a sequence of discoveries, and the way a crew handles them decides the quality of the result.
First question: does it need to be replaced?
Replacement is the right answer in fewer cases than most people assume. Floors that look worn, dull, scratched or stained are often restorable by sanding and refinishing, which is faster, less disruptive and typically much less costly than tear-out. We say this even though replacement is a larger job for us.
Replacement is warranted in situations such as these.
Severe water damage. Boards that are cupped, buckled, black-stained or delaminated across a large area may be beyond saving.
Thin remaining wood. Floors that have been sanded many times may have too little wood above the tongue to sand again.
Structural problems. Subfloor failure, rot or serious movement under the floor.
Widespread pet damage. Deep urine staining that has penetrated the boards and subfloor.
Mismatch you cannot live with. A patchwork of different species, widths and conditions across connected rooms that cannot be reconciled.
Product failure. Delaminating or failing engineered or laminate products.
A design change. You want a different species, width or layout that your current floor cannot become.
Our approach is to inspect, sometimes with a moisture meter, and give you an honest assessment. If refinishing is right, we say so.
Step one: planning and selecting the replacement
Replacement begins with choosing what goes back. Species, grade, width, construction, finish and layout all need to be settled with the room, the light and the rest of the house in mind. We bring samples to your home, because a floor in a McLean kitchen with large windows reads differently than in a basement or a hall.
Consider continuity. In a house with open sightlines, the new floor will be seen alongside existing floors in adjacent rooms. Matching or deliberately contrasting is a design decision, and we discuss it with you. If new boards must join old ones, species and width help the match, and finishing both together after sanding the old ones helps unify color.
Think too about the construction. In a McLean house with a wood-framed main level, solid and engineered are both options. Over a slab in an addition, engineered is typically considered. Our article Solid vs Engineered Hardwood in Tysons, McLean and Vienna: Which Holds Up Better compares them.
Step two: protection and preparation
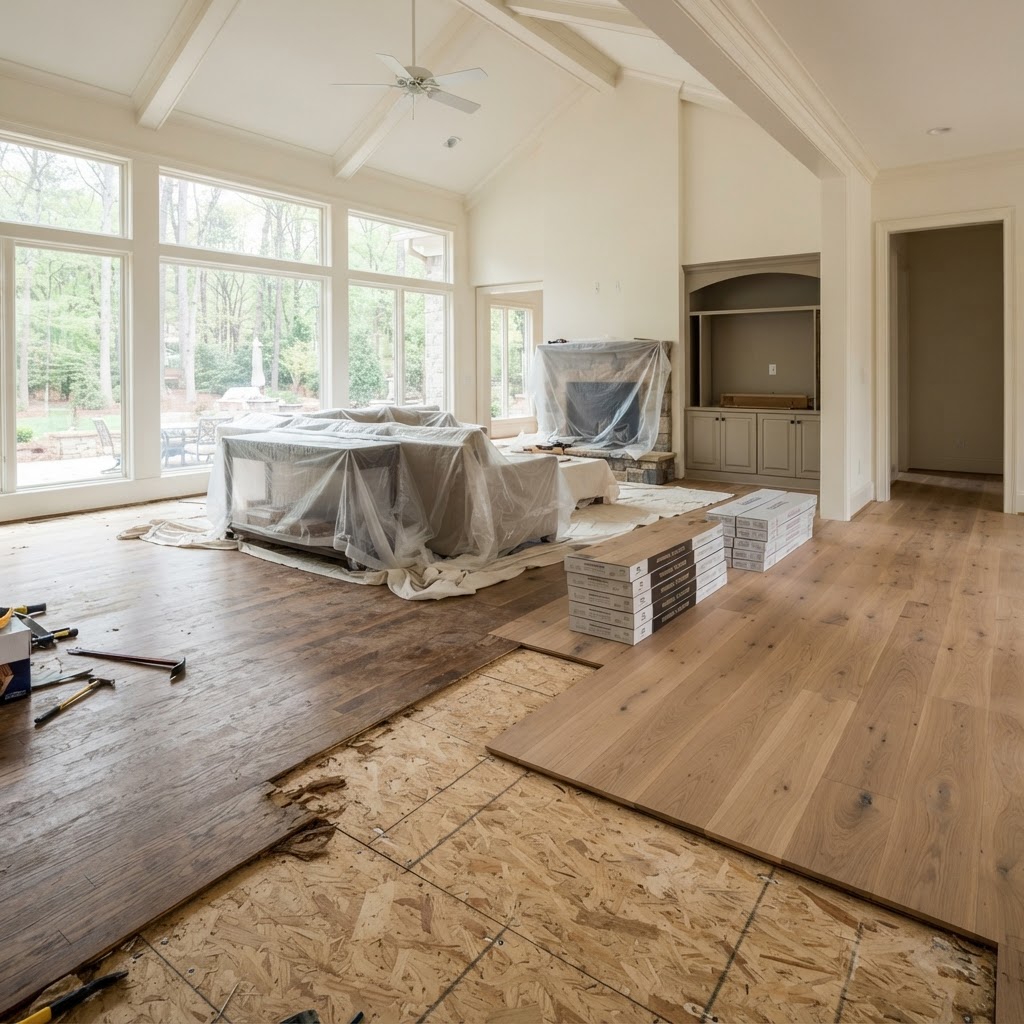
Before demolition, the house is protected. Paths from the door are covered. Rooms that are not part of the job are sealed. Furniture is moved, which is included in our estimate. Floor registers, door stops, baseboards and shoe molding are removed, with care taken to preserve moldings that will be reused.
Heating and cooling vents are covered to keep dust out of ductwork. Valuables and wall hangings are your responsibility to remove, and we advise you on what to move in advance.
Step three: removal
How hardwood comes up depends on how it was installed.
Nailed or stapled solid or engineered. Boards are pried up and the fasteners pulled from the subfloor. Careless prying can damage the subfloor, so technique matters.
Glued-down. Boards and adhesive must be separated from the subfloor, which can be slow and may leave residue requiring scraping or grinding.
Floating. Boards are unlocked and lifted, which is usually quick.
Over concrete. Adhesive and moisture barriers have to be dealt with.
Debris is removed as the work proceeds. Noise and dust are expected. Removal reveals the subfloor, and that is where the next, most important step begins.
In older McLean houses, removal may uncover old adhesives, layers of underlayment or paper, or materials that deserve testing before disturbance. If we see a reason for concern, we tell you and recommend appropriate testing and handling before proceeding. We do not guess about this.
Step four: subfloor inspection and correction
The subfloor is the foundation of the new floor, and replacements fail here more often than anywhere else.
What we check. Flatness across the room, using a straightedge or level. Soundness of panels. Loose or squeaky areas. Water stains, soft spots and rot. Fastener condition. Moisture content. Level transitions between rooms and between old and new construction.
What we correct. Loose panels are re-fastened. High spots are sanded or planed. Low spots are filled or shimmed. Damaged panels are cut out and replaced. Protruding nails or screws are set.
Why it matters. Hardwood telegraphs imperfections. A hump or dip under a floor shows up as an uneven surface, a hollow sound or movement at joints. Squeaks that were in the old floor can be carried into the new one if the subfloor isn't addressed.
Additions on slabs. If part of the house sits on concrete, moisture testing and flatness checks come first. Moisture barriers, adhesives and floor-flattening steps may be needed.
Over radiant systems. Check the manufacturer's requirements.
Subfloor correction is the stage that cannot be fully priced in advance without opening the floor, which is why our estimate describes what is included and how we will handle conditions we find. Our commitment is to explain before we proceed.
Step five: underlayment or moisture barrier
Depending on the assembly, a layer is installed between the subfloor and the new floor. Over wood subfloors, a paper or felt underlayment may reduce friction and sound transmission. Over concrete, a moisture barrier is part of the system. The correct choice depends on the product, the manufacturer's requirements and the building.
Step six: layout and installation
With a prepared subfloor, we plan the layout. Board direction usually follows the longest sightline or runs perpendicular to the joists, though the specifics depend on the structure and the design. We establish a straight starting line, dry-fit initial rows and mix boards from multiple boxes so the color blends.
Installation proceeds row by row, with end joints staggered, defects cut out and expansion space left at walls and fixed objects. Cuts around door casings are made carefully, often by undercutting casings so boards slip beneath them for a clean look. Floor vents, stairs and thresholds are fit last.
For houses with long open runs, such as the great rooms common in larger McLean homes, layout planning prevents narrow slivers at the last row and keeps the pattern balanced.
Step seven: finishing
For site-finished floors, the installed floor is sanded in stages, stained if desired and coated. For prefinished floors, installation is nearly the final step. The choice between them is explored in Site-Finished vs Prefinished Hardwood: What Northern Virginia Homeowners Should Know. When new floors meet old, we sand and finish them together where practical so tone and sheen match.
Step eight: trim, stairs and transitions
Baseboards and shoe molding are reinstalled or replaced. Transitions to tile, carpet or other floors are installed at appropriate heights. Where the floor meets stairs, nosings and treads are fit or refinished to coordinate. In McLean homes with open stairs and landings, this stage is highly visible and worth the care.
Step nine: cleanup and walkthrough
The crew removes debris, vacuums and cleans. We then walk the floor with you in natural light, checking color, joints, edges and transitions. We explain cure times, care and humidity management. If something needs correction, we address it before we leave.
Local details that affect replacement
Additions and mixed construction. Many McLean homes have wood-framed sections and slab sections side by side. The floor may need different installation methods in each, and the transition between them is a detail to plan.
Large open plans. A single floor across a great room, kitchen and hall magnifies any inconsistency. Planning layout and finishing carefully pays off.
High ceilings and abundant glass. Sunlight can fade or change floor color over time. Species choice and window treatments matter.
Established landscaping and mud seasons. Entry design and mats protect new floors.
Older homes near the Old Dominion corridor and in neighborhoods like Salona Village and Chesterbrook. Original floors may be worth keeping. Where they are not, matching trim profiles and widths may be part of the plan. We describe these as typical settings and do not claim particular projects.
Choosing what to keep: salvage and partial replacement
Replacement does not have to mean replacing everything. In a large McLean home, a floor may be in excellent shape in some rooms and poor in others, and the smartest project often combines techniques.
Partial replacement targets the damaged area and blends it in. A kitchen floor ruined by a dishwasher leak can be cut out and replaced with new boards that are woven into the surrounding floor, then sanded and finished together with adjoining rooms so the repair disappears. A section stained by a pet or a plant can be handled the same way. The key is a careful weave: new boards are interlocked with old ones at staggered ends rather than butted in a straight line, which would show as a visible patch. Success also depends on matching species and width and on finishing the whole connected area together.
Salvage is another option. When a wall is removed in a renovation, the boards from a closet or a pantry can sometimes be reused elsewhere, giving an exact match in age and character. When a floor in one room must be replaced, boards from an unseen area may be used to repair the visible one. This kind of thinking is part of why we assess the house before proposing a plan.
Full replacement makes sense when a significant share of the floor is compromised or when the design change warrants it. Even then, we separate what must go from what can stay, and we discuss the long-term plan, such as whether you may later extend the same species into additional rooms.
Protecting the rest of the house during tear-out
The most common homeowner worry about replacement is dust and mess. Tear-out is the dirtiest phase, and McLean homes often have several levels, finished basements and open plans that carry dust to every corner. Several practices reduce the spread.
We seal doorways and openings with plastic sheeting and zippered entries. We cover floor registers and return vents so dust does not enter ductwork, because dust in the ducts will recirculate for months. We use tools with dust collection where practical and vacuum frequently with filtration suited to fine particles. We keep the work zone's traffic path protected and limited. We remove debris as we go rather than leaving piles in the house. We ask you to remove or cover items in adjoining rooms that are sensitive to dust, such as open shelving, electronics and artwork.
Even with good practices, some fine dust travels. Planning for a thorough cleaning at the end, which is part of our estimate, is realistic. If anyone in the household has respiratory sensitivities, tell us in advance so we can adjust plans.
Matching trim, thresholds and original details
Replacement frequently exposes the details around a floor that are easy to ignore until they look wrong. When a new floor rises or falls relative to the old, baseboards, door casings and thresholds must adapt. Door casings can be undercut so boards slide beneath them, avoiding awkward gaps. Baseboards are removed and reinstalled, or replaced if damaged. Shoe molding hides the expansion gap and gives a finished look. Thresholds between rooms are chosen to accommodate height differences safely.
Original details deserve special care in established McLean neighborhoods where houses have crown molding, paneling or built-ins that were installed relative to the old floor. Changing floor height can affect how cabinets, appliances and doors operate. For example, a dishwasher or refrigerator that fits snugly under a counter may be difficult to slide back after a thicker floor is installed. We identify these issues before installation and discuss options, such as removing and resetting appliances or using a thinner assembly.
Sequencing with other trades
Floors are the last major surface to be finished in many remodeling projects, because heavy work above can damage them. If you are replacing floors as part of a larger renovation, the order matters. Painters, electricians, plumbers and cabinet installers generally finish before the final floor goes down, or floors are protected carefully when they must work afterward. Installing floors too early invites damage; installing them too late can delay move-in.
Even in a stand-alone floor replacement, think about adjacent work. If you plan to paint walls, doing so before the floor is installed saves taping and protects the new surface, though baseboards will need touch-up. If you are changing lighting or outlets, do that first. We coordinate with your schedule, and we tell you honestly what order we recommend.
What drives the scope of a replacement
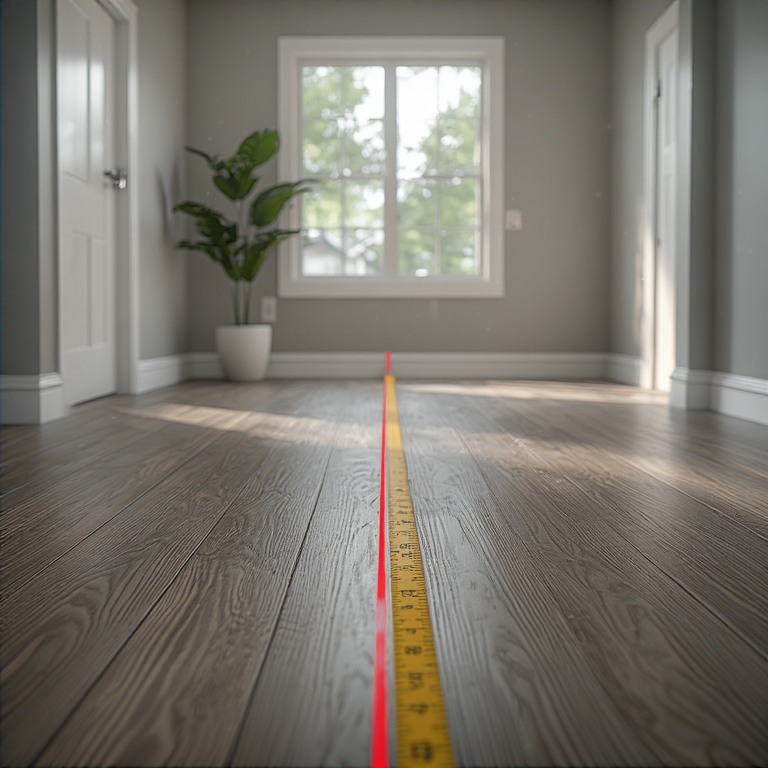
Without quoting figures, the factors that shape an estimate include the area, species and grade, construction, board width, finish type, removal difficulty, subfloor condition and any corrective work, underlayment or moisture systems, stairs, pattern, transitions, molding, access and furniture volume. Replacement estimates are firmer after the old floor is up, so we explain how conditions are handled and keep the process transparent.
Why homeowners choose Floors and Beyond VA for replacement
Replacing a floor is a significant decision, and who does it matters. Floors and Beyond VA is a family-owned Northern Virginia company serving Fairfax, Loudoun, Prince William and Arlington counties since 1987. Our refinish-first philosophy means we tell you honestly when your floor can be saved. When it cannot, our in-house crews, with no subcontractors, handle removal, subfloor work, installation and finishing, so one accountable team is responsible from start to finish. We are fully licensed, bonded and insured. We bring samples and precise laser measurement to your home at no charge, and our estimate is honest and all-inclusive, so what we quote is what you pay. Browse our wood flooring page for the species and constructions we install, or visit floorsandbeyondva.com.
Common mistakes in replacement
The first mistake is replacing a floor that could have been refinished. The second is skipping the subfloor inspection. The third is installing over a squeaky or uneven subfloor. The fourth is ignoring moisture, especially in additions on slabs. The fifth is choosing a species or width that clashes with adjacent floors. The sixth is neglecting acclimation. The seventh is forgetting to plan transitions. The eighth is not asking what happens if conditions under the old floor are worse than expected.
Frequently asked questions
Can I refinish instead of replace? Often yes. We inspect and tell you honestly.
How do you handle surprises under the old floor? We stop, show you, explain options and agree on a plan before proceeding.
Do you move furniture? Yes, it is included.
Do you serve my neighborhood? Yes, including McLean, Tysons, Vienna, Falls Church, Merrifield, Dunn Loring, Great Falls and Oakton, along with Fairfax, Loudoun, Prince William and Arlington counties.
For a related look at this topic, read How Long Does Hardwood Floor Installation Take? A Timeline for Tysons-Area Homes.
Ready to find out if your floor should be replaced?
Floors and Beyond VA will inspect your floors, measure with a laser at no charge and give you an honest recommendation. See how our flooring company in Arlington, VA page describes the same approach for neighbors across the river. The request form below goes straight to our team, and we follow up with scheduling options for your free consultation.
Request your free estimate: https://floorsandbeyondva.com/Contact
You can also call (703) 906-5698 or email hello@floorsandbeyondva.com.