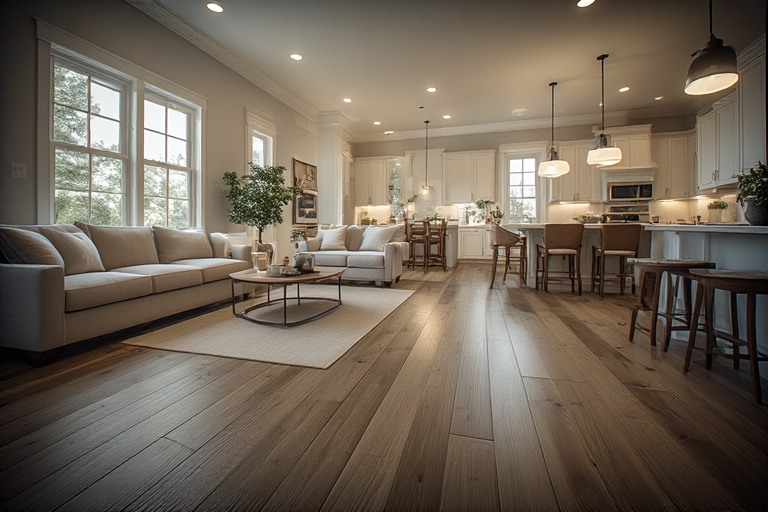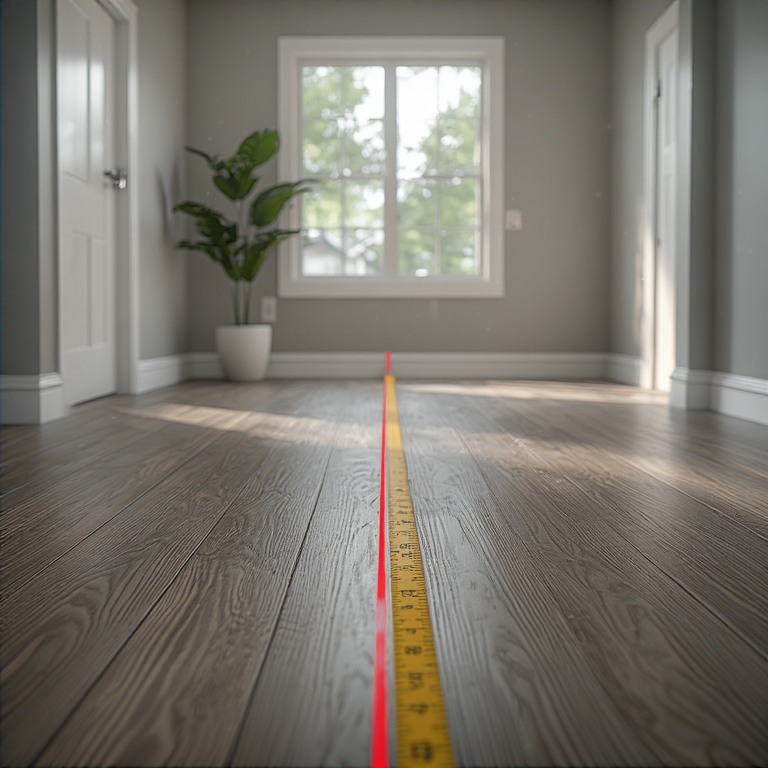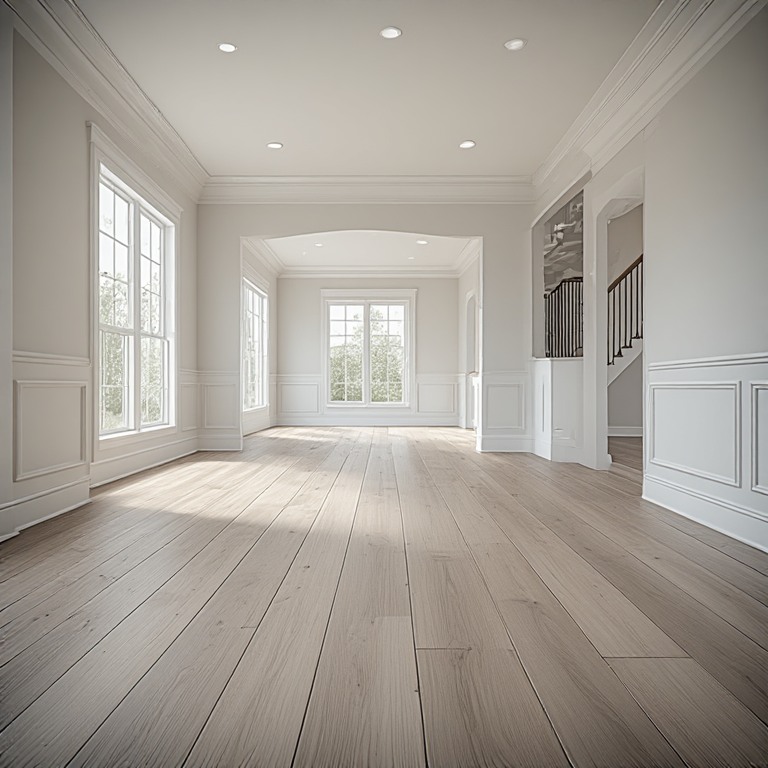
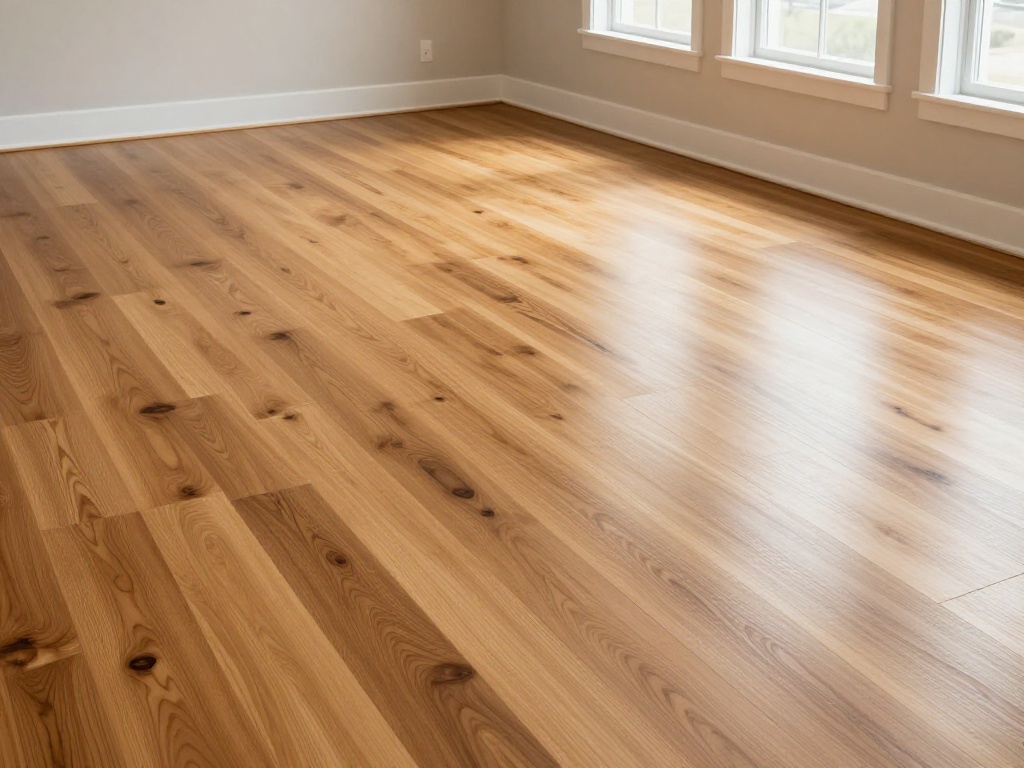
Refinishing fixes a worn finish. Restoration fixes a floor. The difference matters, because many hardwood floors in the Tysons area have problems that sanding and a new coat of finish cannot solve: boards that were stained black by a leak, planks that cupped after a water event, sections cut out for a past renovation, a subfloor that has gone soft under the kitchen, or a patch of mismatched wood where a wall used to be. If that sounds like your floor, the work is bigger than a refinish, and it is worth understanding before you hire anyone. This guide walks through what full restoration involves: how damage is diagnosed, how boards are replaced and woven into the existing floor, how water damage and subfloor problems are handled, how new and old wood are blended, and when replacement makes more sense than repair. It applies to homes in Tysons, Vienna, McLean, Falls Church and the surrounding neighborhoods. For the standard refinishing process, our guide on hardwood floor refinishing in Northern Virginia is the place to start. At Floors and Beyond VA, we take a refinish-first approach, and when a floor needs more than that, we do the extra work in-house.
WHEN A FLOOR NEEDS MORE THAN A REFINISH
Here are the signs that a floor is a restoration job and not just a refinish.
Dark stains that go through the wood. Black or deep gray marks from pet accidents, leaks or plant pots have usually reached the fibers of the wood. Light stains can sand out. Deep ones often cannot.
Cupping or crowning. Boards with raised edges or raised centers signal moisture. If the moisture source is still active, no refinish will last.
Buckling or lifting. Boards that have pulled away from the subfloor point to a more serious water problem or a failed bond.
Soft or sagging spots. These suggest the subfloor or joists beneath have been damaged.
Missing, cut or patched boards. Past renovations, removed walls and relocated plumbing often leave patches that stand out.
Deep gouges and splits. Surface scratches sand out, while deep cuts and cracked boards need replacement.
Insect damage. Powderpost beetles and termites leave holes and weakened wood.
Worn-through boards. Floors that have been sanded many times may have no wood left above the tongue and groove.
An honest inspection sorts these out before any work begins. Our guide on how to tell if your floor is worth saving explains the thinking, and the broader overview of wood floor restoration in Northern Virginia lays out the options.
STEP ONE: FIND THE CAUSE
The first rule of restoration is that the cause of the damage has to be found and fixed before anything is repaired. A cupped floor over a damp crawl space will cup again. A stained board under a leaking dishwasher will stain again. Skipping this step is how restorations fail. A good contractor looks for leaks from plumbing and appliances, moisture in the subfloor and the space below, poor drainage or humidity in a basement or crawl space, and past water events that were never dried properly. Moisture meters measure the wood and the subfloor, and readings are recorded. If the moisture is still above normal, the floor needs time to dry or the source needs repair before work continues.
STEP TWO: DECIDE WHAT CAN BE SAVED
Not every damaged board needs to go. Cupped boards that have dried can often flatten with time and then be sanded level. Surface stains can sometimes be sanded or bleached. Small gaps can be filled. Individual boards with cracks, deep stains or damage can be cut out and replaced. Large damaged areas may call for replacing a section or a room. The goal is to keep as much of the original floor as sound judgment allows, because it is the part of the floor that already matches.
HOW DAMAGED BOARDS ARE REPLACED
Replacing a single board in a tongue-and-groove floor is delicate work. The installer cuts the damaged board lengthwise down its center, removes the two halves without damaging the neighbors and then cuts away the bottom lip of the groove so a new board can drop in. The replacement board is face-nailed or glued in, and the nail holes are filled. For larger sections, boards are removed in a staggered pattern so that new ends do not line up in a visible seam. This stagger, often called weaving or feathering, is what makes a repair disappear. A straight-edged patch always shows. A woven one blends in.
Key details that decide whether the repair is invisible:
Species. The replacement wood must match the existing species. Red oak, white oak, maple and pine look different even before they are finished.
Cut. Plain-sawn, quarter-sawn and rift-sawn boards have different grain patterns. Matching the cut avoids a patch that reads as different from across the room.
Width and thickness. The replacement must match in width and sit level with the old floor.
Age. Old wood is darker and more stable than new wood. Reclaimed boards from the same era match best, and sometimes they can be pulled from a closet, a hidden area or a salvage source.
Grade. Knots, mineral streaks and color variation should match the surrounding boards.
TALK TO A RESTORATION SPECIALIST FIRST
A woven repair that disappears and a patch that stands out are made of the same materials. The difference is the person doing the work. Floors and Beyond VA offers in-home estimates in Tysons, Vienna, McLean, Falls Church and throughout Northern Virginia. Schedule an in-home estimate at [floorsandbeyondva.com/Contact](/contact) or call (703) 906-5698, and we will inspect the floor, test moisture, mark what can be saved and explain what the repair would involve.
WATER DAMAGE: WHAT HAPPENS AND WHAT CAN BE DONE
Water is the most common reason a floor outgrows a refinish. Wood absorbs moisture and swells, and what happens next depends on how much water, how long and from which direction.
Surface spills left to sit cause white rings or dark stains in the finish and sometimes in the wood. These may sand out.
Small leaks from a dishwasher, refrigerator ice line, sink or toilet seep into the seams and cause local cupping and dark staining. Once the leak is fixed and the wood is dry, the damaged boards are replaced and the rest is flattened by sanding.
Large floods and burst pipes soak the floor and subfloor. Fast drying with fans and dehumidifiers can save some floors. Others cup, buckle or develop mold and must be removed in sections.
Moisture from below, such as a damp crawl space or slab, causes cupping across a whole area and returns unless the source is corrected.
Humidity swings produce seasonal gaps and mild cupping that often settle on their own. They are different from damage and usually need no repair.
Two points about water damage are worth knowing. First, mold can develop in wet wood and subfloors within days, so a floor that has been wet should be dried and inspected quickly. Second, if the damage comes from an insured event, your insurer may want documentation. Photographs, moisture readings and a written assessment from your flooring contractor help.
SUBFLOOR REPAIR: WHEN THE PROBLEM IS UNDER THE WOOD
Sometimes the floor is fine and the structure under it is not. A subfloor that has been wet for a long time can soften, delaminate or rot. Joists can sag or be damaged. Signs include soft or bouncy areas, persistent squeaks that grow worse, a floor that slopes toward one spot and musty smells. Repairs range from fastening loose panels to cutting out and replacing damaged plywood, sistering joists and addressing the source of moisture. This work comes before any hardwood repair, because new wood nailed to a failing subfloor will not last. If structural damage looks serious, a licensed structural specialist should inspect the framing. Our guide on creaky hardwood floor repair explains how loose subfloors are diagnosed and secured.
BLENDING NEW WOOD INTO OLD FLOORS
Even a perfectly woven repair looks different from the old floor until the whole surface is sanded and finished together. New wood is lighter than aged wood. Stain and finish bring the two closer, but they do not erase age completely. The best results come from sanding the entire connected floor, usually the whole room or the whole open area, so that the repair and the surrounding boards receive one continuous finish. A careful stain choice, often tested on a sample of the replacement wood, helps match the tone. Natural finishes are the least forgiving of mismatch, and stained floors are the most forgiving. Floors with a long history of wear and sun fading may be easier to blend once the old finish and surface layer are removed.
DOORWAYS, WALLS AND PAST RENOVATIONS
Tysons-area homes have often been renovated. Walls removed to open a kitchen leave a stripe of different flooring. Plumbing moved for a bathroom leaves cut sections. Old duct and radiator openings leave holes. These gaps can be filled by weaving in matching boards, and the best results come from using wood of the same species and age. In cases where the old floor and the patch are very different, a decorative border or a feature strip can turn a patch into a design element. A contractor will explain the options.
WHEN REPLACEMENT MAKES MORE SENSE
Restoration has limits. If more than a large portion of the floor is damaged, if the wood has been sanded down to the tongues, if the subfloor must be replaced across the whole area or if mold has spread, replacing the floor can be the better path. Replacement also makes sense when you are changing the layout or want a different species or style. Our guide on engineered hardwood floor installation covers options for new wood floors. Even then, it is worth checking what survives, because salvaged boards can be used for repairs elsewhere.
SEQUENCE AND TIMING
A full restoration usually follows this order: diagnose and stop the cause, dry the floor, repair the subfloor, replace damaged boards, let the new wood settle if needed, sand the whole floor, apply stain if desired and finish with several coats. Each step takes time, and drying and cure are not rushed. Large projects can stretch over a week or more. Planning around the rest of a renovation, and keeping other trades off the floor during finishing, avoids damage.
HOW FLOORS AND BEYOND VA APPROACHES RESTORATION
Floors and Beyond VA starts with the cause and works outward. We test moisture, mark every board that can be saved and every board that cannot, and show you the plan before we begin. Our crews do the repairs, the weaving and the finishing, so one team is accountable for the result. If the floor can be saved, we say so. If a section must be replaced, we match species, cut and width as closely as possible and blend the area into the whole.
WHAT YOU CAN DO WHILE YOU WAIT FOR A VISIT
If you have found damage and need to wait for an estimate, there are things that help and things that hurt. Stop the source of water if you can find it, and wipe standing water immediately. Run fans and, if possible, a dehumidifier to bring down moisture in the room. Move furniture and rugs off the affected area so air can reach the boards. Take dated photographs, including close-ups of stains, cupping and any visible leaks, because they help with insurance and give your contractor a record. Do not sand or scrape the damaged area yourself, and avoid sealing a wet floor with finish, which traps moisture. Do not force boards flat by loading them with weight. If you smell mustiness or see dark growth, call for an inspection sooner.
COMMON TYSONS-AREA SITUATIONS
Condos and high-rise apartments around Tysons often have hardwood or engineered floors over concrete, and damage usually comes from a leak in a neighboring unit, a failed appliance line or condensation. These cases involve the building's insurance and sometimes the association, so photographs and moisture readings matter. Townhomes and single-family houses in Vienna, McLean and Falls Church more often have solid hardwood over a wood subfloor, and damage commonly traces to dishwashers, refrigerator lines, tubs and slow plumbing leaks in the floor below. Basements and crawl spaces add another source of moisture. Knowing which situation you are in tells us where to look first, which is why the diagnosis comes before the repair plan.
AFTER THE REPAIR: KEEPING IT FROM HAPPENING AGAIN
A restored floor deserves some protection. Check under sinks and behind appliances a few times a year for leaks. Replace aging supply lines on dishwashers and refrigerators before they fail. Keep indoor humidity in a moderate range. Use mats under planters and pet bowls, and wipe spills promptly. In the first months after repair, watch the floor in different seasons, because wood continues to settle. If a new board lifts or a gap opens, call early. Small problems are easy to fix and large ones are not.
WORKING WITH YOUR INSURER AND ASSOCIATION
If the damage came from a covered event, you may be dealing with an insurance adjuster, a property manager or a condo board. Each wants documentation. A written assessment from a flooring contractor that records the moisture readings, the extent of damage, the cause if known and the proposed repair gives everyone the same facts. Ask your contractor whether they can provide photographs and a scope in the format your insurer prefers. Condo owners should also check association rules before work starts, including approved hours, insurance certificates and sound requirements for new flooring.
Every floor is different, and the plan we write down is specific to yours: which boards stay, which go, what is repaired underneath and how the whole surface will be finished together.
FREQUENTLY ASKED QUESTIONS
Can water-damaged hardwood be saved? Sometimes. If it is dried quickly and the boards have not buckled or molded, many floors recover. Damaged boards can be replaced.
Will replaced boards match? A skilled installer matches species, cut and width, and sanding and finishing the whole floor together blends the repair.
Can black stains be removed? Light stains can sand out. Deep black stains often require replacing the board.
What if my subfloor is soft? It must be repaired before the hardwood is repaired or refinished.
How long does restoration take? It depends on the scope. Spot repairs take days, while larger jobs take longer including drying and finish cure.
Do I have to refinish the whole floor after a repair? In most cases yes, at least the connected area, so the finish is continuous.
Should I fix the cause first? Always. A repair over an active leak or moisture source will fail.
READY TO RESTORE A DAMAGED FLOOR?
If your floor has problems that a simple refinish will not fix, the first step is a clear diagnosis. Floors and Beyond VA is a family-owned flooring company serving Northern Virginia since 1987. Schedule an in-home estimate at [floorsandbeyondva.com/Contact](/contact) or call (703) 906-5698.