
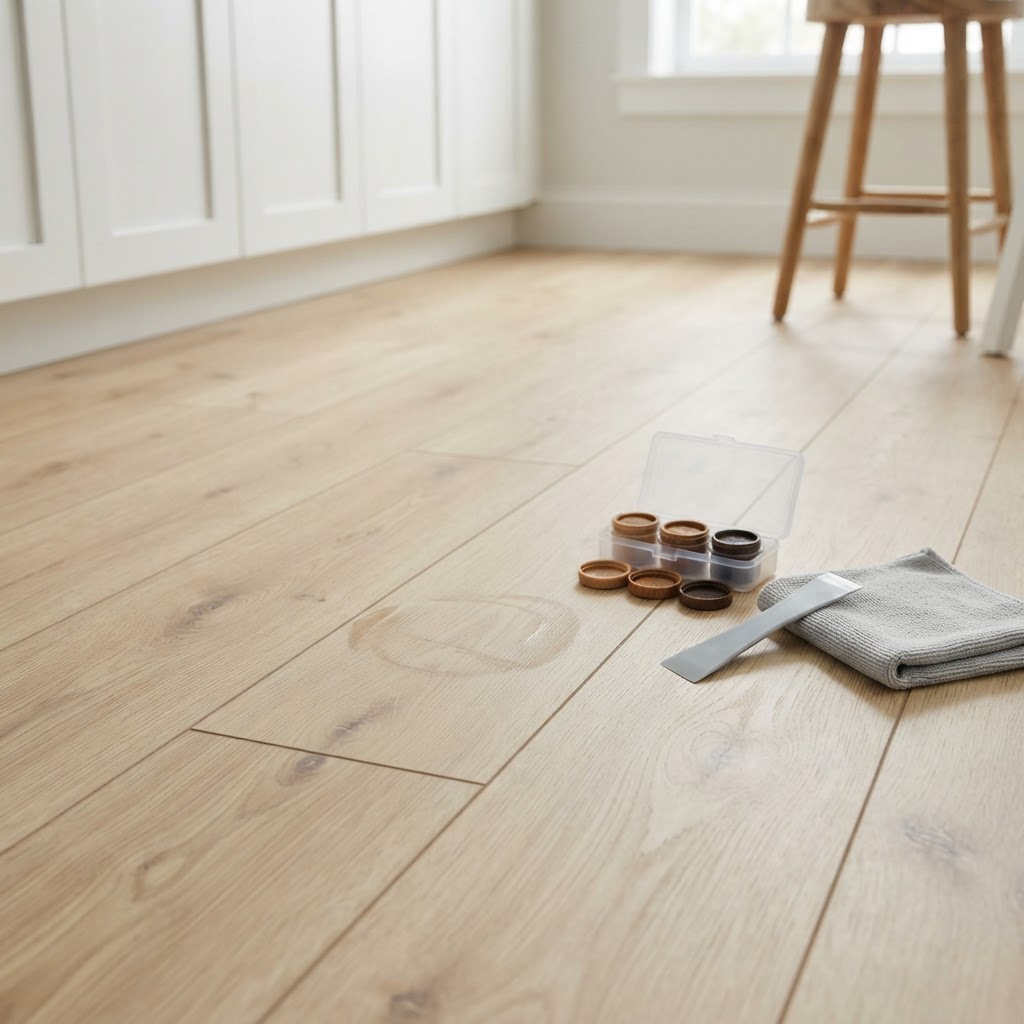
Luxury vinyl plank has become one of the most popular floors in Northern Virginia, and for good reason. It handles moisture far better than hardwood, it stands up to kids and pets, and it works over the concrete slabs and basements found in so many homes across Loudoun, Prince William, and Fairfax counties. Many homeowners choose LVP specifically because they have heard it is scratch resistant.
Scratch resistant, though, is not scratch proof. Drag a dining chair without felt pads, let a large dog sprint across the kitchen, or slide a refrigerator out to clean behind it, and LVP can scratch. The good news is that most scratches on luxury vinyl plank are either easy to make less visible or easy to fix by replacing a single plank, especially when the floor was installed with that in mind.
This guide explains how LVP is built, how to tell what kind of scratch you are dealing with, how to fix each type, and how to prevent scratches in the first place.
How LVP Is Built and Why It Matters
To understand scratches, it helps to understand the layers of a luxury vinyl plank.
The top layer is a clear wear layer, often with a protective coating such as urethane, sometimes reinforced with aluminum oxide or ceramic particles. The wear layer is what takes the abuse of daily life. Its thickness is measured in mils, and thicker wear layers generally hold up better in busy homes.
Beneath the wear layer is the printed design layer, a high-resolution photographic image that gives the plank its wood or stone look.
Below that is the core. In rigid core products, including the SPC and WPC planks common in Northern Virginia homes, the core is a stiff, dense layer that gives the plank stability.
Many planks also have an attached underlayment pad on the bottom.
The key point is this: the wood look of LVP is a printed image under a clear layer. If a scratch stays within the clear wear layer, it can often be made much less visible. If a scratch cuts through the wear layer into the printed design, the damage is visible as a light or white line, and there is no way to sand or refinish it back the way you can with hardwood. At that point, the fix is to disguise it or replace the plank.
Step One: Identify the Type of Scratch
Before reaching for any product, look closely at the scratch in good light.
Surface scuffs and marks. These look like a dull line or haze on the surface, often from shoes, furniture, or toys. They frequently sit on top of the coating rather than in it. Your fingernail glides over them.
Light scratches in the wear layer. These are thin, fine lines in the clear top layer. Your fingernail may catch very slightly. The printed design underneath looks intact, and the scratch appears whitish mostly because it scatters light.
Deep scratches and gouges. These cut through the wear layer into the design layer or even the core. Your fingernail catches clearly. You may see a white, gray, or core-colored line where the wood image has been broken.
Dents and punctures. These come from dropped heavy objects or point loads such as appliance feet. The surface may be pushed down or torn.
How to Fix Surface Scuffs
Many marks that look like scratches are actually scuffs that sit on top of the floor.
Start by cleaning the area with a cleaner made for vinyl or LVP floors and a soft microfiber cloth. Many scuffs disappear with simple cleaning.
For stubborn black scuffs, a soft melamine sponge used very gently, or a clean tennis ball rubbed over the mark, often lifts it. Test in an out-of-the-way spot first, and use light pressure. Aggressive scrubbing can dull the surface coating.
Avoid abrasive cleaners, scouring pads, ammonia, bleach, and steam mops. These can damage the protective coating and make the area look worse.
How to Minimize Light Scratches in the Wear Layer
When a scratch is only in the clear wear layer, the goal is to make it less visible, not to remove it completely.
Clean thoroughly. Dirt trapped in a fine scratch makes it stand out. Clean the area and let it dry.
Use a product made for vinyl floors. Some manufacturers and retailers offer vinyl floor restorers or scratch concealers designed to fill fine surface scratches and even out the sheen. Check your flooring manufacturer's care guidelines first, because some products can void a warranty or leave a film that builds up. Apply sparingly and buff as directed.
Try a color-matched touch-up marker for very fine lines. Some lines look white because they reveal a lighter tone. A carefully chosen marker can make them blend in. Always test in a closet or under an appliance first.
What not to do. Do not sand LVP. Unlike hardwood, sanding will cut through the wear layer and ruin the design. Do not use heat guns or hair dryers to try to melt scratches closed, which can warp and discolor the plank. Do not use wax or oil-based furniture polish, which makes the floor slippery and leaves residue.
How to Fix Deep Scratches and Gouges
When a scratch breaks through the wear layer into the design, it cannot be erased. You have two realistic options.
Option one: a repair kit. LVP and vinyl repair kits typically include colored filler, often a wax or putty, along with tools to blend it. You clean the scratch, fill it with filler mixed to match the surrounding color, level it, and sometimes add a clear top coat. A well-done fill can make a gouge much less noticeable from standing height, especially on a busy wood grain pattern. It will rarely be invisible up close, and it works best on smaller areas.
Option two: replace the plank. For deep gouges, long scratches across a plank, tears, or punctures, replacing the damaged plank is the cleanest fix. The new plank looks exactly like the rest of the floor because it is the same product.
How LVP Plank Replacement Works
How a plank is replaced depends on how the floor was installed.
Floating click-lock floors. Most rigid core LVP in Northern Virginia homes is installed as a floating floor, with planks that click together and are not glued or nailed down. Replacing a plank near a wall is fairly simple: the planks between the wall and the damaged plank are unclicked, the damaged plank is swapped, and everything is clicked back together. Replacing a plank in the middle of a large room is harder, because unclicking a long run of planks may not be practical. In that case, an experienced installer can carefully cut out the damaged plank, trim the locking profile on the replacement, and set it in place with adhesive so it sits flush and secure.
Glue-down floors. Glue-down LVP, common in some commercial spaces and some condos, requires softening the adhesive, removing the damaged plank, cleaning the subfloor, and setting a new plank with fresh adhesive.
In both cases, the most important factor is having matching planks. Flooring products are discontinued, and color can vary slightly between production runs. That is why we always recommend keeping a box of extra planks from your original installation, stored flat in a climate-controlled space. If you do not have extras, we can sometimes take a plank from a closet or under an appliance and replace that hidden plank with a close match.
Plank replacement takes care and skill. A poorly done replacement can leave gaps, height differences, or a loose plank that clicks or moves. For most homeowners, especially with a plank in the middle of a room, it is a job worth having done by an experienced installer.
Fixing Dents and Punctures
Rigid core LVP resists dents better than older flexible vinyl, but heavy point loads can still leave marks. Small, shallow dents may become less noticeable over time. Punctures and tears in the surface, however, cannot be repaired invisibly and are best handled by plank replacement.
To prevent dents, use wide floor protectors under heavy furniture, especially under narrow legs, and use plywood or appliance sliders when moving refrigerators, washers, and pianos.
Preventing Scratches on LVP
The easiest scratch to fix is the one that never happens. These habits make a big difference.
Use felt pads under all furniture. Chairs, tables, stools, and anything that moves should have felt pads. Check and replace them regularly, because worn pads collect grit and become sandpaper.
Put mats at every entry. Sand, grit, and small stones tracked in on shoes are the most common source of fine scratches. Mats inside and outside each door trap them. Avoid mats with rubber backings that can discolor some vinyl floors. Look for mats labeled safe for vinyl.
Sweep or vacuum regularly. Use a soft broom or a vacuum with a hard floor setting. Turn off beater bars that can scratch.
Trim pet nails. Large dogs are a leading cause of scratches in Northern Virginia family homes. Regular nail trims help a lot.
Never drag heavy items. Lift furniture or use sliders and plywood when moving appliances.
Choose the right product. If you are installing new LVP in a home with pets, kids, and heavy traffic, a thicker wear layer and a textured or embossed surface hide scratches far better than a smooth, glossy, dark plank. Lighter, more natural colors with visible grain are also more forgiving.
Clean with the right products. Use a cleaner recommended for your flooring, a damp microfiber mop, and avoid steam mops, which many manufacturers advise against.
When Scratches Point to a Bigger Problem
Sometimes scratches are a sign the floor itself is not right for the space. If your LVP scratches constantly despite good habits, the wear layer may be too thin for your household. If planks are scratching along their edges, they may have been installed over an uneven subfloor and are flexing. If scratches are concentrated where planks are separating, the floor may be moving, which can point to installation or moisture issues.
In those cases, it is worth having a professional look at the floor rather than repeatedly touching up scratches.
Where Scratches Happen Most in Northern Virginia Homes
Certain spots in local homes take more abuse than others, and knowing them helps you protect the floor.
Kitchen islands and dining areas. Bar stools and dining chairs slide back and forth dozens of times a day. Felt pads wear out quickly here and should be checked every few months.
Back doors and garage entries. In Northern Virginia, sand and grit come in on shoes year round, and road salt and grit are tracked in during winter. Doors from the garage, the deck, and the backyard need mats inside and out.
Basements. LVP is the most popular basement floor in the region, and basements host home gyms, play areas, and storage. Gym equipment, dragged storage bins, and toys with hard wheels all scratch. Rubber gym tiles under exercise equipment and soft wheels on toys help.
Pet paths. Dogs tend to run the same routes, often from the back door to the kitchen and to the front windows. These paths show wear first.
Rental and move-in situations. Many scratches happen in a single day when furniture and appliances are moved in or out. Protecting floors during moves with hardboard or moving blankets prevents a lot of damage.
Frequently Asked Questions
Can a scratched LVP floor be refinished like hardwood? No. LVP cannot be sanded or refinished. The design is printed under the wear layer, so sanding removes the design. Repairs are limited to concealing scratches or replacing planks.
Will a scratch get worse over time? A fine scratch in the wear layer generally stays the same, though it can collect dirt and look more noticeable. A deep scratch that exposes the core can catch more dirt and can sometimes chip at the edges in high-traffic areas.
Does the warranty cover scratches? Many LVP warranties cover wear-through of the wear layer under normal use but exclude scratches and gouges from impacts, pets, or furniture. Read your product's warranty and keep your purchase documents.
Is it worth keeping extra planks? Absolutely. A box of extra planks from your original installation is the best insurance against future damage. Store them flat in a climate-controlled space, not in a hot attic or damp garage.
Choosing Scratch-Resistant LVP for Your Next Floor
If you are replacing a floor that scratched too easily, a few product features make a real difference. A thicker wear layer stands up better to daily traffic, and households with large dogs or heavy use benefit most. A textured or embossed surface, where the texture follows the printed grain, hides fine scratches far better than a smooth, flat finish. Matte and low-sheen surfaces disguise scratches better than glossy ones. And mid-tone colors with visible grain variation hide both scratches and dust better than very dark or very uniform light planks. When Floors and Beyond VA helps homeowners choose LVP, we bring samples into the home so you can see and feel the texture in your own light.
A Note on Expectations
LVP is a practical, hard-working floor, and a few small marks over the years are normal in an active household. Most scratches are far more noticeable when you are looking for them up close than they are from standing height in normal light. Before replacing planks, step back and look at the floor the way guests see it. Often, a good cleaning and a touch-up are all it takes.
How Floors and Beyond VA Can Help
Floors and Beyond VA installs and repairs luxury vinyl plank across Northern Virginia, from basements in Woodbridge and Manassas to open-plan kitchens in Ashburn to condos in Tysons and Arlington. We have been in the flooring business since 1987, and our installers are our own employees, never subcontractors.
When you have damaged LVP, we can assess whether the scratch can be minimized or whether the plank should be replaced, source matching planks, and replace damaged planks cleanly so the repair blends into the floor. If you are planning new LVP, we can help you choose a product with the right wear layer and surface texture for your household, so scratches are less of a worry from day one.
If your LVP has scratches you cannot fix, or you want advice on a scratch-resistant floor for your home, book a free in-home estimate with Floors and Beyond VA at floorsandbeyondva.com/Contact.
Quick Reference
Scuffs on the surface: clean with a vinyl floor cleaner and a soft cloth, or gently lift with a tennis ball.
Light scratches in the wear layer: clean, then use a manufacturer-approved vinyl restorer or a touch-up marker.
Deep scratches through the design: use a color-matched repair kit for small areas or replace the plank.
Dents and punctures: replace the plank.
Prevention: felt pads, entry mats, regular sweeping, trimmed pet nails, and the right wear layer for your household.

