
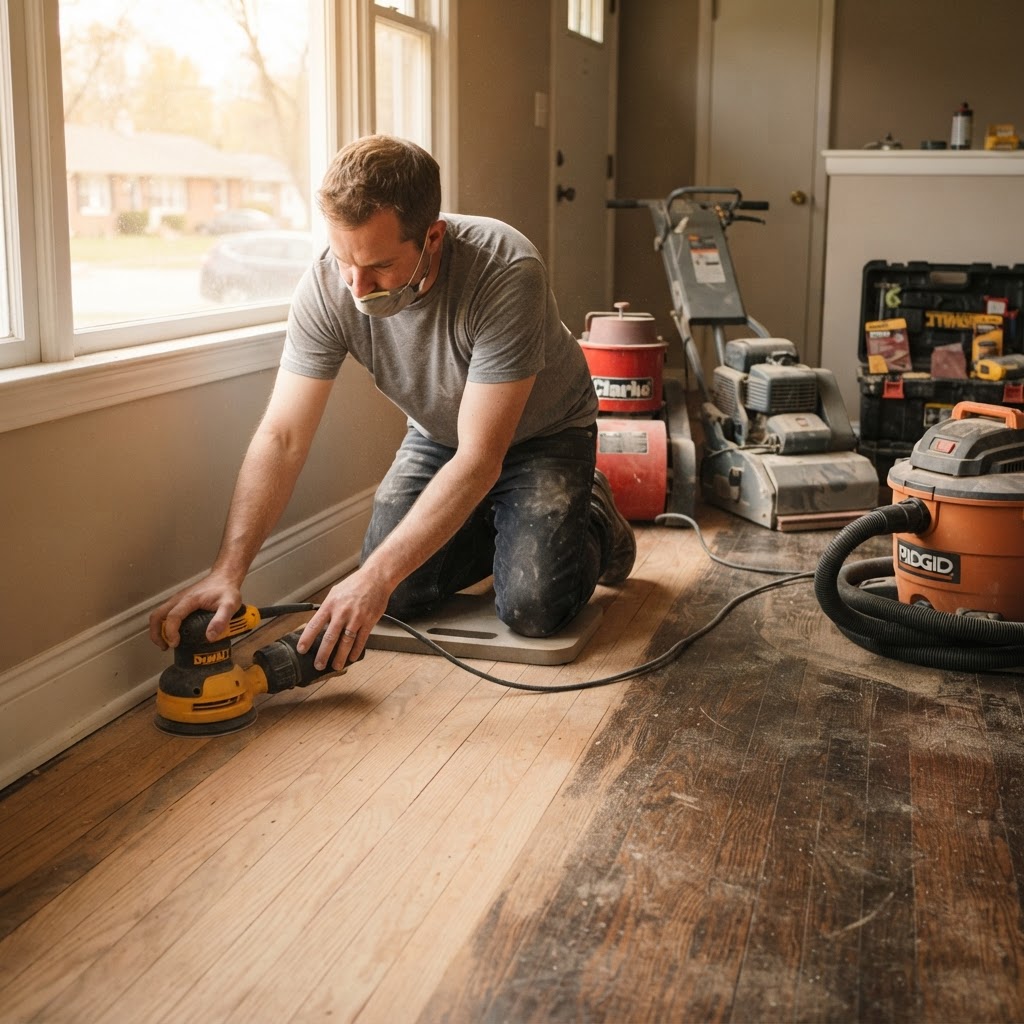
When a hardwood floor starts to look tired, many homeowners ask themselves whether this is a weekend project or a job for a professional. It is a fair question. The internet is full of videos showing people renting a sander on Saturday and admiring a gleaming floor on Sunday night. Home improvement stores sell refinishing kits, scratch pens, and restorer products that promise dramatic results. And some floor problems really are simple enough for a homeowner to handle.
Others are not. A hardwood floor is one of the most valuable surfaces in a home, and some mistakes cannot be undone. Sanding too deep, gouging boards, or applying a finish badly can turn a floor that needed a light refresh into one that needs boards replaced or the entire room redone.
This guide is meant to help you decide honestly. It breaks hardwood floor restoration into the jobs most homeowners can do themselves, the jobs that sit in a gray area, and the jobs that are best left to a professional, with the reasons for each.
First, Figure Out What Your Floor Actually Needs
Before deciding who should do the work, decide what the work is. Hardwood restoration covers a wide range of jobs, and they are very different in difficulty.
Cleaning and maintenance remove built-up dirt, grime, and residue from cleaning products, and restore some of the floor's shine.
Spot repairs address isolated scratches, small dents, minor gaps, or a few damaged boards.
A screen and recoat lightly abrades the existing finish and adds a fresh protective coat. It renews dull, lightly scratched floors without removing wood.
A full sand and refinish takes the floor down to bare wood, removes deeper scratches and wear, allows a new stain color, and applies a fresh finish system.
Structural and moisture repairs address cupping, buckling, water damage, subfloor problems, squeaks, and boards that are loose or failing.
A simple test helps. Find a scratch in a high-traffic area and run your fingernail across it. If your nail does not catch, the scratch is likely in the finish only, and cleaning, touch-ups, or a recoat may be enough. If your nail catches and you can see raw or gray wood, the damage has reached the wood and a sanding is probably required to remove it.
Jobs Most Homeowners Can Do Themselves
These tasks carry little risk and can make a real difference.
Deep cleaning. Many floors that look worn are actually just dirty. Years of cleaning products, wax, and oils from shoes and pets leave a dull film. A cleaner formulated for finished hardwood, applied with a microfiber mop that is damp but not wet, can bring back a surprising amount of luster. Avoid vinegar solutions, oil soaps, ammonia, and steam mops, which can dull or damage modern finishes over time.
Removing furniture marks and light scuffs. Many scuff marks lift with a soft cloth and a small amount of wood floor cleaner. A tennis ball or clean pencil eraser removes many black heel marks.
Filling minor surface scratches. Color-matched touch-up markers, wax sticks, and blend pens can make light scratches much less visible. They do not repair the finish, but they hide the scratch. Test in a closet first to check the color match.
Adding protection. Felt pads under every piece of furniture, rugs and mats at entries and the kitchen sink, and keeping pet nails trimmed prevent new damage.
Managing humidity. A hygrometer and a humidifier for winter, plus air conditioning or a dehumidifier in summer, help prevent gaps and cupping in Northern Virginia's seasonal swings.
These jobs are low risk and worth doing whether or not you eventually hire a professional.
Gray-Area Jobs: Possible to DIY, Easy to Get Wrong
These jobs are within reach of a careful, handy homeowner, but they have real pitfalls.
Applying a refresher or restorer product. Many homeowners use polish-style restorer products to bring back shine. They can work on some floors, but they leave a layer on top of the finish that can build up, look cloudy, and interfere with a future professional recoat. If your floor has a polyurethane finish that may be recoated later, ask a professional before using these products.
Screen and recoat. A screen and recoat involves lightly abrading the finish with a buffer and applying fresh polyurethane. It is less risky than sanding, but it has its own challenges. The floor must be completely free of wax, polish, and silicone-based cleaners, or the new coat will not bond and can peel. The finish must be applied evenly, without lap marks or bubbles, and dust must be controlled. Some floors have finishes that are not compatible with certain recoat products. Done well, a recoat looks great. Done poorly, it can peel or look streaky and require a full sanding to fix.
Replacing a single board. Cutting out and replacing one damaged board in the middle of a floor is a skilled job. It requires cutting the old board out without damaging its neighbors, removing the bottom of the groove on the replacement so it can drop in, securing it, and matching the color and finish. A careful DIYer with the right tools can manage it, but the results are often noticeable without experience.
Jobs That Are Best Left to a Professional
These are the jobs where the risk of permanent damage is high, the equipment is specialized, or the problem has a cause that needs diagnosis.
Full sanding and refinishing. This is the job most often attempted by homeowners and most often regretted. Drum sanders and belt sanders remove wood very quickly. Pause for a moment in one spot and the sander digs a dip into the floor. Move unevenly and it leaves chatter marks, a series of waves across the boards. Edges and corners require separate edging equipment that leaves swirl marks if it is not handled carefully. Stain applied over improperly sanded wood shows every flaw, and blotchy, uneven color is very hard to fix without sanding again. Each sanding uses some of the floor's wear layer, so a botched attempt followed by a professional correction can use up years of the floor's life at once.
The rental orbital sanders marketed to homeowners are safer than drum sanders, but they are slow, and they struggle to remove deep scratches, old finish, and unevenness evenly across a whole room.
Engineered hardwood refinishing. Engineered floors have a limited wood veneer on top. Some cannot be sanded at all, and others have only a small margin. Sanding through the veneer exposes the core and cannot be repaired. Measuring the wear layer and sanding precisely within it is a job for an experienced professional.
Water damage, cupping, and buckling. These problems are symptoms. The floor needs a moisture diagnosis, a source repair, and proper drying before any surface work. Sanding a cupped floor before it dries is one of the most common and costly mistakes, because the floor later crowns and the damage becomes permanent.
Structural repairs and squeaks. Loose boards, squeaks, soft spots, and subfloor problems often require access from below or specialized fasteners, and they may point to joist or subfloor issues.
Historic and antique floors. Pre-war red oak and heart pine in older homes in Alexandria, Arlington, and Leesburg may already have been sanded several times. Some have unique patterns, borders, or species. They deserve an experienced hand that removes as little wood as possible.
Stairs. Stair treads, risers, nosings, and balusters require hand work and detail sanding. They are some of the most visible wood in a home and some of the hardest to refinish well.
Large color changes. Going from a dark floor to a light one, or achieving a modern neutral on red oak, requires thorough sanding to bare wood and carefully tested stain. Mistakes show across the entire room.
The Real Cost of a DIY Mistake
It is natural to think about DIY as a way to save money. It is worth also thinking about what happens if the job goes wrong.
A gouged or chattered floor usually needs to be sanded again by a professional, using additional wear layer to remove the damage.
Blotchy stain or a peeling finish must be sanded off and redone.
An engineered floor sanded through the veneer cannot be refinished. Those boards must be replaced.
A cupped floor sanded too soon can crown permanently.
Rental equipment, sandpaper, stain, finish, and supplies add up, and a full refinish takes much longer for a first-timer than for an experienced crew. Your home is out of use for longer.
None of this is meant to discourage homeowners who want to take on their own projects. It is meant to help you put your effort where it pays off and avoid the jobs where the downside is large.
A Simple Way to Decide
If your floor is dirty, dull, or has light surface scratches, start with cleaning and touch-ups yourself.
If your floor is dull with light wear across the traffic areas and your fingernail does not catch on the scratches, a screen and recoat may be enough. Consider whether you are comfortable with the preparation and application, or whether a professional recoat makes more sense.
If the finish is worn through to the wood, you want a new color, the floor is engineered, or you see cupping, buckling, water damage, or soft spots, call a professional.
If your floor is old, historic, or has been refinished several times, have a professional assess the remaining wear layer before any sanding.
What a Professional Brings
A professional hardwood restoration is not just about the sander. It is about diagnosis, judgment, and finish.
An experienced crew measures the wear layer, identifies the species and previous finish, and checks for moisture problems before deciding on an approach. They know when a screen and recoat is enough and when a full sand is truly needed. They use dust containment systems that keep the rest of the home much cleaner than a rental sander. They sand evenly across the whole floor, including edges, corners, closets, and stairs. They test stain on your actual floor and apply finish in thin, even coats that cure hard and clear.
A Room-by-Room Look at What Usually Makes Sense
Different rooms in a Northern Virginia home tend to have different needs, and that affects the DIY question.
Kitchens. Kitchen floors see spills, dropped utensils, chair traffic, and water near the sink and dishwasher. Dull finish in front of the sink and range is common, and a professional screen and recoat often brings it back. Gray, worn wood in front of the sink usually means the finish has failed and water has reached the wood, which calls for a professional assessment and possibly sanding or board replacement.
Family rooms and living rooms. These rooms usually show wear in traffic paths and around furniture. If the finish is intact elsewhere, a recoat can even things out. If you want a new color, it is a full sand and refinish.
Bedrooms. Bedrooms often have the least wear. Cleaning and a light recoat may be all they need for years, and they are a reasonable place for a careful homeowner to practice maintenance.
Entries and hallways. Grit tracked in from outside wears entries quickly. Mats and regular sweeping are the best DIY defense. Worn-through finish in an entry is one of the clearest signs a professional recoat or refinish is due.
Stairs. Stairs are almost always a professional job. The edges, nosings, and vertical surfaces require hand work, and stair finishes need to be durable and slip resistant.
Frequently Asked Questions
Can I rent a sander and refinish one small room myself? Some homeowners do, with good results, particularly in a small bedroom with solid hardwood. The risk is highest with drum sanders, engineered floors, and anything with a new stain color. If you try it, practice on a hidden area first and keep the machine moving.
Will a professional fix a floor I tried to refinish myself? Usually, yes. A professional crew can resand a floor with chatter marks or blotchy stain, as long as there is enough wear layer left. The repair uses more of the floor's sanding life, which is why it is better to get it right the first time.
Are restorer and polish products safe for my floor? They can make a floor look shinier for a while, but repeated applications build up and can prevent a future recoat from bonding. If you think you may want a professional recoat in the next few years, skip them or ask first.
How often should I have my floors professionally maintained? It depends on traffic, but busy households often benefit from a screen and recoat every several years. Floors and Beyond VA can look at your floors and suggest a schedule based on how they are wearing.
Northern Virginia Factors to Keep in Mind
Two local realities shape restoration decisions here. First, the climate. Humid summers and dry, heated winters make wood floors expand and contract every year. Seasonal gaps that appear in winter and close in summer are normal and should not be filled, because filler cracks or squeezes out as the boards move. A professional can tell the difference between normal seasonal movement and a moisture problem that needs attention.
Second, the age of the housing stock. Many homes inside the Beltway have original floors that have been sanded more than once, and some have old repairs, filled vent openings, and boards that were face-nailed decades ago. These floors reward experience. A homeowner may not know that a few exposed nail heads mean the wear layer is thin, while a professional will spot it immediately and adjust the approach.
The Best of Both Approaches
Many homeowners find the best results come from combining the two. Handle the daily care yourself, with the right cleaner, felt pads, mats, and humidity control. Then bring in a professional for periodic recoats and, when the time comes, a full refinish. That partnership keeps the floor protected between visits and saves the wear layer for the work only a professional should do.
How Floors and Beyond VA Helps
Floors and Beyond VA has been restoring hardwood floors across Northern Virginia since 1987. We believe in restoring before replacing, and that includes telling homeowners when a floor only needs a good cleaning or a recoat. Not every floor needs a full sanding, and we will not recommend one when a lighter approach will do.
Our crews are our own employees, never subcontractors. We assess your floor, explain what is causing its appearance, and give you a clear recommendation. If there are pieces of the job you would like to handle yourself, such as ongoing cleaning and maintenance, we are happy to explain how to protect your investment between visits.
If you are trying to decide whether your floor is a DIY project or a professional job, book a free in-home estimate with Floors and Beyond VA at floorsandbeyondva.com/Contact. We will look at your floors, tell you honestly what they need, and help you choose the right path.

