
Replacing Carpet With Hardwood in Herndon
Replacing carpet with hardwood in a Herndon home follows a predictable sequence: furniture is moved, carpet, pad, and tack strips are removed, the subfloor is inspected and repaired, baseboards are removed or protected, new hardwood is installed (or existing hardwood underneath is refinished), transitions and trim are completed, and the area is cleaned. The common surprises are what you find under the carpet (original hardwood, damaged subfloor, adhesive, staples, uneven areas), height differences at doorways and stairs, baseboard and door clearance issues, and the extra time needed for site-finished floors to cure. Floors and Beyond VA, a family-owned Northern Virginia flooring and remodeling contractor serving Fairfax, Loudoun, Prince William, and Arlington counties since 1987, handles the entire process with in-house crews, including furniture moving, old flooring removal, subfloor assessment, installation, transitions, molding, and cleanup, so you know what is included before work begins.
Switching from carpet to hardwood is one of the most common flooring upgrades in Northern Virginia, and for good reason. Hardwood looks clean and timeless, is easier to keep free of dust and allergens, works with almost any decor, and can last for generations. But the project is rarely as simple as "pull up carpet, lay down wood." What is under your carpet will shape the project more than anything else, and a few predictable surprises can change the schedule and scope.
This guide walks through the project from start to finish: how to decide whether to install new hardwood or refinish what might be under the carpet, what removal involves, what contractors look for in the subfloor, how baseboards, doors, and transitions are handled, how stairs fit into the plan, how to prepare your home, what the schedule typically looks like, and what surprises are most common. It is designed to help Herndon homeowners enter the project informed.
Why Herndon homeowners are replacing carpet
Herndon and the surrounding Fairfax County area have a wide range of housing stock, and the reasons for replacing carpet vary.
Homes from the 1970s through 1990s. Many established Herndon neighborhoods have carpet throughout upper levels and sometimes main levels. Carpet from that era is often worn, stained, or outdated, and homeowners want a cleaner, more modern look.
Townhomes and condos. Many Herndon townhomes were built with builder-grade carpet. Residents often want hard surfaces on main levels and stairs. Building or association rules may affect sound requirements.
Newer homes. Even newer homes may have carpet in family rooms and bedrooms that homeowners later replace as lifestyles change.
Allergy and cleanliness concerns. Hard surfaces are easier to keep clean.
Pets. Carpet can hold odors and stains from pet accidents.
Resale. Hardwood is widely seen as a premium feature.
Hidden hardwood. Many homes have original hardwood under the carpet.
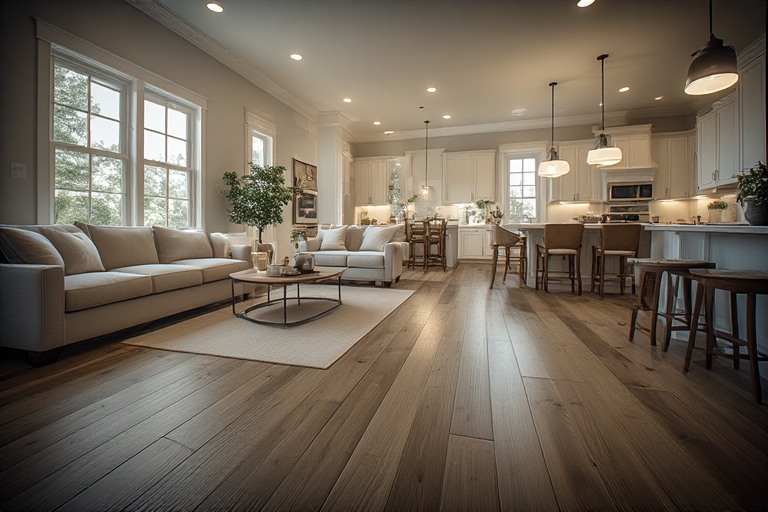
Style updates. Open floor plans and modern finishes often call for continuous hard flooring.
For Herndon and nearby Reston, Sterling, and Dulles area homeowners, see our Reston flooring page and Sterling flooring page for how we serve the region.
Step one: find out what is under your carpet
The first step is to look. Before choosing materials or setting a budget, someone should peel back a corner of carpet in a few locations and see what is there. This simple step can change the entire project.
Scenario one: original hardwood
In many homes built before the 1990s, particularly in main-level living areas, original hardwood lies beneath the carpet. Floors that have been carpeted for decades are often in good condition, because they were protected from sunlight and traffic. If the hardwood is solid and sound, refinishing it may be the best option. Our refinish-first philosophy exists for exactly this situation. Refinishing can cost less in scope than installing new hardwood, preserves original material that may be better than what is sold today, and matches adjoining floors.
Scenario two: plywood or OSB subfloor
Many homes, especially newer ones, have plywood or oriented strand board (OSB) subfloors directly under the carpet pad. These are suitable bases for new hardwood or other flooring, assuming they are sound, flat, and dry.
Scenario three: concrete slab
Lower levels and some ground-level rooms sit on concrete. Hardwood over concrete requires special products and methods, such as engineered hardwood glued or floated, plus moisture testing. Solid hardwood is generally not suitable directly over slab.
Scenario four: damaged or uneven subfloor
Squeaks, soft spots, water stains, or unevenness may be hidden under carpet. These conditions need repair before new flooring.
Scenario five: other flooring layers
Some homes have vinyl, linoleum, or tile under carpet. Removal depends on the material and adhesive. Some older flooring materials and adhesives require testing before disturbance.
During a free in-home consultation, Floors and Beyond VA lifts a corner of the carpet, identifies what is beneath, and explains your options. That visit often prevents homeowners from ordering the wrong materials.
Step two: decide between new hardwood and refinishing
If the hardwood under your carpet is solid and in reasonable condition, you have a choice.
Refinish existing hardwood
Pros: preserves original wood, matches existing floors, often a more economical scope, and sustainable. Considerations: staple and tack strip holes need filling, stains and wear need evaluation, and the wood must have enough thickness. See our hardwood and laminate flooring page for how we evaluate floors.
Install new hardwood
Pros: choose any species, width, and finish, and start fresh. Considerations: higher scope, and you may be covering or removing perfectly good original wood.
Hybrid approach
Refinish where it works and install new in areas where the old floor is damaged, missing, or not appropriate.
A good contractor will tell you honestly which makes sense for your home.
Step three: choose the new floor
If you are installing new hardwood, several choices shape the project.
Solid or engineered. Solid is traditional and refinishable. Engineered offers stability and versatility, especially over concrete and with radiant heat.
Species. Oak is the most common. Maple, hickory, walnut, and others are available.
Width. Narrow strips are classic. Wider planks feel more open and contemporary.
Finish and color. Natural, light, medium, and dark tones each create a different mood.
Site-finished or prefinished. Site-finished allows custom stain and a smooth surface but involves sanding, dust control, odor, and cure time. Prefinished installs faster and cleaner.
Matching adjoining floors. If some rooms keep existing floors, plan how new flooring will match or contrast.
Alternatives. If your priority is durability and waterproofing, LVP may be better in some rooms. See our vinyl and linoleum flooring page.
See our hardwood and laminate flooring page for more.
Step four: understand the removal process
Removing carpet is the first physical step, and it creates the first set of surprises.
Moving furniture. Rooms must be cleared. Heavy furniture, pianos, and built-ins require planning. Our all-inclusive estimates include furniture moving.
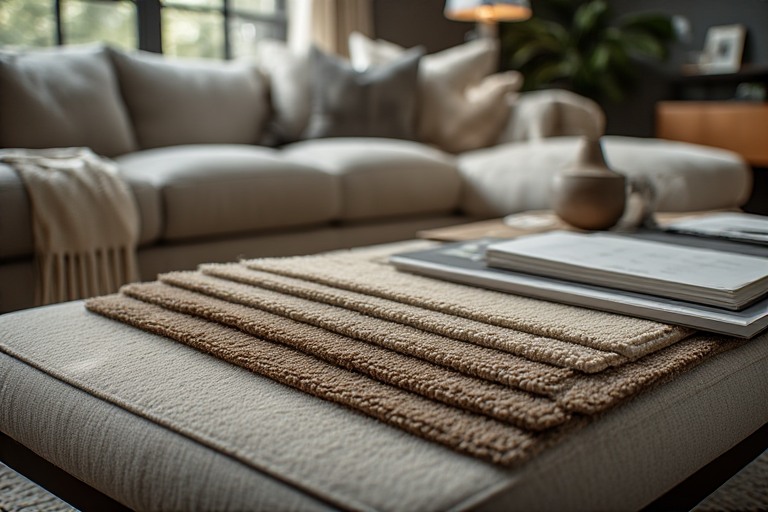
Cutting and removing carpet. Carpet is cut into strips and rolled for removal.
Removing padding. Pad is removed. Some pad, particularly older rubber pad, can stick to the subfloor and leave residue.
Removing tack strips. Tack strips are nailed along the edges of rooms and removed carefully. They can damage baseboards and subfloors if rushed.
Removing staples. Carpet pad is often stapled. Hundreds or thousands of staples must be removed to avoid damaging new flooring and creating squeaks.
Dust and debris. Removal creates dust, especially in older homes. Containment and cleanup matter.
Lead and other hazards. Homes built before 1978 may contain lead paint on trim and other surfaces. Ask any contractor about lead-safe work practices. Older adhesives and pads may also contain materials that require testing.
Disposal. Carpet and pad must be hauled away. Our estimates include removal and disposal.
Step five: inspect and prepare the subfloor
Once the carpet is gone, the real inspection begins.
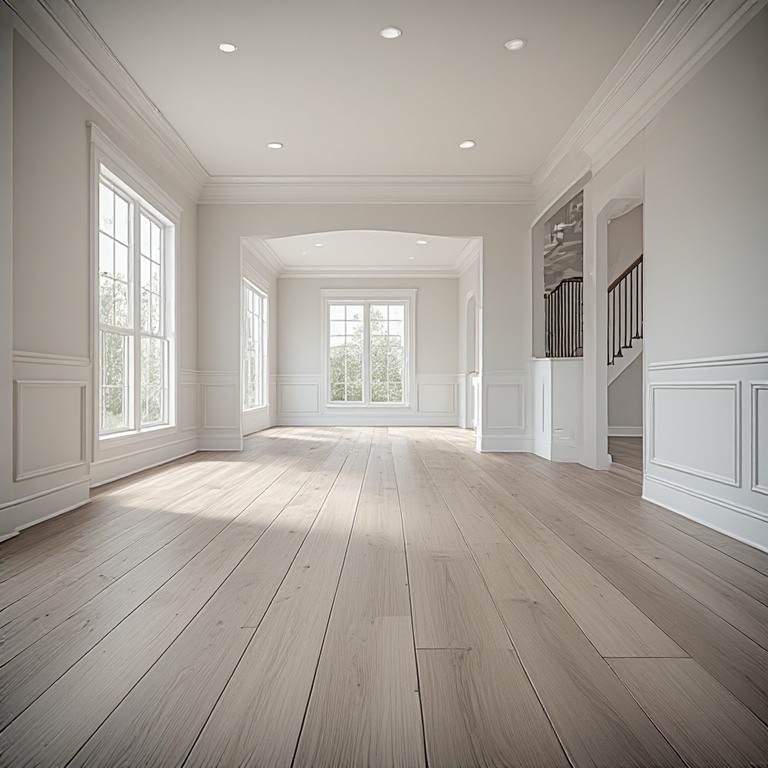
Flatness. Hardwood needs a flat surface. Dips, humps, and ridges must be corrected. Methods include sanding high spots, filling low spots, and installing leveling compound or underlayment.
Squeaks and movement. Loose subfloor panels and joist connections cause squeaks. Refastening with screws solves most problems.
Damage. Water damage, rot, pet urine, and insect damage may require subfloor repair or replacement.
Moisture. Moisture readings determine whether flooring can be installed safely. Elevated moisture requires correction first.
Adhesive and residue. Old adhesives, pad residue, and paint may need to be removed.
Gaps and holes. Holes from plumbing, wiring, and vents may need patching.
Wood subfloor type. Plank subfloors, plywood, and OSB each behave differently. Some require underlayment.
Concrete slab. Slabs require moisture testing, cleaning, and sometimes leveling.
Joist condition. Sagging or damaged joists affect floor stability.
Heights. Subfloor repairs and underlayments change finished height.
Subfloor work is often the biggest source of unexpected scope. A thorough inspection at the consultation stage and again after carpet removal reduces surprises.
Step six: handle baseboards, doors, and trim
Details at the edges determine whether a project looks professional.
Baseboards. Removing baseboards, installing flooring, and reinstalling the baseboards produces the cleanest look. Alternatively, installers can leave baseboards in place and add shoe molding to cover the gap. In older homes, baseboards may be fragile and need careful removal.
Shoe molding and quarter round. These small moldings cover expansion gaps and finish the edge.
Door casings. Door casings can be undercut so flooring slides beneath, giving a cleaner look.
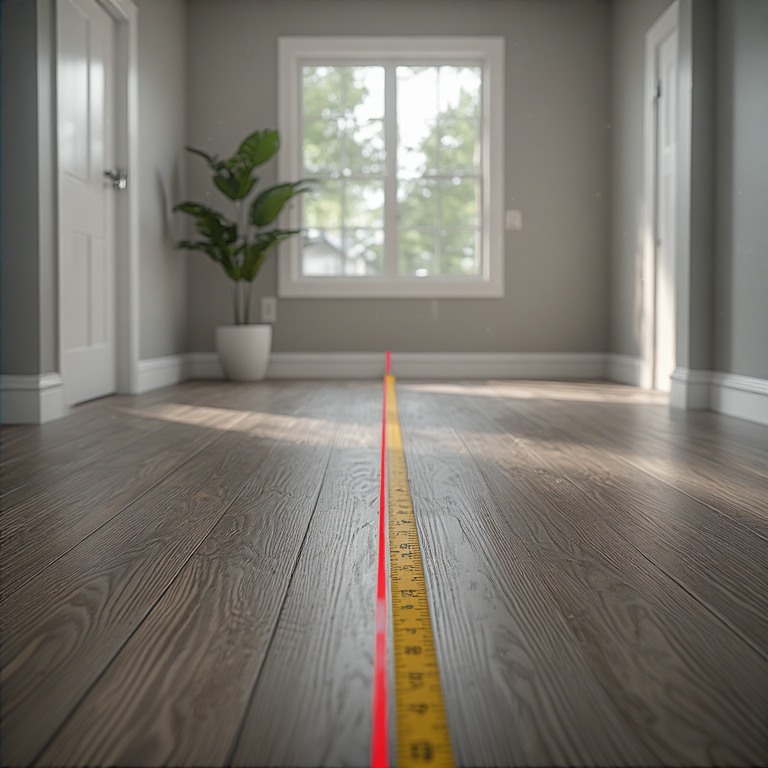
Door clearance. Hardwood raises floor height compared with carpet in some cases. Doors may need trimming to clear. Carpet height is often greater than hardwood height, and the opposite can be true depending on pad thickness. Measure door clearances in advance.
Closet doors and tracks. Sliding closet doors and tracks may need adjustment.
Vents. Floor vents need to be cut and fitted with matching or appropriate registers.
Painting. Baseboards often need touch-up painting after reinstallation. Plan for paint and caulk.
Appliances and fixtures. Heights near dishwashers, refrigerators, and toilets may be affected.
Step seven: plan transitions
Transitions are where hardwood meets other surfaces, and they are often where the biggest surprises appear.
Hardwood to carpet. A transition strip or tack strip assembly bridges the height difference. Carpet thickness and floor height determine which type works.
Hardwood to tile or vinyl. Reducers, T-moldings, or flush transitions handle height changes.
Stairs. The top and bottom of stairs require special attention. When flooring changes thickness, the first and last steps can be altered. Each step should maintain consistent height. See our hardwood and laminate flooring page for stair options.
Thresholds and doorways. Exterior doors and interior doorways may need new thresholds.
Open rooms. Where hardwood continues through multiple rooms, use as few transitions as possible.
Expansion joints. Long runs or large areas may need expansion breaks.
Matching colors. Transition pieces should match or intentionally contrast with the floor.
A good plan marks every transition before installation begins.
Step eight: stairs and upper levels
Many carpet-to-hardwood projects include stairs, and homeowners often ask about bedrooms.
Stairs. Stairs may have solid hardwood treads, paint-grade treads, or damaged parts. Options include refinishing, new treads and risers, tread caps, and runners.
Upper-level hallways. Hardwood in hallways creates continuity with stairs.
Bedrooms. Many people keep carpet in bedrooms for comfort and sound, while others choose hardwood throughout.
Sound. Hardwood is louder than carpet, especially above living spaces. Underlayment and area rugs reduce noise.
Weight and structure. Upper-level floors are wood framed. Hardwood installation is typically straightforward.
Phasing. Some homeowners do the main level first and stairs and upper levels later. A master plan ensures consistency.
Step nine: prepare your home
Preparation makes the project smoother.
Clear the rooms. Remove small items, decor, and anything fragile. Our crews move furniture, but you should handle valuables.
Plan for pets and children. Dust, noise, and open doors create hazards. Plan for a safe space.
Protect other areas. Dust barriers and floor protection reduce spread.
Plan access. Parking, entrances, and pathways should be clear.
Utilities. Know where shutoffs are in case of plumbing surprises.
HVAC. Cover vents and consider changing filters afterward.
Temperature and humidity. Hardwood needs a stable indoor climate. Keep your HVAC running at normal levels.
Schedule. Choose a time when the house can be disrupted, and allow for cure time with site-finished floors.
Communication. Know who will be on site and how to reach them.
What the schedule looks like
Schedules depend on size, materials, and conditions, but a typical project follows these stages.
- Day one: protection, furniture moving, and removalRooms are cleared, carpet and pad are removed, and tack strips and staples are pulled.
- Subfloor inspection and repairThe subfloor is assessed, and repairs are made. This may take additional time if problems are found.
- AcclimationHardwood may need to acclimate in the home. Timing depends on the product.
- InstallationHardwood is installed room by room. Prefinished flooring is ready for use sooner. Site-finished flooring requires sanding and finishing.
- FinishingStain and finish coats are applied for site-finished floors, with drying time between coats.
- Cure timeFloors need time to cure before heavy traffic, furniture, and rugs. Your contractor will explain the timeline.
- Trim and transitionsBaseboards, shoe molding, and transitions are installed.
- Final cleanup and walkthroughWe inspect the work together.
Weather and humidity can slow drying. Northern Virginia's humid summers can extend cure times. A good contractor plans for it.
The most common surprises
After many years in Northern Virginia homes, these are the surprises we see most often when replacing carpet with hardwood.
Original hardwood under the carpet. A pleasant surprise that can change the plan and save money.
Staples and tack strips. Thousands of staples and strips to remove.
Pad residue. Old pad stuck to the subfloor.
Pet damage. Urine stains and odor in subfloors.
Water stains. Evidence of past leaks.
Squeaks and loose subfloor. Fixable, but they add work.
Unevenness. Dips and humps that must be leveled.
Height differences. Doors, thresholds, and adjoining rooms may require adjustment.
Fragile baseboards. Old trim that breaks during removal.
Painted-over details. Baseboards and trim covered with many coats of paint.
Mixed subfloor types. Additions, bump-outs, and renovations with different subfloors.
HVAC and vent issues. Vents in awkward positions.
Stair surprises. Paint-grade treads, damaged risers, or unusual framing.
Hazardous materials. Old adhesives or paint that need testing in older homes.
Longer cure times. Humidity or temperature changes that slow finishing.
None of these are reasons to avoid the project. They are reasons to plan with a contractor who inspects thoroughly and communicates clearly.
What drives the scope of a carpet-to-hardwood project
We do not publish prices in blog content, because every home is different. These factors shape the scope.
- Square footage.
- What is under the carpet. Original hardwood versus plywood versus concrete.
- Material selection. Species, width, solid or engineered, and finish.
- Refinishing versus new installation.
- Subfloor repairs and leveling.
- Removal of carpet, pad, tack strips, and staples.
- Baseboards, shoe molding, and trim.
- Transitions and thresholds.
- Stairs.
- Furniture moving.
- Painting and touch-up.
- Hidden conditions.
A clear, itemized proposal that includes furniture moving, removal, installation, transitions, molding, and cleanup is the best way to compare options.
Mistakes to avoid
- Ordering materials before looking under the carpet.
- Assuming the subfloor is fine.
- Replacing good original hardwood.
- Ignoring height differences.
- Skipping moisture checks.
- Forgetting door clearances.
- Choosing the wrong product for the subfloor.
- Poor transitions.
- Neglecting stairs.
- Underestimating dust and disruption.
- Moving furniture back too soon.
- Not planning for sound.
- Hiring on price alone.
Connecting hardwood projects to other work
Flooring projects often go with other updates.
- Kitchens and baths. See our kitchen remodeling and bathroom remodeling services.
- Whole-home updates. See our whole-house remodels and home remodeling services.
- Flooring services. Explore our flooring services, flooring installation guide, and portfolio.
- Care. Our floor care guide explains how to protect your new floor.
We show you what we find
Floors and Beyond VA tells you what we find the moment the carpet comes up. If there is original hardwood, damage, or a subfloor problem, we show you and talk through options before work continues.
Frequently asked questions about replacing carpet with hardwood
Can I put hardwood over carpet?
No. Carpet and pad must be removed. Hardwood needs a solid, flat subfloor.
Is there hardwood under my carpet?
Possibly. Many older homes do. A quick look at a corner of carpet usually answers the question.
Can I refinish the hardwood under my carpet?
Often, yes, if it is solid hardwood with enough wood and sound structure.
How long does the project take?
It depends on size, materials, and conditions. Site-finished floors take longer than prefinished floors because of sanding, finishing, and cure time.
Will hardwood be too loud?
It can be louder than carpet. Underlayment and rugs help.
Do I have to remove baseboards?
Not always, but removal and reinstallation produce the cleanest look. Shoe molding is another option.
What about stairs?
Stairs can be refinished or rebuilt. They should be coordinated with the rest of the project.
Can I keep carpet in bedrooms?
Yes. Many homes use hardwood on main paths and carpet in bedrooms. See our carpet flooring services.
Do you move furniture?
Yes. Furniture moving, old flooring removal, installation, transitions, molding, and cleanup are part of our all-inclusive estimates.
What if you find a problem under the carpet?
We explain what we found, show you, and discuss options before proceeding.
Ready to replace your Herndon carpet with hardwood?
The best projects begin with an honest look at what is under your carpet. Floors and Beyond VA brings nearly forty years of Northern Virginia experience, in-house crews with no subcontractors, and the showroom to your door. We serve Fairfax, Loudoun, Prince William, and Arlington counties, including Herndon, Reston, Sterling, Vienna, and Fairfax.
Start with a free in-home consultation. We will lift the carpet, inspect the conditions, bring samples, and give you a clear, honest estimate.
Request your free consultation
You can also call (703) 906-5698 or email hello@floorsandbeyondva.com.