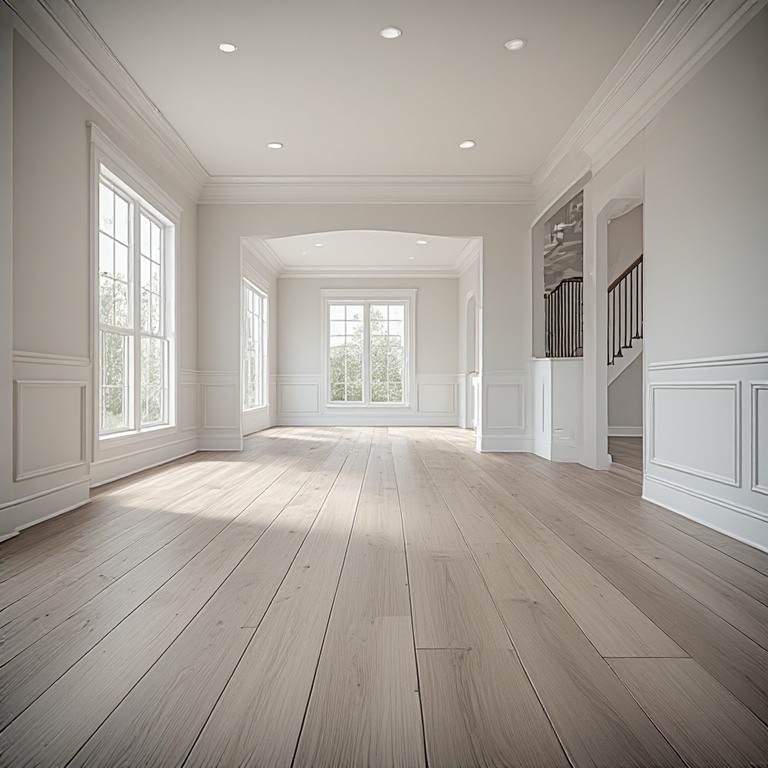

Home Addition Flooring in Northern Virginia
To match new flooring to existing hardwood in a home addition, you identify the existing wood's species, plank width, thickness, and finish, plan the addition's subfloor height so the new floor lands level with the old one, choose either an invisible blend (matching boards joined to the old floor, then the whole connected area sanded and refinished together) or an intentional break (a deliberate transition at a doorway or threshold), and do the sanding and finishing of old and new wood as one continuous project so color, sheen, and grain read as a single floor. The most reliable results come from planning flooring during the design of the addition, not after the framing is finished. Floors and Beyond VA, a family-owned Northern Virginia flooring and remodeling contractor serving Fairfax, Loudoun, Prince William, and Arlington counties since 1987, handles additions and flooring with the same in-house crews, so the person planning the floor height is the same person who installs and finishes it.
A home addition is one of the most exciting projects a homeowner can take on, and one of the easiest places for a flooring mistake to show. The new family room, primary suite, sunroom, or kitchen extension is meant to feel like it was always part of the house. Then the old oak runs into the new oak at a doorway, and the colors do not quite agree, the boards are a different width, the new floor sits a half-inch high, and the seam looks like a scar.
Matching is not magic, and it is not luck. It is a series of decisions that begin with understanding what you already have and end with how old and new wood are finished together. This guide walks through each of those decisions: identifying the existing floor, planning the structure so heights align, choosing between blending and deliberately breaking the floor, matching species and width, handling color and finish, designing transitions, sequencing the work, and avoiding the mistakes that make additions look like additions. It is general guidance. Every house is different, and the best way to know what your floor needs is to have it inspected in person.
Why additions create a flooring problem
An addition joins two things built at different times, often decades apart, using different materials and methods. Flooring exposes every difference.
Age and patina. Hardwood changes over time. Oak darkens and warms with exposure to light and air. A floor installed in 1985 does not look like a floor installed this year, even if the species is the same. New boards beside old boards often look lighter, redder, or more yellow until they are finished together.
Different construction. The original house may have a wood-framed floor over a crawlspace or basement. The addition may sit on a slab, a crawlspace, or a different framing system. These differences affect floor height, moisture, and what type of flooring can be installed.
Different thickness. Older solid hardwood is typically three-quarters of an inch thick. New engineered products come in many thicknesses. Subfloor thickness and underlayment add to the total.
Different widths. Older homes often have narrower strip flooring. Standard widths available today may not match exactly.
Different finishes. The existing finish may be an older oil-based product, a waxed surface, or a more modern coating. New wood finished separately will not match.
Wall removal. Many additions involve opening an exterior wall. The line where the wall stood becomes a seam in the floor.
The visible seam. A seam at a doorway is natural. A seam in the middle of an open room is a problem.
Light. Additions often add windows and doors, changing how light moves across the whole space and how color reads.
The goal is not to make new wood identical to old wood on the day it is installed. The goal is to produce a floor where the eye reads one surface, or a deliberate and graceful change.
Step one: identify what you have
Before choosing anything, a professional documents the existing floor.
Species
Oak is the most common hardwood in Northern Virginia homes, and it comes in two main groups: red oak and white oak. They look similar to a casual observer but differ in color, grain, and how they take stain. Red oak has a warmer, pinker undertone. White oak is more neutral and often has a straighter grain. Other species appear too, including maple, hickory, ash, heart pine, and walnut. Matching the wrong species can make a visible difference even with the same stain.
Cut
Plain-sawn, rift-sawn, and quarter-sawn boards have different grain patterns. Most older floors are plain-sawn. If the existing floor is rift or quartered, matching the cut matters.
Width and thickness
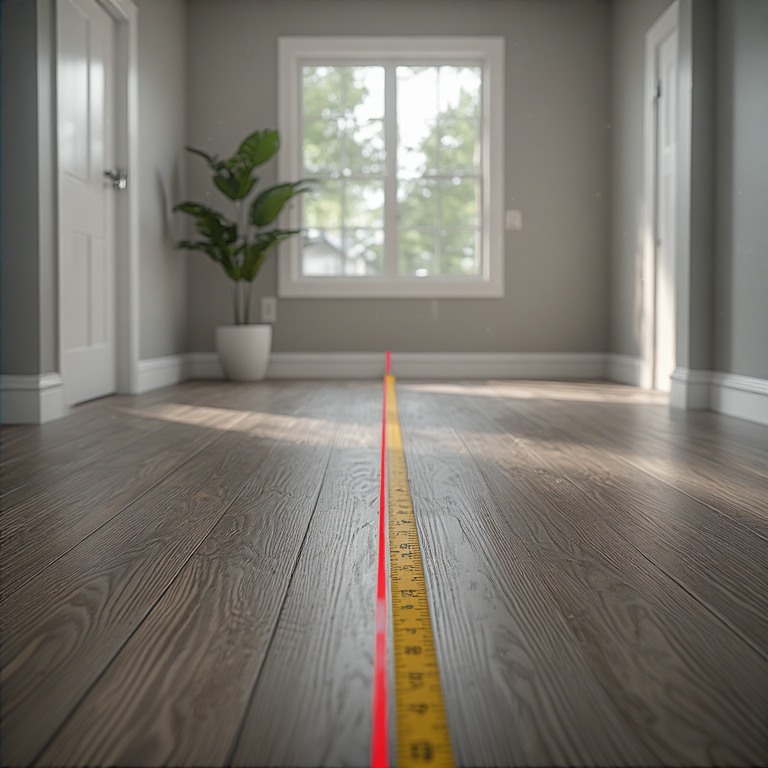
Measure the face width of the boards and check thickness where possible at a vent opening or exposed edge. Older homes often have narrow strips. Widths in the addition should either match exactly or differ enough to look deliberate.
Grade
Grade describes how much natural variation a floor shows: knots, color variation, mineral streaks. A rustic grade next to a clear grade will look different regardless of species.
Solid or engineered
Solid hardwood is a single piece. Engineered has a real wood layer over a core. Many additions, especially slab-on-grade additions, use engineered flooring. An engineered floor can match a solid floor in appearance when species, cut, width, and finish align.
Finish and sheen
Is the existing floor finished with oil-based polyurethane, water-based product, wax, or something else? What sheen is it? Is it worn through in places? The existing finish affects how the whole floor will be refinished.
Condition
Is the existing floor in good enough condition to be refinished? How much wood is left? Are there stains, gaps, or damaged boards? If the old floor is worn out, matching may mean replacing more than expected.
Direction and pattern
Boards run in a direction. In open plans, the direction usually continues across rooms. Additions can follow the same direction or run perpendicular with a deliberate break.
Our free in-home consultation includes this documentation. We look at vents, thresholds, closets, and edges, check the nail pattern, measure board widths, and note species and condition. That inventory tells us what is possible.
Step two: plan the floor height before the framing is finished
The most important flooring decision in an addition happens before any flooring is installed. If the addition's floor does not land level with the existing floor, no amount of sanding fixes it.
How height mismatches happen
The existing house floor is built from joists, subfloor, possibly underlayment, and finished hardwood, each with a thickness. The addition is framed separately, often with different joist sizes, different subfloor thickness, or a different foundation. Unless someone calculates the finished floor height in advance, the two can differ by a half-inch or more.
Plan backwards from the finished floor
A good plan starts with the existing finished floor height and works backward: finished flooring thickness, underlayment or adhesive, subfloor thickness, joist depth, and sill height. Each layer in the addition must add up to the same finished height.
Account for different flooring in the addition
If the addition will use engineered flooring that is thinner or thicker than the existing solid floor, the subfloor can be raised or lowered to compensate. Planning for the flooring product during the framing stage lets the builder set the height correctly.
Slab additions
If the addition sits on a slab, the slab height relative to the existing floor must be set during foundation work. Moisture control also matters for flooring over slab. Solid hardwood is generally not suited to direct installation on slab, so engineered flooring or a subfloor system is typically used.
Crawlspace and basement additions
An addition over a crawlspace is built like the original house, with joists, subfloor, and ventilation or vapor control. Moisture below must be managed.
Why this matters
If heights differ, the options are limited: a visible threshold or ramp, a raised or lowered section, or tearing out work. Planning avoids all of them.
Because Floors and Beyond VA handles both flooring and remodeling with in-house crews, we can coordinate floor height with the framing team from the start. See our home additions page for how we approach these projects.
Step three: decide whether to blend or break
There are two fundamental approaches to joining new flooring to old.
Approach one: the seamless blend
In a blend, new boards are joined to the existing floor, and the old and new wood are sanded and finished together. The goal is a floor with no visible line. This approach works best when:
- Species, cut, and width can be matched closely.
- The existing floor is in good enough condition to be sanded.
- The connected area is open, so a seam would be visible.
- You want the addition to feel like part of the house.
The blend requires sanding the existing floor, at least in the connected area, which changes its color. New and old are brought to bare wood, then stained and finished identically. Because both are sanded, small color differences are reduced.
Approach two: the intentional break
In a break, the new floor ends at a defined line, such as a doorway or archway, with a threshold or transition. The addition may use a different species, width, color, or direction. This approach works best when:
- The addition is a distinct room, such as a sunroom, mudroom, or primary suite.
- Matching is difficult or impossible.
- The existing floor is in good condition and you do not want to disturb it.
- You prefer a deliberate change.
A break should look purposeful. Contrast should be clear enough to read as design, not as a near-miss.
Hybrid approach
Some projects blend in open areas and break at doorways. A kitchen addition might blend into the existing kitchen floor while breaking at the hallway.
Which is right for you
The right choice depends on the layout, the condition of the existing floor, and your preferences. We discuss both options and show samples. If the existing floor needs refinishing anyway, a blend is often the best choice, because the old floor gets renewed while the new boards disappear into it. This is where our refinish-first philosophy pays off.
Step four: match species, width, and grain
If you are blending, matching the wood itself comes first.
Species matching
Use the same species as the existing floor. If the existing floor is red oak, use red oak. If it is white oak, use white oak. Mixing red and white oak is a common cause of visible mismatches, because they respond differently to stain.
Cut matching
Match plain-sawn to plain-sawn, rift to rift. Cut affects grain pattern.
Width matching
Match the face width of the existing boards. If the existing floor uses two-and-a-quarter-inch strips, the addition should too. Standard widths today may not include exactly the same dimension. Some manufacturers produce specific widths, and custom milling is possible for larger projects.
Thickness matching
Match thickness where possible, or adjust subfloor height to compensate.
Grade matching
Match the overall character: clear, select, or rustic. A mismatch in knots and variation is visible even after finishing.
Reclaimed and salvaged boards
For older homes, reclaimed wood from the same period can provide a close match in species, tone, and age. Boards removed from a closet, a wall, or an area being modified can sometimes be reused in the addition or in repairs.
Weaving boards in
Where new meets old, boards can be woven together in a staggered pattern, with ends overlapping rather than meeting in a straight line. This is the technique that makes a seam disappear. It requires skill and patience.
Engineered flooring in additions
If the addition requires engineered flooring because of a slab, choose an engineered product in the same species, cut, and width as the existing solid floor. Many engineered floors can be sanded and finished on site, which allows matching.
Samples
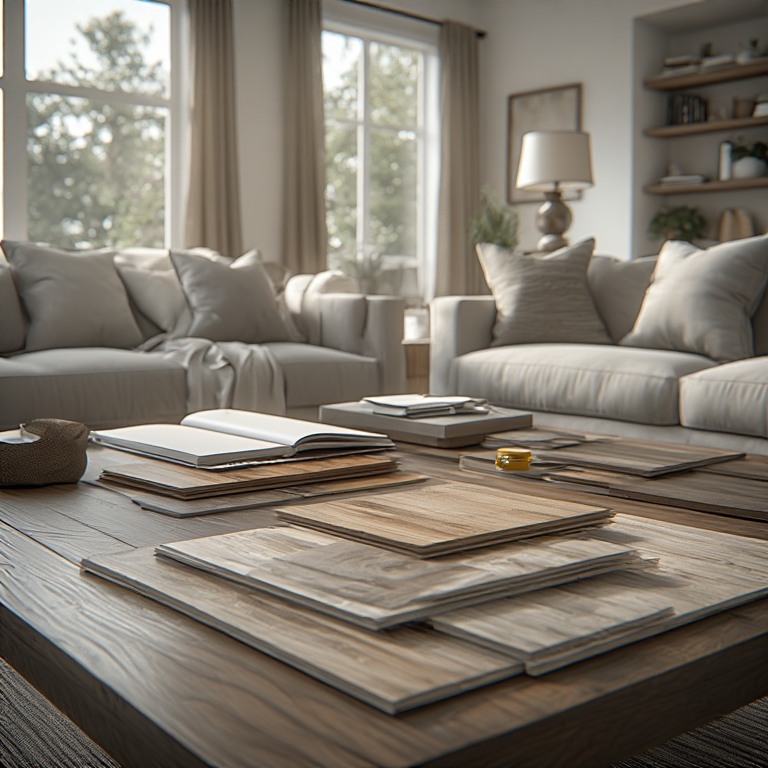
Bring samples and compare them against the existing floor. Compare them after finishing, not raw. Stain and finish changes appearance dramatically.
See our hardwood and laminate flooring page for more on materials.
Step five: unify color and finish
Color is where most matching efforts succeed or fail.
Why color differs
Old wood has aged. New wood is fresh. Even identical species can look different. Sanding removes the aged surface and returns old wood closer to its original color. That is why a blend depends on sanding the existing floor.
Sand old and new together
Whenever possible, sand the connected old and new floor together, so both receive the same abrasives and are brought to the same level of bare wood. Then apply the same stain, if any, and the same finish coats at the same time.
Test on your wood
Never choose a stain from a sample card alone. Test stains on the actual wood, both old and new, after sanding. Different species and batches absorb stain differently.
Natural versus stain
If the existing floor has a natural finish, the new floor may be finished natural as well. Over time, natural finishes darken and warm. A new natural finish may look lighter at first and converge with the old over time. Stained floors may be more consistent immediately.
Water-based versus oil-based finish
Oil-based finishes add an amber tone that deepens over time. Water-based finishes stay clearer. If the existing floor has an oil-based finish and the new floor is finished with water-based, they will look different. When refinishing the whole connected floor, one finish system is used throughout.
Sheen
Match the sheen across old and new. Satin, semi-gloss, and matte each reflect light differently.
Light
Additions often add windows. Natural light changes how colors appear. View samples at different times of day and in the finished space.
Limits of matching
Sometimes a perfect match is not possible, especially if the existing floor is a species or width that is difficult to source, or if the old floor is in poor condition. In those cases, a deliberate break may produce a better result than an imperfect blend. A contractor should tell you honestly.
Step six: design the transition
Where old meets new, the transition is the final detail.
Flush transitions
When floors are the same height, a seamless blend or a simple flush joint is possible.
Reducers and thresholds
If floors differ in height, a reducer bridges the gap. This should be a last resort when planning could not align heights.
T-molding
A T-molding covers an expansion gap between two flooring types at the same height.
Custom transitions
For intentional breaks, custom thresholds in matching or contrasting wood can look elegant. Custom-milled thresholds can match the existing trim.
Doorway placement
Place breaks where architecture suggests they belong: doorways, archways, changes in ceiling height, or beams.
Stairs
If the addition connects to stairs, the transition at the top or bottom is especially important because it affects riser heights. Step heights must remain consistent.
Expansion
Hardwood expands and contracts with humidity. Large connected areas may need expansion gaps at perimeters and sometimes at transitions. Quality installers plan these.
Baseboards and trim
Baseboards and trim in the addition should match the existing profile and height. Floor installation and trim should be coordinated.
Step seven: coordinate the sequence of work
The order of construction determines whether flooring succeeds.
Design and planning. Floor heights, products, and transitions are decided with the addition design.
Framing and structure. The addition is framed to the planned height.
Enclosure and conditioning. The addition must be weather-tight, with windows, doors, and roof in place. HVAC should be operating, so indoor humidity is stable before wood goes in. Installing hardwood in an unconditioned shell is a common cause of later gaps and cupping.
Mechanical rough-in and drywall. Plumbing, electrical, HVAC, insulation, and drywall are completed.
Paint and prime. Walls and ceilings are primed, often before flooring.
Acclimation. Wood adjusts to the home's conditions.
Flooring installation. New boards are installed and woven into the existing floor where blending.
Sanding and finishing. Old and new floors are sanded and finished together.
Cabinetry and trim. Depending on the plan, cabinets and trim follow.
Final touches. Hardware, fixtures, and final paint.
Protection. Finished floors must be protected from subsequent trades.
A sequence that places flooring too early exposes it to damage. A sequence that places it too late may complicate cabinets and trim. A single coordinated team keeps it all in order.
Special situations
Kitchen additions
Kitchens often combine hardwood with cabinets and appliances. Decide whether flooring runs under cabinets or stops at them. Our kitchen remodeling services can coordinate.
Primary suite additions
Bedrooms and baths may use different materials. See our primary suite remodeling page.
Family room additions
Family rooms often connect to existing living areas. See our family room remodeling page.
Sunrooms
Sunrooms bring strong light and temperature swings. Choose floors that tolerate sun and heat.
Second-story additions
Second-story additions involve structural and stair considerations. Floor height at the stair landing must be planned.
Garage conversions
Converted garages usually have slab floors, with moisture and height issues. See our garage flooring page.
Older and historic homes
Matching in older homes is a special craft, because the existing wood is often irreplaceable. See our historic home restoration service.
Whole-house projects
Additions often come with other changes. Our whole-house remodels and home remodeling services bring everything under one team.
What drives the scope of an addition flooring project
We do not publish prices in blog content, because every addition is different. These factors shape the scope.
- Size of the addition and connected areas.
- Whether you blend or break. Blending involves refinishing existing floors.
- Condition of existing floors. Repairs and thickness matter.
- Species and width availability. Custom milling or reclaimed wood adds scope.
- Solid or engineered. Slab additions often require engineered products.
- Subfloor and height work.
- Moisture control. Slab and crawlspace conditions.
- Number of transitions and stairs.
- Stain and finish selection.
- Timing and sequence.
- Hidden conditions.
An itemized estimate shows these elements and makes comparison easier.
Mistakes to avoid
- Planning flooring after the framing is done. Height mismatches become expensive.
- Mixing red and white oak.
- Ignoring width. Mismatched widths are obvious.
- Finishing new wood separately from old.
- Choosing stain from a sample card.
- Installing in an unconditioned space.
- Skipping acclimation.
- Using the wrong flooring over slab.
- Putting a seam in the middle of an open room.
- Ignoring transitions at stairs.
- Overlooking trim and baseboard matching.
- Expecting an identical match on day one. Patina and light matter.
- Hiring separate trades without coordination.
- Hiring on price alone.
One team for the addition and the floor
Floors and Beyond VA treats the addition and the existing house as one floor plan. Our in-house crews, with no subcontractors, evaluate the original floor, plan the transitions, and finish old and new together so the result reads as one home. We start with a refinish-first look at what you already have.
Frequently asked questions
Can new hardwood match old hardwood?
Often, yes, especially when you match species, cut, and width and then sand and finish old and new together. Perfect matches depend on the condition and type of existing wood.
Do I have to refinish my existing floor?
For a seamless blend, usually yes, at least in the connected area. Sanding old and new together is what makes the match work.
What if I cannot match the existing wood?
A deliberate break with a different species, color, or direction can look intentional and elegant.
Can I use engineered flooring in an addition over a slab?
Yes, engineered hardwood is commonly used over slab, with moisture testing and appropriate installation. Match species, cut, and width to the existing floor.
How do I make floors the same height?
By planning the addition's subfloor and flooring thickness to match the existing finished floor height before framing is completed.
How long does it take?
It depends on the size of the area, drying and cure times, and sequencing with other trades.
Does the addition need to be heated and cooled before flooring?
Yes, in most cases. Stable temperature and humidity protect hardwood.
Can you match floors in an older home?
Often, yes, using reclaimed boards, careful species and width selection, and refinishing the whole connected area.
Do I need permits for an addition?
Yes, additions typically require building permits and inspections in Fairfax, Loudoun, Prince William, and Arlington counties.
Ready to plan flooring for your addition?
The best time to plan flooring for an addition is before the framing starts. Floors and Beyond VA brings nearly forty years of Northern Virginia experience, in-house crews with no subcontractors, and a refinish-first respect for the homes we work in. We serve Fairfax, Loudoun, Prince William, and Arlington counties, including Ashburn, Leesburg, Reston, Manassas, Woodbridge, Sterling, and Arlington.
Start with a free in-home consultation. We will inspect your existing floors, discuss your plans, bring samples, and give you a clear, honest recommendation.
Request your free consultation
You can also call (703) 906-5698 or email hello@floorsandbeyondva.com.