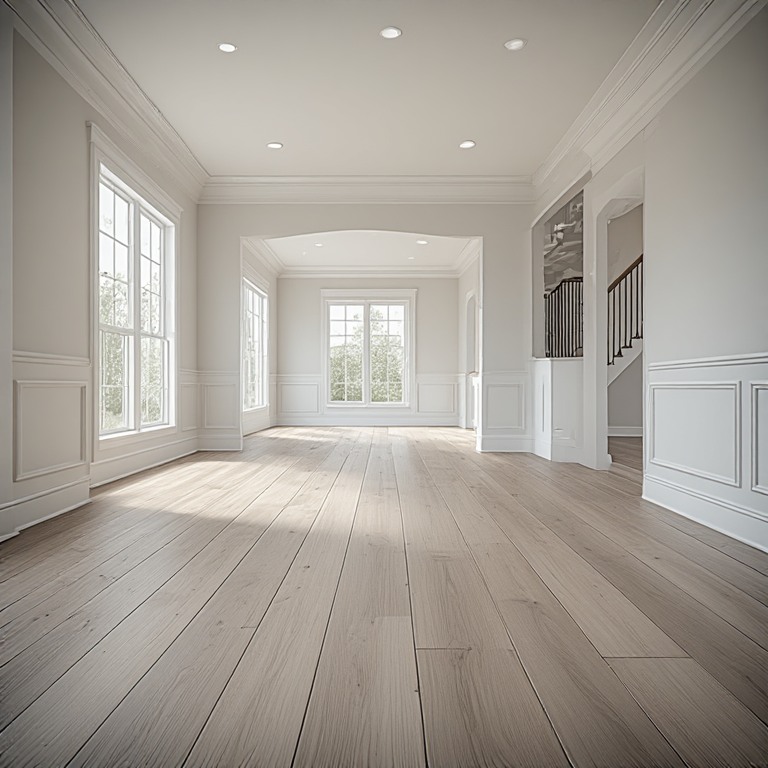
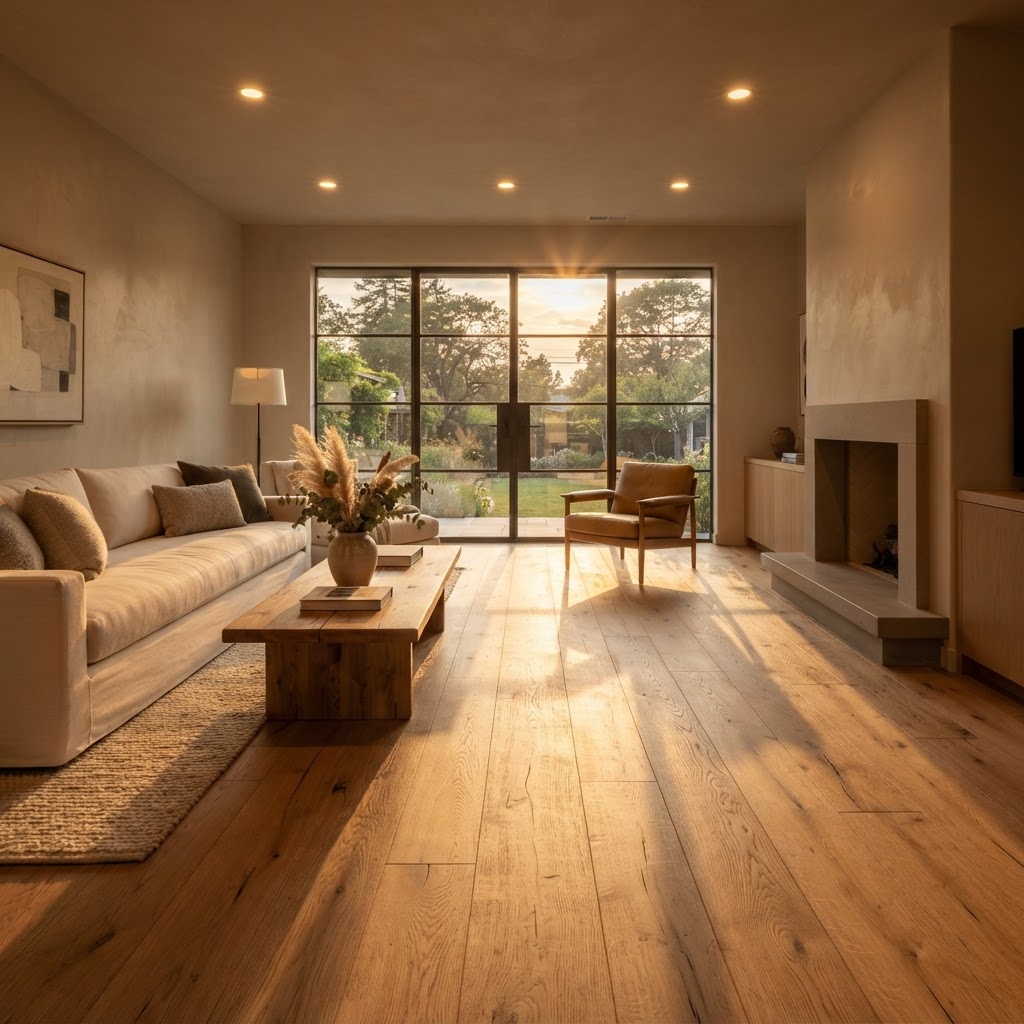
The short answer: lighting fixtures change floors dramatically through color temperature, brightness, beam angle and placement. Warm light deepens the golden tones of oak and hickory, cool light makes gray luxury vinyl plank and porcelain tile look crisp, and raking light from side windows or low fixtures exposes every scratch, seam and imperfection. Choosing flooring without testing it under the lights you will actually use is a common reason people feel disappointed after installation. To compare flooring under the light you actually live with, contact Floors and Beyond VA for a free in-home consultation, where we bring samples to view in your own rooms.
Floors and Beyond VA, a family-owned Northern Virginia flooring and remodeling contractor serving homeowners since 1987, brings samples to your home during a free consultation so you can see them under your own fixtures and advise on how lighting and floors work together.
We are flooring specialists, not electricians, and we do not install lighting. But we have seen how often the right fixture rescues a floor, and the wrong one makes a lovely floor look flat. This guide explains the essentials: color temperature, bulb type, placement and beam angle, dimming, and pairing advice for hardwood, luxury vinyl plank, tile and carpet. It also offers simple staging ideas to preview flooring under different lights and explains how to coordinate timing with your electrician during a project.
The basics: color temperature
Color temperature describes how warm or cool a light appears. Warm light has a yellow-orange glow, like candlelight. Neutral light is closer to daylight. Cool light is bluish and crisp. Most bulbs list their color temperature on the package, and a range from warm to cool is available.
Warm light flatters wood. It brings out reds, ambers and golden browns, making oak and hickory glow. It also makes cream, beige and brown tiles feel cozy. Cool light emphasizes gray and blue undertones, making modern grays and whites look clean and sharp, but it can make warm woods appear dull or greenish. Neutral light sits in between and is a safe choice for mixed palettes.
The most common mistake is mixing color temperatures in a single room. A warm lamp beside a cool recessed fixture makes a floor look inconsistent. Choose a single temperature for the room, or at least keep fixtures in the same family.
Bulb type and color rendering
Modern light-emitting diode bulbs dominate the market for good reasons: efficiency, long life and a wide range of color temperatures. But not all LED bulbs are equal. A key quality measure is color rendering, which describes how accurately a light shows colors. Higher color rendering means wood grain, tile glaze and carpet color look natural. Low color rendering can flatten or distort color.
When choosing bulbs for a room with a new floor, look for bulbs with strong color rendering and consistent color temperature across the whole room. Buy bulbs from the same product line so they match.
Placement and direction: raking light and overhead light
Where light comes from changes how a floor looks. Overhead light, such as from recessed fixtures, falls straight down and tends to hide texture. Raking light, from a low angle such as a window at sunrise or a wall sconce close to the floor, skims across the surface and exaggerates every ridge, scratch and seam. That is the light that reveals poor installation and imperfect subfloors. It is also the light that makes hand-scraped and wire-brushed textures look beautiful.
Pay attention to where your windows are. A room with large west-facing windows will have strong raking light in the late afternoon. A floor with a glossy finish will show glare. A matte finish will soften it. Choose sheen with your light in mind.
Beam angle and spacing
For recessed fixtures, beam angle matters. Narrow beams create pools of light with dark spaces between them, which can make a floor look spotty. Wider beams blend more evenly and give a smoother wash across the floor. Spacing and distance from walls affect shadows. Fixtures placed too close to a wall can create scallops of light that highlight wall texture and the base board.
Pendants, chandeliers and lamps add layers. A well-lit room uses a mix of overhead, task and accent lighting. Layered lighting prevents harsh glare and gives you flexibility.
Dimming and control
Dimmers let you adjust the mood. Warm dim light at night can make a hardwood floor glow beautifully. Bright light during cleaning exposes dust. Not all bulbs and dimmers are compatible, so choose dimmable bulbs and compatible controls. Some LED bulbs shift toward warmer color as they dim, mimicking traditional bulbs. This can be pleasant with wood floors.
Pairing advice by flooring type
Hardwood
Warm-toned fixtures and bulbs enhance the golden glow of oak, maple and hickory. Pendants with warm metal finishes complement wood. If your hardwood has been refinished in a darker stain, add enough light to keep the room from feeling heavy. Avoid very cool bulbs that make the wood look gray or lifeless.
Luxury vinyl plank
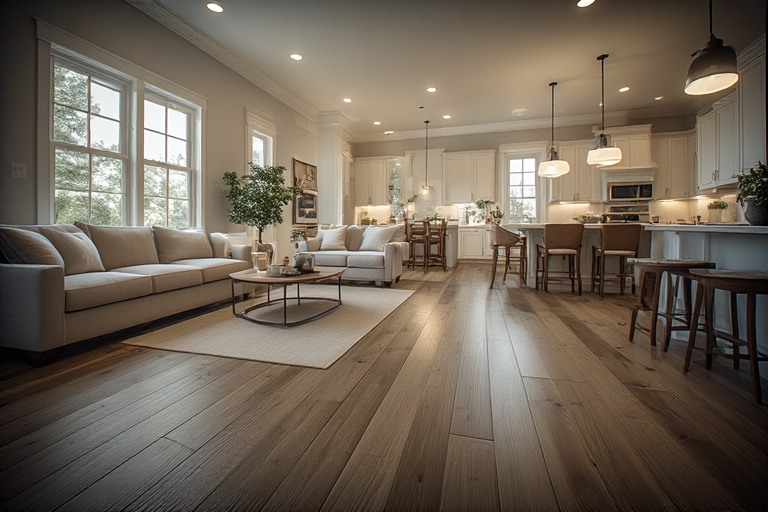
Modern gray and greige planks look best in neutral to slightly cool light. Natural wood-look planks work well in warm to neutral light. Because vinyl can show glare under strong, direct light, consider diffused fixtures. Recessed lighting with a wide beam suits open plans with continuous plank flooring.
Tile
Glossy tile reflects light and can create glare. Use diffused or indirect lighting in kitchens and baths. Matte porcelain looks best under even, bright lighting. Under-cabinet lighting in a kitchen washes the counter and also reveals the floor, so choose color temperatures that match the overhead fixtures.
Carpet
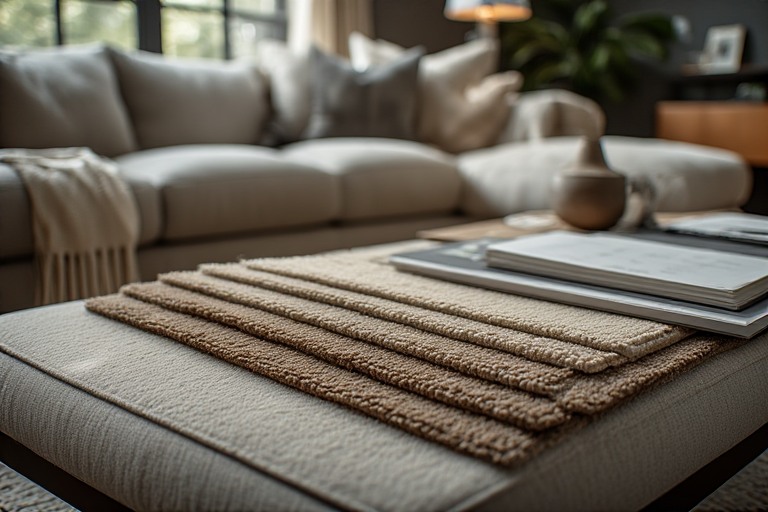
Carpet absorbs light, so rooms with carpet can feel darker. Brighter fixtures and lighter wall colors help. Warm light adds coziness, and cooler light can make some carpet colors look flat. Watch for lamps that cast shadows in the pile.
Pairing examples for Northern Virginia homes
- A Vienna colonial with oak floors. Warm pendants in the dining room and warm recessed lights in the living room enhance the existing character. Dimmers let the family adjust for dinners.
- A Reston townhome with open plan and wood-look vinyl plank. Wide-beam recessed lights in neutral color temperature keep the floor looking consistent from kitchen to living room. A statement pendant over the island adds warmth.
- A Tysons condominium with large windows and porcelain tile. Diffused ceiling fixtures and indirect cove lighting reduce glare on the tile. Sheer window treatments soften raking afternoon light.
- An Ashburn new-construction home with builder lighting. Upgrading fixtures and bulbs to warmer, higher-quality light can make new floors look richer. Replacing harsh builder-grade fixtures with layered lighting changes the whole feel.
- An Arlington rowhouse with narrow rooms. Wall sconces and lamps provide layered light without bulky fixtures. Lighter floors and warm bulbs keep the room feeling open and inviting.
Staging ideas: preview your flooring under different lights
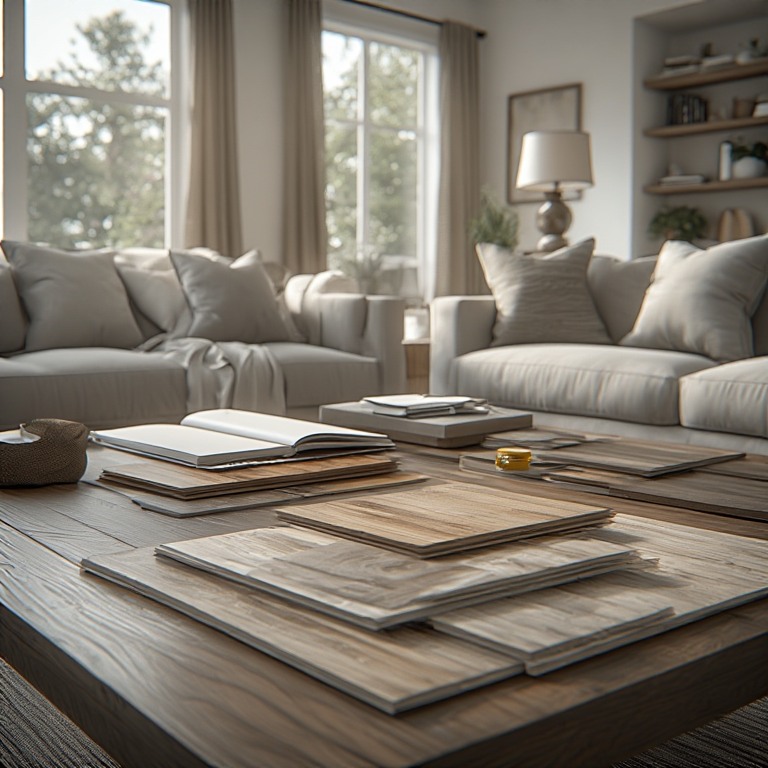
- Bring samples home. Never choose from a catalog alone. We bring samples to your home so you can see them in place.
- Look at different times of day. Morning, midday, evening and night each tell a different story.
- Test the actual bulbs. Turn on your existing fixtures. If you plan to change bulbs, try the new ones before installing the floor.
- Lay samples in several spots. Put them near windows, under fixtures and in shadowy corners.
- Check from standing and sitting height. You will see the floor from the sofa as often as from a standing position.
- Take photos. A phone photo does not replicate reality perfectly, but it lets you compare options side by side.
- Combine samples with paint and furniture. Floors interact with wall colors, cabinet finishes and upholstery. See them together.
Coordinating timing with electricians
If you are changing fixtures during a flooring project, sequence matters. Electrical work often involves cutting into ceilings and walls, running wires and installing fixtures. Heavy work with ladders and tools can damage new floors. As a general rule, rough-in electrical work should be done before flooring goes in. Final fixtures and plates can be installed after the floor is complete, with proper protection.
If you are refinishing hardwood, dust and finish odors affect the schedule. Lighting changes that involve drilling or plaster dust should be completed before sanding. Fixtures can be hung after the finish has cured enough to allow foot traffic and protected ladder use.
Floors and Beyond VA coordinates with your electrician so the work proceeds smoothly. We are not electricians and do not perform electrical work. We recommend hiring licensed professionals for wiring and fixture installation. We can adjust our schedule to fit theirs and communicate with them about floor protection.
Safety and code notes
Electrical work should always be done by a licensed professional. Check local requirements and permits for electrical changes. We do not state specific code requirements in this article, because they vary and change. Verify requirements with your electrician and the local building authority.
Natural light across the seasons
Daylight changes through the year. Winter sun sits low, sends long raking light across floors and reveals every ripple. Summer sun is higher and stronger, and it can heat and fade finishes near large windows. Northern Virginia homes with big south or west windows feel this shift most. Sheer curtains, blinds and rugs can moderate the effect. If you love a particular floor, think about how it will look in each season, not just on the day you choose it.
Lighting and floor color: a few simple rules
Dark floors want more light to avoid feeling heavy. Light floors forgive dim rooms but can look washed out under harsh lighting. Mid-tone floors are the most forgiving. Strong patterns look busier under bright, direct lights. Plain floors take on the color of the light more readily. Keep these rules in mind and test before you commit. Our guide to how lighting changes hardwood floor color at home goes deeper on wood tones specifically.
Accent lighting and showing off texture
Texture is a feature on wire-brushed hardwood, hand-scraped planks and structured tile. Soft accent lighting from a low sconce or a lamp placed to one side can bring that texture to life in the evening. If you prefer a calm, uniform look, use diffuse, overhead light. Your choice of fixtures lets you decide whether to emphasize or soften the character of the floor.
Outdoor light and entryways
Entry floors receive both outdoor and indoor light. A glass front door brings in cool daylight in the morning and warm light in the evening. Porch lights and exterior fixtures shine on entry floors at night. Consider how tile or hardwood in the entry will look in each. Matching the temperature of interior entry fixtures to the rest of the house prevents a jarring shift as you walk in.
Cleaning, dust and light
Strong light reveals dust and smudges. Glossy floors under bright fixtures show every footprint. If you prefer a low-maintenance look, choose a satin or matte finish and a medium tone. Keep microfiber mops handy. Good lighting is also a safety feature. Well-lit floors help you see spills and changes in level, particularly on stairs and at thresholds.
Planning a combined update
If you are replacing both floors and fixtures, decide on the order of operations early. Choose the floor and the lighting concept together, then schedule rough electrical work, floor installation and fixture installation in a sensible sequence. A simple planning conversation at the start prevents costly rework. Because we also handle remodeling, we are comfortable thinking at the project level. Our home remodeling page shows the range of work we coordinate.
A quick home test you can do tonight
Wait until evening, turn on the lights you normally use and set a sample or a sheet of paper in the color you are considering on the floor. Notice how it looks near the sofa, by the kitchen island and at the foot of the stairs. Then close the curtains and open them, and compare. Ten minutes of looking tells you more than an hour of online research, and it costs nothing.
When to ask for help
If you are unsure, ask. Choosing a floor and lighting at the same time can feel like a lot. During a free in-home consultation we look at your rooms, your windows and your fixtures, bring samples and share what we have learned from many homes. We do not push particular fixtures. We help you see how your floor will look.
What drives the scope of a combined floor and lighting update
The scope depends on the size and layout of the rooms, the flooring type and preparation, the complexity of the lighting changes, the number of fixtures and switches, the need for ceiling or wall repair, the order of trades and the finishing work, such as painting. A coordinated plan saves time and prevents damage.
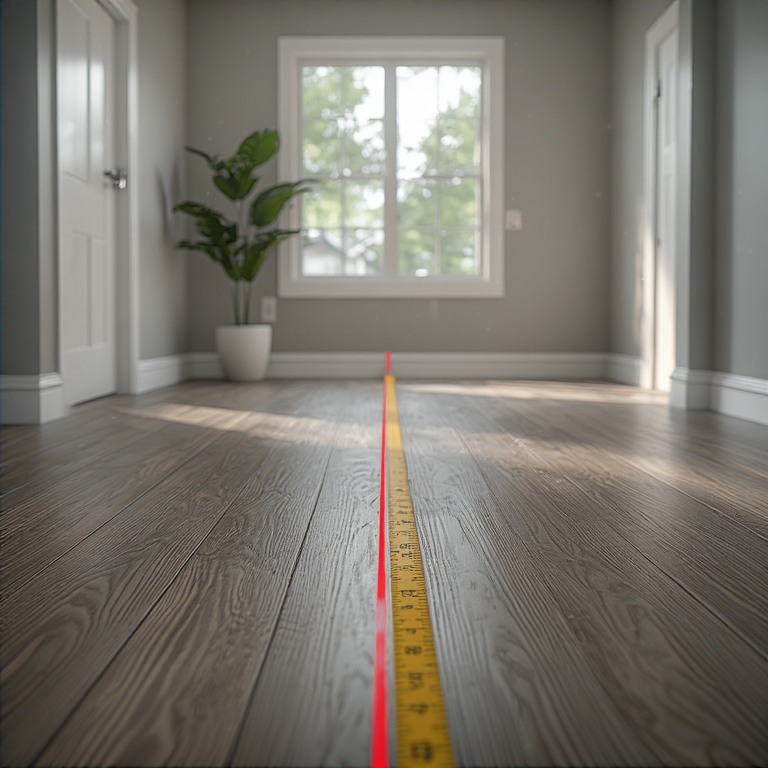
We take precise laser measurements at no charge and give a written, all-inclusive estimate for the flooring portion of the project, covering removal of old flooring, new materials, installation, furniture moving, transitions, molding and cleanup. What we quote is what you pay. Our pricing and policy page explains the details.
Why Northern Virginia homeowners choose Floors and Beyond VA
- Family-owned since 1987. We understand the region's homes and how light behaves in them.
- In-house crews only. Our employees install your floor and protect it during other trades.
- Free in-home consultation with samples. See your floor in your lighting.
- Practical guidance. We advise on how lighting choices complement your floors.
- Precise laser measurements at no charge. Accurate planning.
- Honest, all-inclusive estimates. No surprises.
- Fully licensed, bonded and insured. You are protected.
- Coordination with your electrician. We work with other trades to keep the project on track.
Floors and Beyond VA helps your floors look their best, in every light.
Common mistakes when pairing lighting and floors
- Choosing a floor under showroom lighting. Your home is different.
- Mixing color temperatures. Consistency matters.
- Ignoring raking light. It reveals flaws.
- Using glossy floors in glare-prone rooms. Choose a matte finish.
- Installing fixtures after the floor without protection. Ladders and tools can damage floors.
- Forgetting about dimming. Flexibility improves mood.
- Overlooking bulb quality. Poor color rendering can distort color.
Frequently asked questions
What light is best for hardwood?
Warm to neutral light usually flatters wood, but test in your home first.
Will cool light ruin my wood floors?
It can make them look dull or gray, so test samples under the bulbs you plan to use.
Can lighting hide flaws in a floor?
Overhead diffused light hides texture. Raking light exposes it.
Do you install light fixtures?
No. We coordinate with licensed electricians and protect the floor around their work.
Should I install lighting before or after flooring?
Rough-in work typically comes first, and final fixtures can follow with floor protection. We coordinate the schedule.
Does floor sheen matter under strong light?
Very much. Glossy finishes show glare and footprints, while satin and matte finishes soften both.
Related resources
Our hardwood flooring page lists the species and finishes we install, our guide to hardwood floor color and lighting covers wood tones in more depth, and our overview of flooring installation in Tysons shows how we work in the region.
Ready to see your floors in the right light?
Free in-home consultation
Let us visit your home with samples and talk through how light and floors work together. You get an honest, all-inclusive estimate covering removal, materials, installation, transitions, molding and cleanup.
Contact Floors and Beyond VAFloors and Beyond VA
Family-owned flooring and remodeling since 1987, serving Northern Virginia
Phone: (703) 906-5698
Web: floorsandbeyondva.com