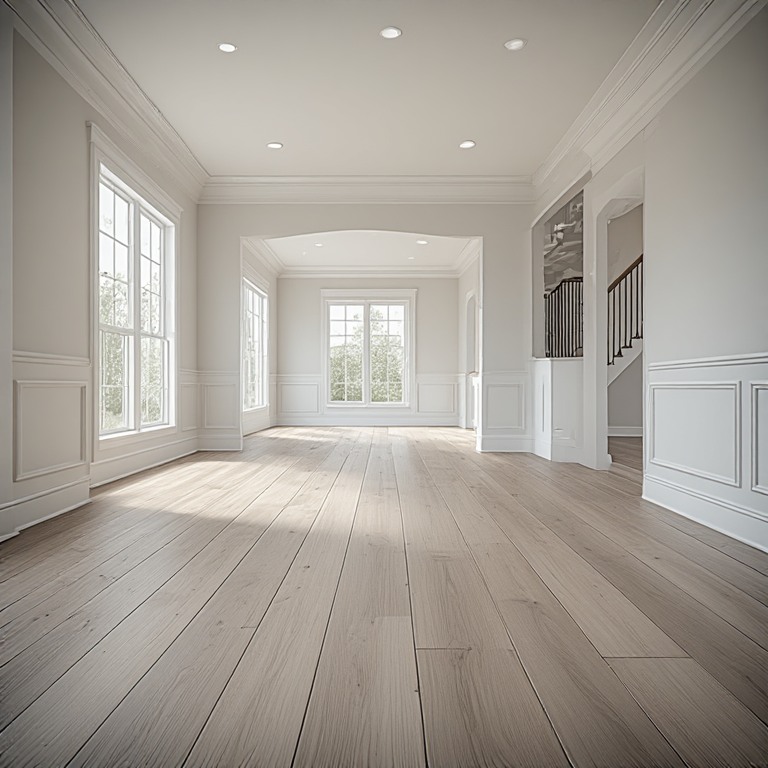

Hardwood Color & Lighting · Northern Virginia
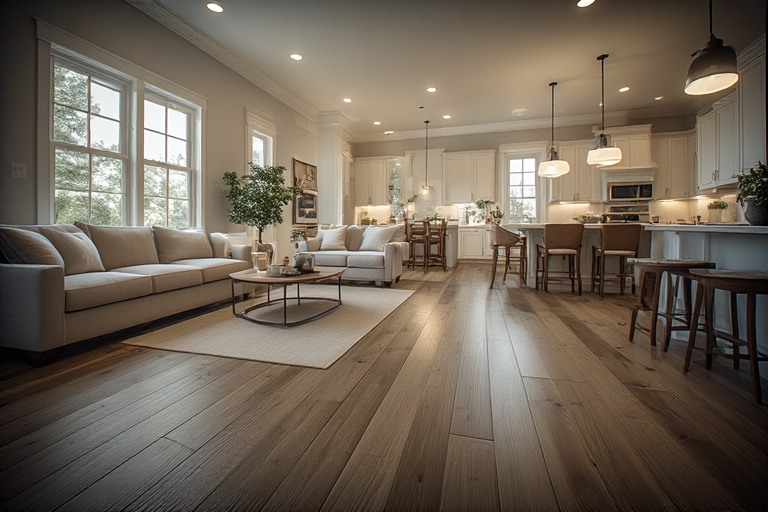
Hardwood stain looks different at home because color is not a property of the floor alone. It is the result of light interacting with the wood, the stain, and the finish, and your home's light is different from a showroom's in direction, intensity, color temperature, and reflection. Daylight direction (north versus south exposure), window size, wall paint, cabinet color, and the color temperature of your light bulbs all shift how a stain reads, often making it look warmer, cooler, lighter, darker, redder, or grayer than the sample. The only reliable way to choose a stain is to test samples on your own wood, in your own rooms, and observe them across a full day and under your evening lighting. Floors and Beyond VA, a family-owned Northern Virginia flooring and remodeling contractor serving Fairfax, Loudoun, Prince William, and Arlington counties since 1987, brings samples to your home for exactly this reason, because we want you to make the decision in the light you will live with.
Few decisions in a home remodel generate more second-guessing than floor color. A homeowner selects a stain from a small sample chip in a bright, white showroom, falls in love with it, and then watches it appear dramatically different after installation. The red undertones seem stronger. The gray looks green. The warm honey becomes orange. The floor looks darker in the afternoon and lighter in the morning. It is not that the sample was wrong or that the stain was applied badly. It is that the sample and the floor were seen under different lighting, with different surroundings. Understanding why helps you avoid the disappointment. This article explains the science and the practical steps. If your project includes refinishing existing floors or installing new hardwood, our wood flooring page describes Floors and Beyond VA's approach.
First, what you are actually looking at
When you look at a floor, you are not seeing a fixed color. You are seeing light reflected from the surface to your eye. That reflected light depends on four things: the spectrum of the light source, the colors of the surfaces that bounce light onto the floor, the color of the wood and stain, and the sheen of the finish.
The wood is not a blank canvas
Stain is not paint. Paint sits on top of a surface and covers it. Stain is a translucent colorant that soaks into the wood, so the final color is a blend of the stain and the wood beneath. Different species, and even different boards within a species, take stain differently. Red oak has pink and orange undertones that can push a stain warmer. White oak has more neutral or slightly greenish-yellow undertones and takes gray and brown stains differently. Maple is dense and takes stain unevenly. Hickory has strong color variation. Walnut is naturally dark and rich. Pine and fir absorb stain rapidly and may blotch.
Existing floors add another variable. Old oak that has been exposed to sunlight for decades has aged and changed color. Pigments, finishes, and previous stains can affect how new stain appears. A sample on a new board in a showroom will not match a sample on your actual 1990s oak floor. This is why testing on your own wood matters.
The finish changes color too
Floor finish is usually a clear coating, but it is not neutral. Oil-based polyurethane tends to add an amber tone that deepens with age, warming the floor. Water-based finishes are clearer and keep wood looking lighter and cooler. Hardwax oils can enrich the grain and add a natural, low-sheen look. The sheen level, from matte to gloss, affects how much light is reflected. A high-gloss floor reflects more light, creating brightness and glare and often making the color look different from a matte floor of the same stain. So the stain sample must be seen with the finish that will actually go on the floor.
How daylight changes the color
Natural light is the most powerful factor, and it varies by direction, time of day, season, and weather.
North-facing rooms
North light is cool, indirect, and relatively consistent. It tends to have a bluish cast that can make warm tones appear flatter and cool tones appear more gray or blue. In north-facing rooms, floors often appear cooler and slightly darker. Warm stains may help balance the room, while cool gray stains can look cold or drab. Rooms with only north light can benefit from stains with warmer undertones.
South-facing rooms
South light is bright, warm, and strong for much of the day. It saturates colors and can make floors appear warmer and lighter. In a south-facing room, a stain with red or orange undertones can look intensely warm, while a cooler stain may appear more balanced. Strong sunlight can also cause glare on glossy floors and lead to fading over time.
East-facing rooms
East light is warm and bright in the morning, then becomes indirect and cooler by afternoon. A floor in an east-facing room may look golden in the morning and neutral later. Because the light changes dramatically through the day, evaluate samples in both morning and afternoon.
West-facing rooms
West light is cool or neutral in the morning and warm, golden, and intense in the late afternoon and evening. The late warm light can add reds and oranges to a floor. West-facing rooms with large windows can feel very warm in the evening, and the floor color can shift noticeably.
Time of day and weather
Midday sun is whiter and more neutral. Early morning and evening light is warmer. Overcast days produce diffuse, cooler light. A floor can look different under a cloudy Northern Virginia winter sky than on a sunny summer afternoon. Evaluating samples at several times is part of a thorough decision.
Seasonal differences
The sun's angle changes with the seasons. In winter, the low sun angle can send light deep into rooms, while in summer, high sun may be blocked by eaves. Trees that leaf out in summer filter light and change its color. A room that glows in January may feel shaded in July.
Quick reference: how exposure changes a stain
| Room exposure | Light character | How stains tend to read |
|---|---|---|
| North-facing | Cool, indirect, consistent | Warm tones flatten; cool grays look cold or drab |
| South-facing | Bright, warm, strong much of the day | Warm and red undertones intensify; the floor looks lighter |
| East-facing | Warm and bright in the morning, cooler later | Golden in the morning, neutral by afternoon |
| West-facing | Neutral early, warm and golden late | Reds and oranges intensify in the evening |
| Overcast or tree-filtered | Diffuse, cooler, sometimes green-tinted | Colors read muted; green casts can show |
Window size, shape, and placement
The amount of natural light entering a room affects how much the floor color is influenced by daylight versus artificial light.
Large windows and sliding doors. Rooms with big windows receive abundant light, which can wash out dark floors, highlight undertones, and create glare on glossy finishes. Large windows also let in more fluctuating light through the day. Many Northern Virginia homes have expansive windows in family rooms and sunrooms, where this effect is pronounced.
Small or few windows. Rooms with limited natural light rely on artificial lighting, and floors tend to appear darker. Lighter stains can brighten these rooms, while very dark stains may feel heavy.
Window orientation relative to plank direction. Light traveling along the length of the boards highlights their grain and minimizes the look of seams, while light across the boards emphasizes joints and imperfections. This can affect how color and texture appear.
Trees, neighboring buildings, and overhangs. In wooded Northern Virginia neighborhoods, tree canopy filters light, adding green-tinted reflections. Covered porches and deep eaves reduce direct sun.
Wall paint, cabinets, and furnishings: the surrounding color effect
Floors do not sit alone. Color from walls, ceilings, cabinets, trim, and furniture is reflected onto the floor and changes its apparent color.
Wall paint. A room with warm beige or cream walls will send warm light onto the floor, reinforcing warm tones. Cool gray or blue walls will push the floor cooler. Dark walls absorb light and make the floor look darker, while white walls bounce light and make floors appear lighter and brighter.
Cabinetry. In kitchens and open plans, the cabinet color is a major influence. White cabinets with a light floor create a high-key, airy look. Dark cabinets with a light floor create contrast. Wood cabinets with undertones that fight the floor's undertones can cause visual conflict. Matching or deliberately contrasting undertones is essential. Our kitchen remodeling page explains how we coordinate floors with cabinetry.
Countertops and backsplash. Stone and tile colors, particularly warm or cool veining, interact with the floor.
Trim and baseboards. White trim creates a crisp frame. Stained trim in a similar tone to the floor can create a monochrome look.
Furniture and rugs. Large pieces, such as sofas and area rugs, will cover part of the floor and reflect color. Anticipate your major furnishings.
Ceiling color. A white ceiling bounces light downward, brightening floors.
Whole-house flow. In open plans and homes where hardwood continues throughout, the floor will be seen against many different wall colors and rooms. Choose a stain that works across them. Our whole-house remodels page describes coordinating finishes across the home.
Artificial lighting: the evening factor
At night, your floors are seen under artificial light, and bulbs vary widely.
Color temperature
Light bulbs are rated by color temperature in kelvins. Lower numbers, such as 2700K, produce warm, yellowish light. Higher numbers, such as 4000K and 5000K, produce cool, bluish-white light. A floor under 2700K light will look warmer and more golden. The same floor under 5000K light will look cooler and more neutral or gray. Many homes use a mix of bulbs, which can make a room look inconsistent.
Color rendering
The color rendering index (CRI) indicates how accurately a light source shows colors. A bulb with low CRI can make wood look dull or distort its hues. Higher CRI bulbs show colors more faithfully. When evaluating samples, test under the same bulbs you use in the room.
Fixture type and placement
Recessed downlights create pools of light and shadows. Pendant lights, sconces, and lamps add different qualities. Under-cabinet lighting washes the floor near the kitchen edge. The angle at which light strikes the floor changes how grain and sheen appear.
Dimmers
Dimmed light tends to shift warmer, which affects how floors appear at night.
Consider changing bulbs
If your bulbs are inconsistent, standardizing them before making floor decisions can help you evaluate stain more accurately. Some homeowners adjust lighting as part of the remodel.
Why showroom lighting misleads
Showroom lighting is designed to make products look good. It is typically bright, even, and often cooler than home lighting. Sample boards are shown under consistent illumination against neutral backdrops. This is useful for comparing products, but it does not predict how a floor will look in your living room at 6 p.m. in November.
Small sample chips also deceive. A two-inch square cannot show the variation, grain pattern, and character of a whole floor. Large areas of color look different from small ones, usually appearing more intense. A tiny sample of a medium brown can look balanced, while a whole room of that brown can feel heavier.
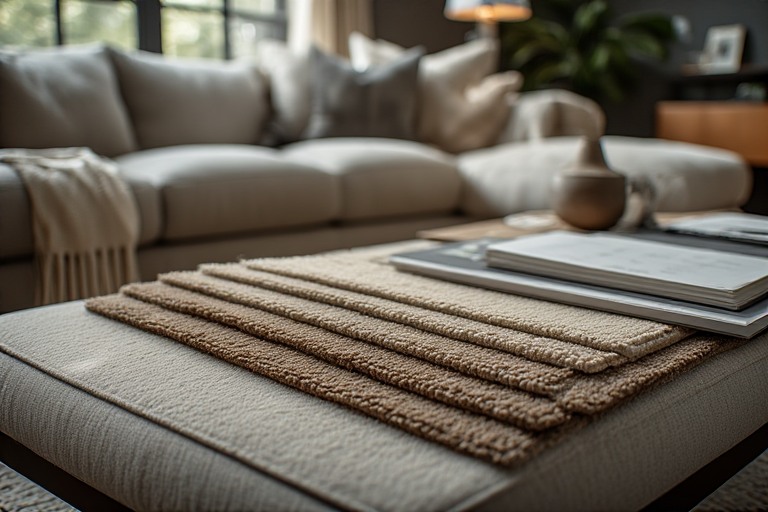
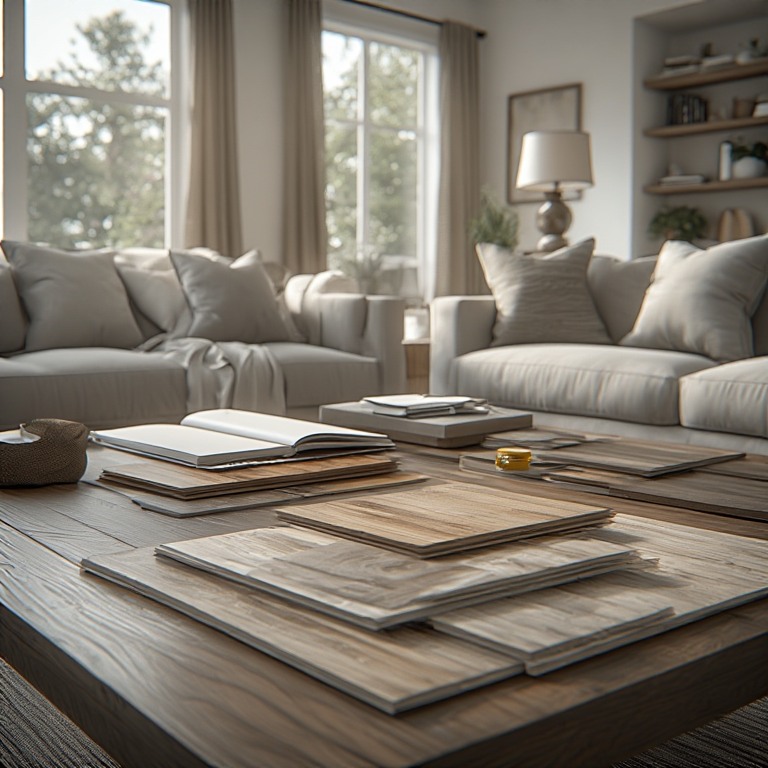
This is why Floors and Beyond VA brings samples to your home as part of our service. Our free, personalized consultation includes bringing flooring to your space so you can see it under your own lighting, furniture, cabinets, and paint colors.
A practical sample-testing process
Here is a step-by-step process for choosing a stain with confidence. It works whether you are refinishing existing hardwood or installing new floors.
Step 1: Narrow the field using the big picture
Before testing, decide the general direction: lighter or darker, warmer or cooler, natural or stained, matte or satin. Consider your style, your furnishings, and how the floor should relate to cabinets and walls. This narrows hundreds of possibilities to a few.
Step 2: Get samples on the actual wood
For refinishing, ask your contractor to apply stain samples on your existing floor, in an inconspicuous area or, after sanding, directly on the sanded floor. This is the most accurate test because it uses your wood. Stain samples should be applied to bare wood sanded to the same grit as the final floor, as the sanding grit affects stain absorption.
For new floors, request sample boards of the actual species and grade, stained in the options you are considering. If possible, request a larger sample area, such as a few boards, rather than a small chip.
Step 3: Include the finish
Samples should be coated with the same finish and sheen you plan to use. A stained board without finish looks different from a finished one. Oil-based finishes, in particular, warm the color.
Step 4: Test in every room that matters
Place samples in the room where the floor will be installed, and in connecting rooms if the floor continues. Put them on the floor, not on a table or wall, since the angle to the light matters. Place them near windows, in the center of the room, and in darker corners.
Step 5: View at different times of day
Look at samples in the morning, midday, late afternoon, and evening. Look on sunny and cloudy days if possible. Take photos at each time, though remember photos distort color, so use them as reminders, not as the decision.
Step 6: View under your artificial lighting
After dark, turn on the lights you normally use, including lamps, overheads, and under-cabinet lights. Note how the samples look. Dim the lights if you often do.
Step 7: Consider the surrounding colors
Hold samples next to cabinet doors, wall paint swatches, and countertop samples. Check how they relate. Notice undertones.
Step 8: Live with them
Leave samples in place for several days. Your reaction after a week is more reliable than your first impression. Walk by them in passing and see how they feel. Show family members.
Step 9: Compare finalists side by side
Narrow to two or three, and compare them together in the same lighting. Decide which one you prefer overall, not which is perfect in a single moment.
Step 10: Confirm with a test area
For major projects, some contractors will finish a small test area of the actual floor so you can see the real thing before committing the whole room. Floors and Beyond VA can discuss this option.
Choosing by room type and light
Dark, north-facing rooms
Consider lighter or warmer stains to add brightness and warmth. Avoid very dark or cool gray stains that can feel heavy. Natural or light-toned finishes bounce light.
Bright, south-facing rooms
You have flexibility. Medium and dark stains can look rich, but be aware of glare and fading. Matte finishes reduce glare. Consider UV protection through window treatments or finishes.
West-facing rooms with evening sun
Anticipate warmth in the late day. Cooler-toned or neutral stains can balance the warmth, while warm stains will intensify.
Open-plan main levels
The floor will be seen in many lighting conditions. Choose a stain that is versatile and relates well to a range of wall colors. Mid-tones are often more forgiving than very light or very dark stains, which show dust, scratches, and imperfections more.
Rooms with a lot of wood already
Cabinetry, furniture, and trim in wood tones can compete with the floor. Aim for either clear harmony or clear contrast.
Trends versus lasting choices
Stain trends change. Gray tones surged in popularity in recent years, and many homeowners now prefer natural, light, and warm tones that show the wood's character. Rather than following trends, choose a color that suits your home's architecture and your own taste, and that will remain pleasing as styles change. Neutral, natural-looking finishes tend to adapt better to future updates. Floors are a long-term investment, and refinishing allows changes later. Because Floors and Beyond VA follows a refinish-first approach, you can update a floor's color in the future by refinishing, as long as the wood has enough thickness remaining. Our floor care page offers guidance on maintaining finishes.
Practical issues that affect how color looks over time
Sunlight fading and aging. Wood changes color with exposure to light. Many species darken or lighten with age, and sunlight can bleach or deepen the color. Exotic species can shift significantly. Rugs left in place can create uneven patterns. Rotating furniture and rugs helps.
Oil-based finish ambering. Oil-based finishes yellow over time, warming the floor.
Wear patterns. High-traffic areas show wear and may look lighter or duller.
Dust and scratches. Dark floors show dust and scratches readily. Light floors show dirt differently. Satin and matte finishes hide imperfections better than gloss.
Humidity and movement. Seasonal expansion and contraction can create visible gaps, which are more noticeable on certain colors.
Maintenance products. Residues from cleaners can dull the finish.
Choose a stain and finish you can live with, considering maintenance.
Northern Virginia home considerations
Many local homes have large windows and open layouts that create strong daylight effects. Homes with mature tree cover receive filtered light. Older homes in Alexandria, Arlington, and Falls Church have smaller windows and original oak floors with aged coloring. Townhomes may have limited natural light in interior rooms. Newer homes in Loudoun and Prince William often feature two-story windows and bright, open spaces where glare is a factor. In each case, on-site sample testing is the best way to decide. Our historic home restoration page covers older homes where matching original character is a goal.
Common mistakes
- Choosing from a small chip in a showroom.
- Testing samples on a different species.
- Viewing samples only once, at one time of day.
- Ignoring artificial lighting.
- Forgetting the finish's effect on color.
- Ignoring cabinet and wall undertones.
- Placing samples on a wall or table, not the floor.
- Choosing based on a photo.
- Following a trend that does not suit the home.
- Not considering how the floor will look in connected rooms.
- Not testing on the existing wood.
- Deciding in a rush.
What drives the scope of a staining and refinishing decision
Without quoting figures, the factors include: whether you are refinishing or installing new; the species and condition of the wood; the number of sample rounds you request; the stain and finish system; the number of rooms and the continuity of the floor; repairs needed before finishing; and the schedule. Floors and Beyond VA provides a clear proposal and a full consultation with samples at your home.
Frequently asked questions
Why does my stain look different than the sample?
Lighting, wood species, finish, and surroundings change how color appears.
Should I test stain on my existing floor?
Yes. That is the most accurate test for refinishing.
What time of day should I look at samples?
Several: morning, midday, afternoon, and evening.
Does the finish change the color?
Yes. Oil-based finishes warm the color, and sheen affects reflection.
What light bulbs are best for evaluating floors?
Use the bulbs you normally use. Higher color rendering helps.
Are gray stains still popular?
Preferences vary. Choose what works with your home and its light.
How do cabinets affect floor color?
They reflect color and compete or harmonize with undertones.
Can I change the stain color later?
Often yes, by refinishing, if enough wood remains.
Do dark floors show more dust?
Often yes, along with scratches. Matte finishes help.
How long should I live with samples?
Several days at least.
Does Floors and Beyond VA bring samples to my home?
Yes. We bring flooring samples to your home so you can see them in your own light.
Ready to choose your hardwood color with confidence?
The right floor color is the one that looks right in your home, in your light. Floors and Beyond VA brings nearly forty years of Northern Virginia experience, in-house crews with no subcontractors, and a sample-at-home approach to every project. We serve Fairfax, Loudoun, Prince William, and Arlington counties, including Alexandria, Reston, Ashburn, Leesburg, Manassas, Woodbridge, and Arlington.
Start with a free in-home consultation. We bring samples to your rooms, help you test them in your light, and give you a clear proposal.
Request Your Free Consultation
You can also call (703) 906-5698 or send us a message through our contact page.