
Professional Flooring Installation · Northern Virginia
What Should I Expect During a Professional Flooring Installation?
A professional flooring installation in Northern Virginia follows a predictable sequence: pre-installation walk-through, subfloor preparation, product installation, finish application (for hardwood), and the final walk-through. Knowing what to expect reduces stress and produces a better result.
During a professional flooring installation in Northern Virginia, expect: (1) a pre-installation walk-through to confirm scope, schedule, and subfloor readiness; (2) subfloor preparation including flattening, moisture testing on slabs, and acclimation for hardwood (3-5 days); (3) product installation — 1-2 days for an average room of hardwood, 1-2 days for LVP, 2-3 days for tile with decoupling membrane; (4) finish application for hardwood (2-3 coats, 24 hours walk-on-ready, 48-72 hours furniture-ready); (5) a final walk-through to confirm quality and address any concerns. Floors and Beyond VA performs all work in-house, no subcontractors, since 1987.
The Pre-Installation Walk-Through
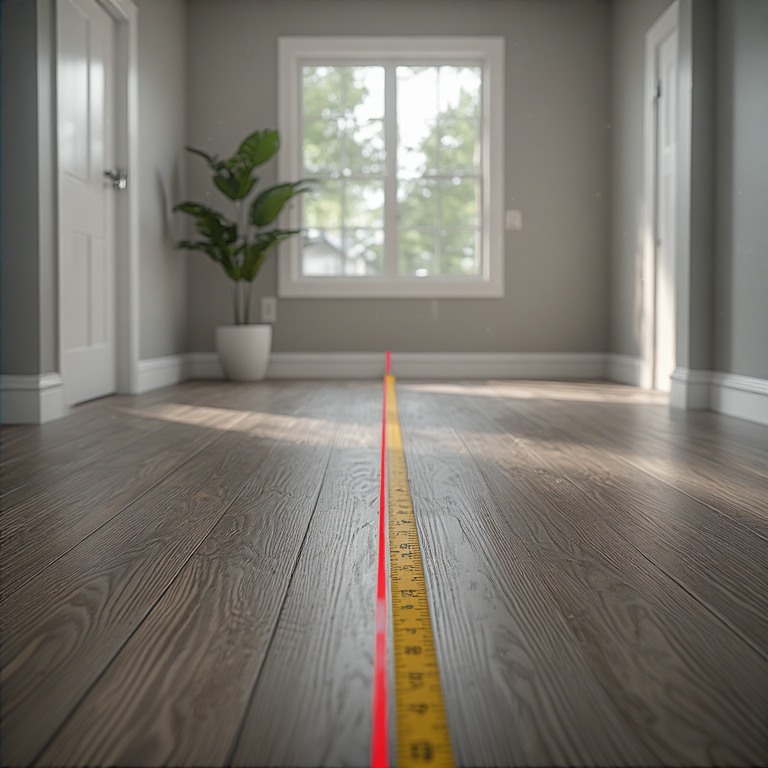
The first thing to expect during a professional flooring installation is a pre-installation walk-through. Floors and Beyond VA performs a walk-through with the homeowner before any installation begins. The walk-through confirms the scope of work, the product specification, the schedule, and any specific concerns the homeowner has. The walk-through also confirms that the subfloor preparation is complete and the room is empty and ready for installation.
The pre-installation walk-through is the last opportunity to identify any issues that could affect the installation — a subfloor that was not properly flattened, a moisture issue that was not addressed, a furniture item that was not removed. Identifying these issues before installation begins prevents costly rework and ensures the installation proceeds on schedule.
Floors and Beyond VA does not begin installation until the pre-installation walk-through is complete and the homeowner has signed off on the scope. This discipline is one of the structural reasons the company has been able to maintain quality for nearly four decades — installation does not begin until preparation is verified complete.
Subfloor Preparation
The second phase is subfloor preparation. Floors and Beyond VA uses a subfloor-first framework on every installation. Pre-war homes in Del Ray, Lyon Village, Waverly Hills, Rosemont, Old Town Alexandria, Seminary Hill, and Clarendon sit on wood joist with diagonal plank. Post-war homes in Burke, Springfield, and Fairfax sit on plywood or OSB over wood joists. Post-2000 homes in Ashburn, Woodbridge, Herndon, and Sterling sit on concrete slabs.
Subfloor preparation includes flattening (grinding high spots, filling low spots), repairing any structural damage, and addressing deflection. On wood joist subfloors, preparation includes re-fastening loose subfloor panels and replacing any water-damaged plywood or OSB. On concrete slabs, preparation includes moisture vapor testing — anything above 3 pounds MVER requires a moisture barrier before engineered hardwood installation.
For hardwood installation, subfloor preparation also includes acclimation. Solid 3/4" hardwood must be acclimated to the installation environment for 3 to 5 days minimum, with the flooring stacked in the room where it will be installed. Acclimation allows the wood to reach equilibrium moisture content with the installation environment, which prevents cupping, gapping, and buckling after installation.
Product Installation
The third phase is product installation. The timeline depends on the product, the room size, and the subfloor. An average-sized room — roughly 200 to 300 square feet — typically takes 1 to 2 days for hardwood installation, 1 to 2 days for LVP installation, and 2 to 3 days for tile installation with a decoupling membrane.
Hardwood installation involves nailing or stapling each board to the subfloor (on wood joist) or gluing each board to the subfloor (on concrete slab, for engineered hardwood). The installer works from a starting wall, layering boards one row at a time, with each board tapped into the previous row's tongue-and-groove joint. Expansion gaps are left at the perimeter to allow for seasonal movement.
LVP installation involves clicking each plank into the previous plank's locking mechanism. The floor floats over the subfloor, attached only at the perimeter. Subfloor preparation is particularly important for LVP because the rigid SPC core does not absorb subfloor imperfections — any variation will telegraph through the finished floor.
Tile installation involves applying thinset mortar to the subfloor, embedding a decoupling membrane (on wood joist subfloors — Schluter Ditra is the industry standard), then setting each tile into a fresh layer of thinset. Grout is applied after the thinset has cured, typically the next day. Tile installation is the most time-consuming of the three because of the multiple curing stages.
Finish Application for Hardwood
The fourth phase, specific to hardwood installation or refinishing, is finish application. A professional hardwood refinish follows a predictable sequence. The room is sealed, the floor is fastened down — every loose board nailed or screwed to the subfloor — and the sanding sequence begins. A drum sander takes the first cut, usually with 36- or 40-grit paper to remove the old finish and level the boards. A second pass with 60- or 80-grit removes the scratches from the first pass. An edger handles the perimeter. A final pass with 100- or 120-grit prepares the floor for finish. Between each grit, the floor is vacuumed and inspected.
Water-popping — wiping the floor with a damp cloth to raise the grain — is the step that separates a professional refinish from a DIY one. It opens the wood's pores, allowing the finish to penetrate evenly and producing a deeper, more consistent color. On white oak, water-popping also brings out the natural character that gives a refinished NoVA floor its warmth.
Finish is then applied in two to three coats, with adequate drying time between each coat. The floor is walked-on-ready in 24 hours and furniture-ready in 48 to 72 hours, depending on the finish system used. Total job time for an average-sized room is one to two days of work plus curing time.
Dust Containment Throughout
Throughout the installation, expect dust containment measures. Hardwood refinishing produces significant dust — fine wood particles that can settle on every surface in the home if not contained. Floors and Beyond VA uses HEPA-filtered sanders that capture dust at the source, plus plastic sheeting to isolate the work area from adjacent rooms. HVAC vents in the work area are sealed to prevent dust from circulating through the system.
Dust containment matters more in Northern Virginia than in many other markets because of the high pollen counts. Spring pollen from oak, grass, and ragweed already burdens allergy sufferers — adding fine wood dust to the air during a refinish without containment can be a serious health issue for sensitive household members. The discipline of dust containment is both a craftsmanship issue and a health issue.
Flooring installation also produces dust — particularly tile cutting and subfloor grinding. The same dust containment principles apply. Floors and Beyond VA uses wet cutting for tile whenever possible (which eliminates dust at the source), and dry cutting with HEPA vacuums when wet cutting is not possible.
The Final Walk-Through
The final phase is the post-installation walk-through. Floors and Beyond VA performs a walk-through with the homeowner after installation is complete. The walk-through confirms the quality of the installation, addresses any concerns the homeowner has, and provides care and maintenance instructions for the new floor.
The final walk-through is the homeowner's opportunity to identify any issues that need to be addressed before the crew leaves the job site. Common issues include minor finish imperfections (which can be touched up), transition strips that need adjustment, and baseboards or shoe mold that need final fitting. Identifying these issues at the walk-through is much easier than identifying them after the crew has left.
Floors and Beyond VA provides written care and maintenance instructions at the final walk-through, including guidance on cleaning products, humidity control, furniture pads, and the expected timeline for the floor's first refinish (for hardwood) or replacement (for LVP). The instructions are tailored to the specific product installed and the NoVA climate.
Care and Maintenance After Installation
After installation, expect to follow specific care and maintenance guidance to protect the new floor. For hardwood, this includes using furniture pads on all legs, maintaining indoor humidity between 30 and 50 percent (a challenge in NoVA's climate), cleaning with hardwood-specific products (no water, no steam mops), and scheduling the first refinish at the appropriate interval (typically 7 to 10 years in high-traffic areas).
For SPC LVP, care includes using furniture pads, cleaning with LVP-specific products (no wax, no polish), and replacing damaged planks as needed (a single plank can be replaced without replacing the entire floor). For tile, care includes sealing grout annually (or using epoxy grout which does not require sealing), cleaning with tile-specific products, and addressing any cracked grout promptly.
For carpet, care includes vacuuming weekly (more frequently in high-traffic areas and during spring pollen season), professional cleaning every 12 to 18 months, and addressing spills promptly with carpet-specific cleaners. NoVA's red clay soil and spring pollen make more frequent cleaning necessary than in drier climates.
Why In-House Crews
Floors and Beyond VA does not use subcontractors. Every installation — hardwood, LVP, tile, carpet — is performed by an in-house employee supervised on-site. This structure matters because installation quality determines floor performance. A subcontractor paid by the square foot has every incentive to skip preparation and move to the next job. An in-house crew answers to the company that sold the job, and the company answers to the homeowner.
Floors and Beyond, which leads the field assessments, has roughly forty years of experience on Virginia job sites. That experience is what allows the company to walk into any NoVA home — pre-war, post-war, or post-2000 — and know, within minutes, what to expect from the installation, how long it will take, and what preparation is required. The discipline of in-house crews is the structural reason Floors and Beyond VA has been able to maintain quality for nearly four decades.
Frequently Asked Questions
How long does a flooring installation take in a Northern Virginia home?
An average-sized room of 200 to 300 square feet typically takes 1 to 2 days for hardwood installation, 1 to 2 days for LVP installation, and 2 to 3 days for tile installation with a decoupling membrane. Hardwood refinish adds 1 to 2 days of finish application plus 24 to 72 hours of curing time. Floors and Beyond VA provides a specific timeline after the field assessment.
Should I leave my home during flooring installation?
It depends on the scope of work. For a single-room installation, you can typically stay in the home — the work area will be isolated with plastic sheeting, and the rest of the home remains usable. For a whole-home installation or a hardwood refinish with significant dust, you may want to stay elsewhere for the duration. Floors and Beyond VA coordinates the schedule with the homeowner.
How soon can I walk on my new floor after installation?
For hardwood refinish, walk-on-ready in 24 hours and furniture-ready in 48 to 72 hours, depending on the finish system. For LVP, walk-on immediately after installation. For tile, walk-on within 24 hours of grout application, with full cure in 72 hours. For carpet, walk-on immediately after installation, with furniture return after 24 hours.
Does Floors and Beyond VA clean up after installation?
Yes. Floors and Beyond VA cleans the work area after every installation, including removing debris, vacuuming the floor, and wiping down baseboards or trim. The crew performs a final walk-through with the homeowner to confirm quality and address any concerns before leaving the job site. The company does not consider the job complete until the homeowner has signed off.
Floors and Beyond VA — Service Area
Floors and Beyond VA performs professional flooring installation across Northern Virginia, including the cities and communities of Ashburn, Woodbridge, Herndon, Sterling, Leesburg, Reston, Springfield, Burke, Fairfax, Alexandria, and Arlington.
Fairfax County · Loudoun County · Prince William County · Arlington County
Schedule an installation consultation directly with Floors and Beyond VA — in-house crews, no subcontractors, no pricing on the website.