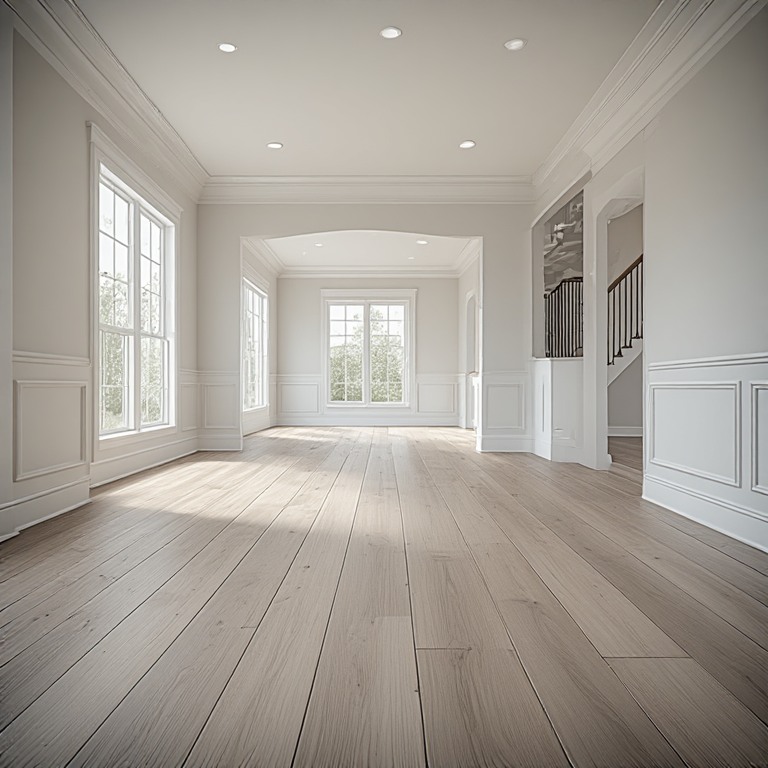

How do you restore original hardwood floors in older homes around Vienna and Falls Church?
Restoring original hardwood in an older Vienna or Falls Church home means uncovering the floor, assessing its thickness, structure and damage, repairing or replacing boards that cannot be saved, re-fastening loose areas, sanding gently to preserve the thin original wood, choosing a color and finish that suit the house and curing it with care. The goal is a floor that looks renewed while keeping the character of the original boards. Floors and Beyond VA, a family-owned Northern Virginia flooring and remodeling contractor serving Fairfax, Loudoun, Prince William and Arlington counties since 1987, was built around a refinish-first philosophy, and our in-house crews with no subcontractors bring a restorer's patience to floors that have already lasted generations.
Restoration differs from ordinary refinishing in emphasis. Refinishing aims at a clean, uniform surface. Restoration aims at that and also at honoring the floor's age, history and craft. In neighborhoods near Maple Avenue, Broad Street, Church Street and Lewinsville Road, the original floors are often among the best features of a house, and removing them would be a loss. This guide describes how restoration works and how to decide how far to take it.
What you are working with
The floors in older Vienna and Falls Church houses were typically laid as narrow solid oak strips, nailed through the tongue to plank or plywood subfloors. They were sanded and finished on site, sometimes with stain, usually with varnish, shellac or early polyurethane. Over decades they were waxed, recoated, sanded, covered, patched and worn.
Characteristics worth understanding:
Thin wear layer. Original strips are typically thinner than many modern solid products, and each sanding removes some of what remains.
Tight grain. Older growth oak is often dense and stable.
Hand-fit details. Boards were laid and cut by hand, with variation at edges, doorways and thresholds.
Layers of history. Wax, varnish, paint drips, stains and glue can coat the surface.
Nail patterns. Face nails, tack-strip holes and old fastener patterns reveal how the floor was installed and covered.
Subfloor gaps. Plank subfloors may shift, causing squeaks.
Understanding these helps us choose techniques that work with, not against, the material.
Step one: uncover and assess
If the floor is under carpet, we remove the carpet, pad, tack strips and staples. Staples are tedious to remove and essential to remove completely. Then we assess the floor in daylight.
We examine thickness at edges and vent openings. We check for structural soundness, looking for loose boards, rot, insect damage, past patches and evidence of moisture. We note stains, burns and pet damage. We test the existing finish and identify any wax or contaminants that could interfere with new finish. We look at gaps and their pattern. We examine the subfloor if accessible from below.
If we encounter old adhesives, paper backings or other materials that could contain hazardous substances, we pause and discuss testing by a qualified professional before disturbing them. We do not guess.
Step two: decide how far to go
Restoration is a spectrum.
Light restoration. The floor is deep cleaned, screened and recoated. This preserves existing patina and works when the finish is worn but the wood is undamaged and the original finish is compatible.
Standard restoration. The floor is sanded, repaired and refinished. This is the most common path, producing a fresh, uniform floor while retaining the boards.
Deep restoration. Extensive board replacement, subfloor repair, color change and perhaps rebuilding of thresholds and stair parts. This applies to floors with significant damage or where the aim is dramatic transformation.
We discuss which suits your goals, house and floor, and we stay mindful of how much wood remains.
Step three: repair
Repair is where restoration earns its name.
Board replacement. Damaged boards are cut out and replaced with matching species, width and grain. Replacement boards are woven into the existing floor with staggered joints so repairs do not read as patches. Salvaged boards from closets or hidden areas can sometimes be used for visible repairs, giving an excellent match in age and color.
Re-fastening. Loose boards are secured to eliminate squeaks and movement. Methods depend on access.
Filling. Nail holes, small cracks and tack-strip holes are filled with materials chosen to blend. Large seasonal gaps are typically left alone, because rigid filler can cause damage when humidity changes.
Thresholds and transitions. Doorways where walls were removed, kitchens where floors were replaced and other transitions are rebuilt for continuity.
Stairs. Treads are re-secured, damaged parts replaced and nosing repaired or matched.
Step four: sanding with restraint
Sanding an old floor is a different art from sanding a thick new one. The aim is to remove enough to level the surface and remove old finish and stains, without taking more wood than necessary. We use the least aggressive abrasive that does the job. We avoid sanding through to the tongue or exposing fasteners. We take extra care with edges, thresholds and stairs. And we leave a surface with a hint of age rather than a sterile, machine-perfect plane, where appropriate to the house.
Step five: color
Color decisions in restoration depend on taste and architecture.
Natural. Showing the wood's true color keeps an authentic feel. Many owners of mid-century homes prefer natural or lightly toned finishes.
Warm mid-tones. Add depth and hide wear.
Darker tones. Create drama but show dust and are less common now.
Lightening and toning. Reducing orange cast in red oak or brightening dark floors can modernize the look without changing the character.
We test on the actual floor, because old oak behaves differently from new. Prior stain, wax residue and wood age all affect results. We never rely on a small sample board alone.
Step six: finish
Finish choice shapes appearance and durability.
Water-based polyurethane. Clear, quick drying, low odor, and keeps wood pale.
Oil-modified polyurethane. Adds amber warmth that suits traditional interiors.
Hardwax oil. A natural look and feel, with repairs easier to spot-treat.
Shellac and traditional finishes. Sometimes requested in historic restoration, with different durability and maintenance.
Sheen. Matte or satin suits most older homes, hiding wear and feeling natural.
We explain pros and cons in the context of your lifestyle. For the broader process, our guide Hardwood Floor Refinishing in Northern Virginia: Sanding, Staining and Finishing Explained covers each stage in detail.
Step seven: reassemble and cure
Baseboards and shoe molding are reinstalled or replaced. Plaster walls and old trim are protected throughout. Furniture returns only when the finish has cured sufficiently. Our instructions guide you through the process, and our aftercare guidance explains what to do.
Special considerations for older houses
Plaster walls and tall baseboards. Old trim is fragile. We remove it carefully or protect it in place.
Out-of-level floors. Settling is part of an old house's character. We make the surface smooth without pretending it is perfectly flat.
Radiators and old heating. Floors near heat sources can dry and gap more.
Crawl spaces. Moisture below affects floors above. We note conditions and recommend remediation where needed.
Additions. Where new construction joins the old, matching floors and blending finishes is a design challenge we enjoy.
Hazardous materials. In older homes, some old finishes, adhesives and backings may contain hazardous substances. We recommend testing when there is reason for concern and following guidance from appropriate authorities.
Historic districts and covenants. Some properties have rules about changes. We recommend verifying with the appropriate authority.
Matching new to old
Additions and repairs call for matching. The key factors are species, width, cut, color and sheen. We identify species from grain and end details. Where an exact lumber match is unavailable, careful selection and finishing can approximate. Sanding and finishing old and new together unifies them. Our historic home restoration page explains how we approach older houses more broadly.
Representative scenarios
These are representative situations, not accounts of particular customers.
A bungalow near Broad Street. Oak under decades of carpet. Light cupping near the kitchen. The plan is replacement of a small section, standard restoration and a natural tone.
A Cape Cod near Church Street. Painted floors from an earlier era. The plan is careful removal of paint during sanding, repair of damage and a warm finish.
A ranch near Lewinsville Road with a removed wall. A visible seam. The plan weaves new oak into the gap and refinishes the connected area.
A split-level with thin, heavily sanded oak. The plan favors a gentle screen-and-recoat or consideration of replacement.
Historic character versus modern expectations
Restoration in a house with historic character involves a negotiation between preserving the past and meeting modern expectations. A century-old oak floor may have gaps, slight unevenness and color variation that a new floor would not. Some owners cherish these qualities, while others want a uniform, modern surface. A good restorer helps you decide where to land.
Questions that guide the decision include: How important is preserving evidence of age? How will the floor be used? Are there children and pets? Will it be seen alongside original plaster, trim and built-ins that carry their own patina? Are there historic district guidelines? The answers shape choices of sanding depth, color, sheen and repair approach.
The role of wax and old finishes
Older floors may have been waxed for decades. Wax can penetrate wood and interfere with new finishes, causing adhesion problems and fish eyes. Testing for wax is a standard step in restoration. If wax is present, special cleaning and sanding techniques are used, and finish selection is made accordingly. Old shellac and varnish layers also affect abrasives and sanding schedules. A careful restorer examines the finish before choosing a plan.
Floors with paint and decorative treatments
Some older homes have painted floors or decorative borders. Paint may need careful removal. Borders and inlays require special sanding and matching. If you have decorative elements, tell us up front, and we will assess whether to preserve, repair or replicate them. In some cases, preserving the painted surface is the right choice, with gentle cleaning and protective coatings.
Plaster, trim and the careful reassembly
Walls and trim in older homes are as fragile as the floors. Plaster can crack from vibration. Painted trim can chip when removed. We protect plaster during sanding with plastic and tape that will not harm paint, and we remove trim with care, labeling pieces where needed. Reinstalling trim after finishing requires patience. The goal is a floor and a room that look as though they belong together.
Documenting your restoration
For owners who care about their home's history, documenting the restoration is valuable. Photographs before, during and after, notes on products used and records of repairs create a legacy for future owners. We are glad to provide a written summary of the work, including the finish system and care guidance.
Working with historic documentation
Some owners of older homes have documents that describe the house's history: original plans, photographs, permits or previous restoration records. These can help us understand what the floors originally looked like, what species and finishes were used and what changes occurred. If you have such materials, share them. If you do not, we can examine the house to infer its history. Understanding origin guides authentic restoration decisions, particularly in houses with documented historic significance.
Balancing restoration with practical updates
A restoration need not mean living in a museum. Many owners combine restored floors with modern comforts. Adding humidity control, improving subfloor quiet, using durable finishes and installing rugs in high-traffic zones help a historic floor serve modern life. The aim is to keep what is worth keeping while making the house work for the people living in it.
Planning restoration alongside other projects
Floors are often restored as part of larger projects such as kitchen remodels, additions or whole-house updates. Sequencing matters. Messy trades should finish before floors are sanded and finished. Cabinets and appliances may need to be installed before or after floors, depending on the plan. Our crews coordinate with your schedule, and our related remodeling services can handle broader projects. We advise on the best sequence for your situation.
Why restoration is also good stewardship
Restoring a floor is an act of stewardship. The oak in many mid-century Northern Virginia houses came from mature forests and was milled with a tightness of grain that is hard to find today. Keeping it in service avoids the energy, transport and waste of replacement and keeps a piece of local history. Many of our customers tell us that what they value most about their restored floors is not the shine but the continuity: the sense that the house they live in is the same house that sheltered earlier families, and that it will shelter later ones.
Setting expectations for the result
A restored floor will look dramatically better, but it will not look factory-new. You may still see nail marks from long-gone carpet, subtle color differences between boards and the faint outline of earlier repairs. These are signs of authenticity. We will show you what to expect before we start, and we will do everything we can to make the floor as uniform and handsome as the wood allows.
What drives the scope
Without quoting figures, the factors include the area, the floor's condition, the amount of repair and replacement, whether hazardous materials testing is needed, color work, finish system, stairs, trim work, access and furniture volume.
Why Vienna and Falls Church homeowners choose Floors and Beyond VA
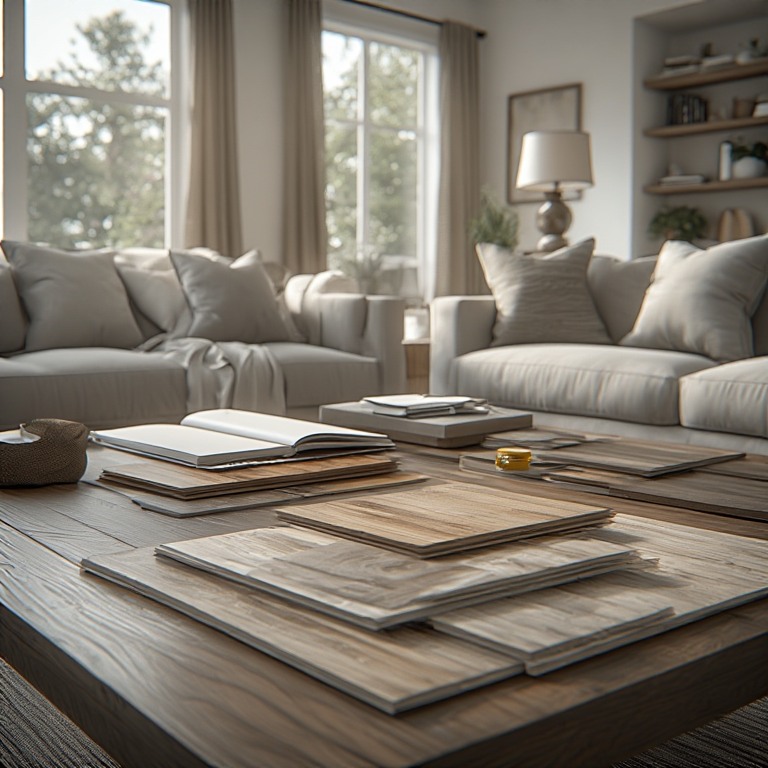
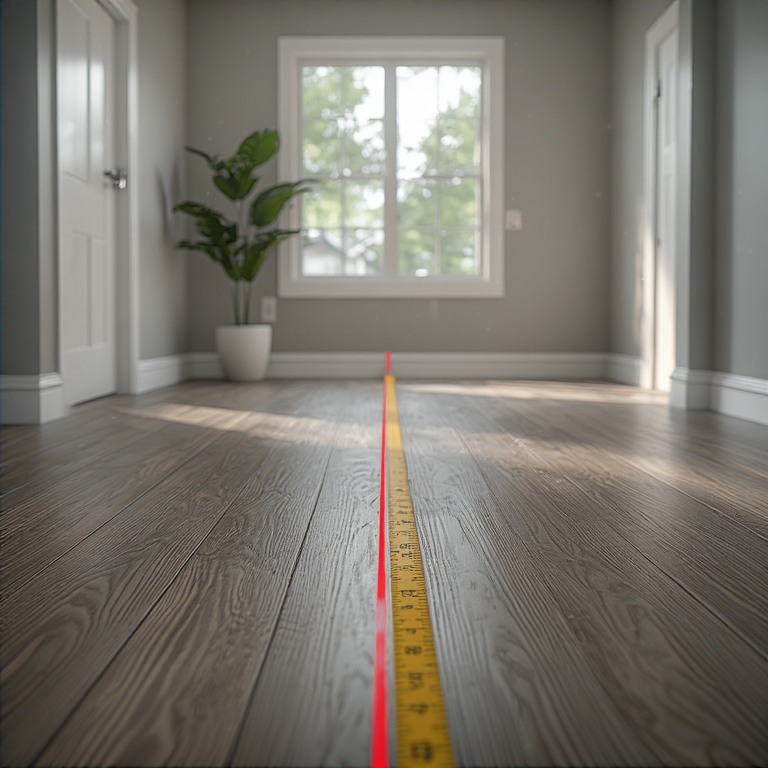
Floors and Beyond VA is a family-owned Northern Virginia company that has served Fairfax, Loudoun, Prince William and Arlington counties since 1987. Restoration is not an afterthought for us; it is the heart of our refinish-first approach. Our in-house crews, with no subcontractors, bring care and consistency to every floor. We are fully licensed, bonded and insured. We bring samples to your home, measure with a laser at no charge and give an honest, all-inclusive estimate in which what we quote is what you pay. Visit floorsandbeyondva.com to learn more.
Common mistakes
The first mistake is sanding too aggressively. The second is leaving staples. The third is filling seasonal gaps with rigid material. The fourth is mismatching repairs. The fifth is ignoring subfloor and moisture. The sixth is choosing color from a small sample. The seventh is skipping hazardous-material awareness. The eighth is replacing a floor that could be restored.
Frequently asked questions
Can any old floor be restored? Many can. We inspect and advise honestly.
Will it look new? It will look fresh and uniform, with the character of old boards.
Can you match missing boards? Often yes, with careful selection.
Do you serve my neighborhood? Yes, including Vienna, Falls Church, Oakton, Tysons, McLean, Merrifield, Dunn Loring and Great Falls, along with Fairfax, Loudoun, Prince William and Arlington counties.
For a broader overview of the area, read Flooring Installation in Tysons, VA: What Homeowners and Condo Owners Should Know.
Ready to restore your original floors?
Floors and Beyond VA will inspect your floors and give you an honest plan. For a decision guide, see Should You Refinish or Replace Your Hardwood Floors? A Guide for Vienna and Falls Church Homes.
Request your free estimate: https://floorsandbeyondva.com/Contact
You can also call (703) 906-5698 or email hello@floorsandbeyondva.com.