Tile Flooring
in Northern
Virginia:
Subfloor. Room.
Specification.
Tile installation starts with the subfloor — because the substrate beneath the tile determines whether it stays flat, stays intact, and stays beautiful for decades or cracks within years. NoVA's housing stock creates two distinct tile subfloor contexts. Here is the complete guide to both.
- Tile failure is almost always a substrate problem, not a tile problem — when tile cracks, chips, or comes loose, the cause is almost always subfloor movement or improper substrate preparation rather than the tile material itself. Getting the substrate right is the most important step of any Northern Virginia tile installation.
- Concrete slabs in post-2000 NoVA construction are ideal tile substrates — dimensionally stable, non-deflecting, and compatible with tile without membrane layers in most conditions. Floors and Beyond still checks flatness (3/16" per 10 feet) before setting tile on concrete.
- Wood joist subfloors in pre-war and post-war NoVA homes require decoupling membrane — wood subfloors deflect slightly under load, and tile cracks when the substrate flexes. Schluter Ditra or equivalent decoupling membrane installed between subfloor and tile accommodates wood movement without transmitting it to the tile.
- Large-format tile (18×18 and larger) is the contemporary specification for most Northern Virginia bathroom and kitchen renovations — it reduces grout line density and creates a cleaner look, but amplifies subfloor flatness requirements and makes decoupling membrane more important on wood subfloors.
- Bathroom tile must meet DCOF 0.42 minimum for wet floor surfaces — slip resistance on wet tile is a safety specification, not an aesthetic preference.
- Floors and Beyond installs tile throughout Fairfax, Loudoun, Prince William, and Arlington with in-house crews, free subfloor assessment, and written estimates at no charge.
Tile has been the default specification for Northern Virginia bathrooms, kitchens, and entry halls for decades — and for good reasons. It's completely impervious to moisture, indefinitely durable under normal conditions, and cleanable with any household cleaning product. But tile's durability is conditional: it requires a substrate that is flat, stable, and non-deflecting. When those conditions aren't met, tile cracks. In Northern Virginia's housing stock — which spans concrete slab construction in post-2000 Loudoun and Prince William communities and wood joist subfloors in pre-war Arlington, Alexandria, and Fairfax neighborhoods — the substrate conditions are different enough that the installation approach must be different for each.
Floors and Beyond's in-house tile crews have installed ceramic and porcelain tile throughout Northern Virginia for decades. This guide covers the subfloor assessment that starts every tile consultation, the room-by-room tile guide, the large-format tile considerations that define contemporary NoVA renovations, and the installation process that determines whether a tile installation lasts 20 years or fails in 3.
Subfloor Requirements for Tile in Northern Virginia Homes
The substrate beneath the tile determines whether the installation succeeds or fails — and Northern Virginia's housing stock creates two distinctly different starting conditions. Floors and Beyond assesses the subfloor before specifying any tile product.
Concrete slabs are dimensionally stable and non-deflecting — the two properties tile requires most. Post-2000 Northern Virginia construction (townhomes and colonials in Ashburn, Woodbridge, Loudoun Valley, and Prince William County) is predominantly concrete slab, making these homes nearly ideal for tile installation without the membrane layers that wood subfloors require.
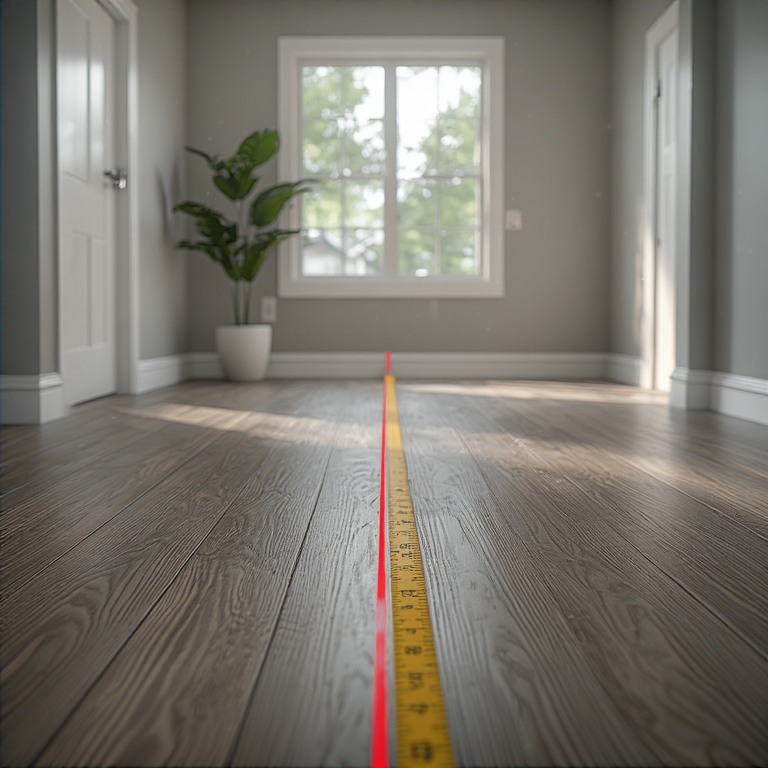
The preparation steps Floors and Beyond completes before tile on concrete: flatness check (grinding high spots and filling low spots to achieve 3/16" maximum variance per 10 feet for standard tile, or 1/8" per 10 feet for large-format tile), cleaning and priming the slab surface, and applying the thinset mortar specified for the tile size and slab condition. In bathrooms and shower areas on concrete, a waterproofing membrane is applied beneath the tile regardless of the slab condition — because the concrete below the tile should not be the waterproofing layer.
Wood joist subfloors deflect — slightly, measurably, and unavoidably — when weight is applied. Tile is rigid and does not deflect with the substrate. When the substrate deflects beneath rigid tile, the tile or the grout joint cracks. This is the most common cause of tile failure in Northern Virginia's older housing stock, and it explains why bathroom tile in pre-war and post-war Arlington and Alexandria homes frequently shows cracking that seems to appear without explanation years after installation.
The correct solution for wood joist subfloor tile installation is a decoupling membrane — specifically, an uncoupling mat like Schluter Ditra that is bonded to the subfloor and provides a surface for tile installation that is mechanically decoupled from the subfloor below. The membrane accommodates the minor flexion of the wood subfloor without transmitting that movement to the tile above. Floors and Beyond installs decoupling membrane as the standard preparation for all tile work on wood joist subfloors in Northern Virginia — not as an optional upgrade, but as the baseline preparation that makes the installation durable.
For standard tile sizes (up to 12×12) on adequately thick and stiff plywood subfloors (minimum 1-1/8" total thickness over maximum 16" joist spacing), cement backerboard is an alternative to decoupling membrane. For large-format tile (18×18 and larger), decoupling membrane is strongly preferred regardless of subfloor thickness.
Tile can be installed over existing tile if the existing tile is flat, firmly adhered, and undamaged — and if the additional height doesn't create transition or door clearance issues. However, installing new tile over existing tile that is hollow, cracked, or improperly adhered will cause the new installation to fail for the same reason the old one did. Floors and Beyond assesses existing tile condition before recommending installation over it. Existing vinyl or LVP should generally be removed before tile installation — the substrate flexibility of these materials conflicts with tile's rigidity requirement.
Tile Flooring Room by Room — Northern Virginia Homes
The room-by-room tile guide for Northern Virginia — where tile is the clear specification, where it competes with LVP and hardwood, and what the correct tile type is for each application.
The primary tile application in Northern Virginia homes. Bathroom floors require tile with a DCOF of 0.42 or higher for wet surface slip resistance. Bathroom walls and shower surrounds benefit from large-format porcelain (fewer grout lines = less cleaning) in 12×24 or 24×24 format. Heated floor systems (radiant electric) are easily incorporated under bathroom tile during a renovation and are a common Floors and Beyond add-on in Northern Virginia bathroom tile projects.
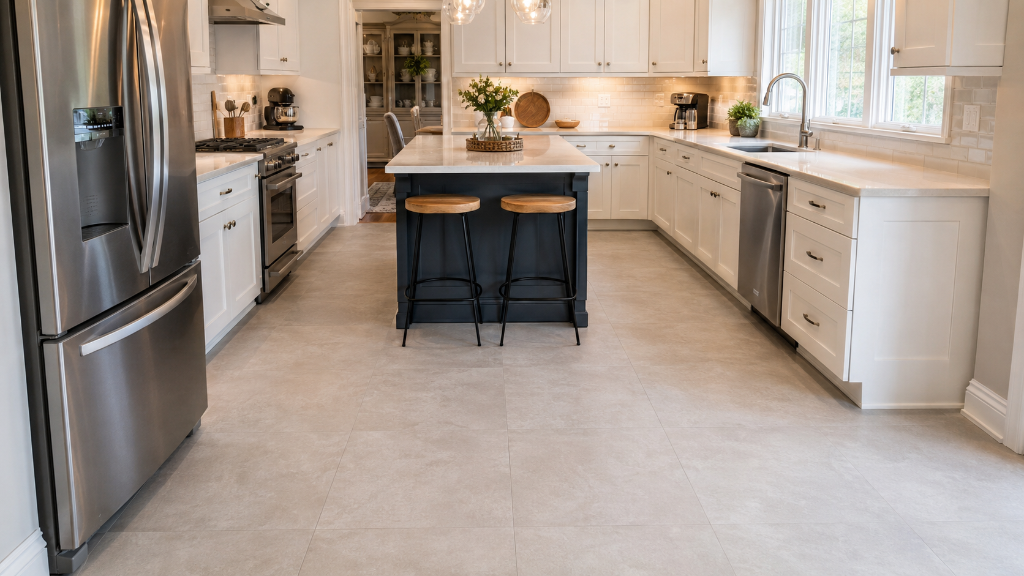
Kitchen floor tile in Northern Virginia is most commonly porcelain in 12×12 to 24×24 format — large enough to minimize grout joint density and cleaning effort, not so large that subfloor flatness requirements become difficult to meet. Lighter grout colors are aesthetically popular in contemporary kitchens but require more maintenance than medium-tone grout. Floors and Beyond recommends epoxy grout for kitchen applications where stain resistance is the priority.
Entry halls in Northern Virginia homes bear the brunt of outdoor tracked-in moisture, clay soil, and road salt — making tile the correct specification for any entry hall that receives direct outdoor shoe traffic. Large-format porcelain (24×24) in a matte or textured finish provides durability and low maintenance. For pre-war homes with wood joist subfloors, the decoupling membrane treatment described above is particularly important in entry areas, where concentrated impact loads from foot traffic are highest.
Laundry rooms have direct plumbing connection risk — a washing machine hose failure or overflow event is one of the most common household water damage scenarios. Tile is the only appropriate specification for a laundry room floor; LVP and hardwood both present moisture risk in the event of a plumbing failure even if they're technically water-resistant at the surface level.
Finished basement floors in Northern Virginia sit on concrete slabs — an ideal tile substrate. The choice between tile and SPC LVP for a finished basement is primarily about comfort and acoustics: tile is cold underfoot and transmits impact noise; LVP with underlayment is warmer and acoustically quieter. For wet utility areas within basements (wet bars, half-baths), tile is the correct specification. For open recreation room areas, LVP is typically the more comfortable specification. Floors and Beyond installs both in Northern Virginia basements based on the specific use of each area.
Mudrooms and rear entries in Northern Virginia homes — the point where outdoor clothing, pet paws, and athletic equipment enter — need tile's combination of moisture imperviousness and cleanability. A matte-finish slip-resistant porcelain in a medium tone (to conceal tracked-in soil between cleanings) is the standard Floors and Beyond specification for Northern Virginia mudroom tile.
Ceramic vs. Porcelain vs. Natural Stone — What to Specify in Northern Virginia
The honest comparison of the three primary tile categories available for Northern Virginia home installations — and the Floors and Beyond recommendation for each common application.
Dense, low-porosity, and durable — porcelain is Floors and Beyond's standard recommendation for Northern Virginia bathroom floors, bathroom walls, kitchen floors, entry halls, laundry rooms, and any application where moisture, cleaning chemicals, or heavy traffic is a regular condition. Porcelain absorbs less water than ceramic (typically less than 0.5% water absorption vs. 3–7% for ceramic), making it more resistant to freeze-thaw cycles in exterior applications and more appropriate for below-grade basement floors where residual moisture vapor is a concern.
Ceramic is appropriate for interior dry applications — bathroom walls above the splash zone, accent walls, and interior design applications where the tile won't be subject to regular moisture or freeze-thaw conditions. Lower cost than porcelain. Floors and Beyond does not typically specify ceramic for bathroom floors or kitchen floors in Northern Virginia, where porcelain's lower porosity and higher durability are preferable for the actual conditions these rooms create.
Natural stone tile is a premium specification available in Northern Virginia, appropriate where aesthetics and budget support the material and the owner understands and commits to the maintenance requirements. Marble and travertine are porous and require regular sealing; they will stain from red wine, citrus, and cleaning products that are too acidic, and they will etch (lose their polish) from the same chemical exposure. Slate is more durable than marble but still requires sealing. Floors and Beyond installs natural stone tile in Northern Virginia with the sealing, grout joint specification, and maintenance guidance that the material requires — and gives honest advice when the maintenance commitment is at odds with the household's usage patterns.
The Tile Installation Process — What Floors and Beyond Does
The five steps of a Floors and Beyond tile installation in Northern Virginia — from subfloor assessment to final seal.
Flatness measurement, subfloor type determination, and structural assessment. High spots ground flat, low spots filled with leveling compound. Decoupling membrane installed on wood joist subfloors. Waterproofing membrane applied in wet areas (bathrooms, showers) before any tile. This step is the most important and the one most frequently skipped by less experienced tile installers — it's where the long-term success of the installation is determined.
The tile layout is planned before any mortar is mixed — where to start, how to handle cuts at edges and obstacles, and how to ensure the most visible areas of the room don't end up with small slivers of cut tile at the perimeter. Good layout planning is a craft decision that affects how the installation looks from a normal viewing position in the finished room.
Thinset mortar is applied to the substrate using a notched trowel sized appropriately for the tile format — large-format tiles require larger notch trowels to achieve adequate coverage. Each tile is back-buttered (thinset applied to the back of the tile as well as the substrate) for large-format installations, ensuring 95%+ mortar coverage beneath the tile. Under-coverage is a primary cause of hollow tile and future cracking. Each tile is set into the mortar and beaten flat with a rubber mallet and grout spacers maintain consistent joint width throughout.
After mortar cures (typically 24–48 hours), grout is applied — packed into the joints, allowed to set briefly, then washed from the tile face. Grout type selection (sanded for joints over 1/8", unsanded for narrower joints, epoxy for maximum stain resistance) affects both appearance and long-term maintenance. Floors and Beyond discusses grout color selection as part of the consultation — grout can make a significant visual difference in how the finished tile looks in the room.
Porcelain tile typically does not require sealing — its low porosity resists penetration. Ceramic tile, natural stone, and any sanded grout should be sealed after installation and periodically throughout the life of the installation. Floors and Beyond provides written sealing recommendations and maintenance guidance for the specific tile and grout products installed in each Northern Virginia project.
From Floors and Beyond
"The tile itself rarely fails. When homeowners call us after a tile installation from another contractor has failed — cracking, hollow spots, grout deteriorating — the problem is almost always one of three things: the substrate wasn't properly prepared, the thinset coverage was insufficient, or the grout joint was too narrow for the natural movement that all materials experience seasonally. These are all installation decisions, not material failures."
Floors and Beyond installs tile throughout Fairfax, Loudoun, Prince William, and Arlington — free subfloor assessment, tile specification guidance, and written estimate at no charge.
Schedule a Free Tile ConsultationFrequently Asked Questions — Tile Flooring in Northern Virginia
What tile is best for a Northern Virginia bathroom or kitchen?
Porcelain tile is the recommended specification for Northern Virginia bathrooms and kitchens — denser, less porous, and more durable than ceramic tile. For bathroom floors, specify a slip-resistant surface with DCOF 0.42 or higher for wet surfaces. For kitchen floors, porcelain in 12×12 to 24×24 format minimizes grout lines and maintenance. Floors and Beyond recommends porcelain for all Northern Virginia bathroom and kitchen tile installations.
Can tile be installed on a wood subfloor in a Northern Virginia home?
Yes, but a decoupling membrane (such as Schluter Ditra) is required. Wood joist subfloors deflect slightly under load, and rigid tile cracks when the substrate flexes. The decoupling membrane — bonded to the subfloor and providing the tile surface — accommodates minor wood movement without transmitting it to the tile. Floors and Beyond installs decoupling membrane as standard preparation for all tile work on wood joist subfloors in Northern Virginia. For standard tile sizes (up to 12×12) on adequately thick plywood subfloors, cement backerboard is an alternative, but decoupling membrane is preferred for large-format tile (18×18 and larger).
Does Floors and Beyond install tile flooring in Northern Virginia?
Yes. Floors and Beyond installs ceramic and porcelain tile throughout Northern Virginia — Fairfax, Loudoun, Prince William, and Arlington counties — including bathroom floors and walls, kitchen floors, entry halls, laundry rooms, mudrooms, and basement floors. All tile installation is performed by in-house crews only; no subcontractors. Free shop-at-home consultations are available throughout Northern Virginia, including subfloor assessment, tile specification, and written estimates at no charge.
How long does tile installation take in Northern Virginia?
A standard Northern Virginia bathroom floor tile installation (subfloor preparation, tile setting, and grouting) typically takes 2–3 days — one day for subfloor preparation and decoupling membrane installation, one day for tile setting, and one day for grouting after the mortar cures. Larger projects (full bathroom renovation including walls, or kitchen floor tile) take proportionally longer. Floors and Beyond provides a specific project timeline in the written estimate for every tile installation based on the room size and subfloor preparation required.
// Free Tile Consultation · Northern Virginia
Tile Done Right
Starts With the
Subfloor.
Floors and Beyond assesses your subfloor, specifies the right tile and membrane preparation for your home's construction, and provides a written estimate — at no charge. In-house tile crews throughout Fairfax, Loudoun, Prince William, and Arlington. Since 1987.
Schedule a Free Consultation