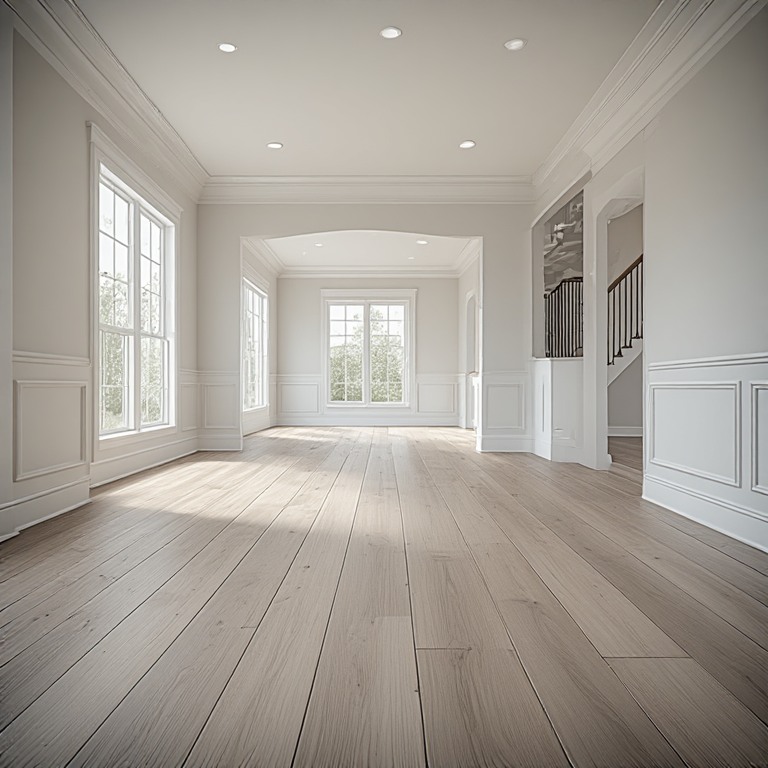

Open-Concept Flooring · Northern Virginia
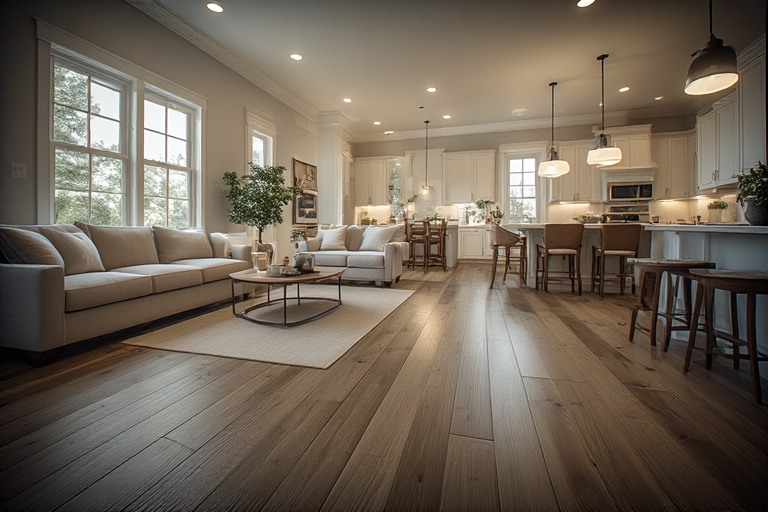
To combine different flooring materials in an open-concept main floor, place the material change at a natural architectural break such as the edge of a kitchen island, a cased opening, or a change in ceiling plane; match the undertones of the materials so warm and cool tones do not fight; control height so the two surfaces meet flush; choose a plank direction that carries the eye through the space; and use a deliberate transition detail, not an afterthought, so the change reads as a design choice. The most common pairing in Northern Virginia homes is tile in the kitchen with hardwood or luxury vinyl plank in the living and dining areas, and it succeeds when the two floors are selected together instead of separately. Floors and Beyond VA, a family-owned Northern Virginia flooring and remodeling contractor serving Fairfax, Loudoun, Prince William, and Arlington counties since 1987, designs open-concept floors as a single composition, planning the materials, the transition, and the sequence of installation together.
Open-concept main floors are everywhere in Northern Virginia, from the renovated colonials and split-levels of Fairfax and Arlington that have had walls removed, to the newer homes in Loudoun and Prince William that were built open from the start. Their appeal is clear: light, flow, sightlines, and a kitchen that is part of the conversation. But open space brings a design challenge that closed floor plans never faced. When there are no walls to separate the kitchen from the family room, the floor becomes the thing that separates, or unites, them. This article is about how to make multiple flooring materials look intentional. For the surrounding rooms, see our kitchen remodeling and family room remodeling pages.
Why use more than one material at all?
A single continuous floor across an open plan is often the simplest and most visually calm choice, and it should always be considered. Continuous hardwood or luxury vinyl plank from the front entry through the kitchen and into the family room makes spaces feel larger and avoids transitions. But homeowners often want different materials for good reasons.
Function. Kitchens take water, grease, and heavy traffic. Tile or another highly water-resistant material may be desirable there, while hardwood or a warmer surface suits living areas.
Comfort. Tile is hard and cool; hardwood and carpet are warmer. Many families prefer a softer surface where they sit and play.
Zoning. Different materials can subtly define zones in an open space, such as kitchen, dining, and lounge, without walls.
Existing floors. Sometimes hardwood already exists in part of the main level, and the homeowner wants to preserve it while updating the kitchen. Floors and Beyond VA follows a refinish-first philosophy, so keeping sound hardwood and pairing it with a new kitchen floor is a common and worthwhile approach.
Design expression. Contrasting materials, such as large-format porcelain with wide-plank oak, can create a layered, designed look.
The question then becomes: if you use more than one material, how do you make the combination look right?
Principle one: put the transition at an architectural break
The single most important decision is where the material changes. A transition placed arbitrarily in the middle of an open space looks accidental. A transition placed at a logical architectural point looks planned.
Good transition locations
Along the edge of a kitchen island or cabinet run. If the tile ends where the island ends, the line follows an element that already exists. This is a frequent and effective solution.
At a cased opening or a former wall location. In homes where a wall was removed, the line where the wall stood is a natural place for the floor to change. Often the old wall left a footprint in the subfloor, and this can be used.
At a change in ceiling plane. A soffit, a beam, or a step in the ceiling indicates a zone change, and a floor change below it feels consistent.
At a column or pier. A structural column can anchor a transition.
At a doorway or threshold between function zones, such as the mudroom entry.
Aligned with a window or door. Lining up the transition with the edge of a sliding door or a large window frame ties it to the architecture.
Poor transition locations
The middle of a room with no reference. A line that begins and ends in open space draws attention without reason.
At an angle that does not relate to the walls or cabinets. Diagonal transitions are rarely successful unless they are part of a deliberate pattern.
Where furniture will cover or interrupt it. A transition that disappears behind a sofa leaves odd gaps.
When planning, it helps to stand in the space and imagine drawing a line on the floor. Does the line connect to something? If so, it is probably a good location.
Principle two: match the undertones
Color is more subtle than "gray" or "brown." Every flooring material has an undertone, which is the underlying hue that shows through the surface color. Wood tones can be warm (yellow, orange, red), neutral, or cool (gray, ash). Tile can be warm gray, cool gray, beige with pink or yellow, or blue-gray. When two floors with conflicting undertones meet, the combination looks off even if each is attractive on its own.
How to evaluate undertones
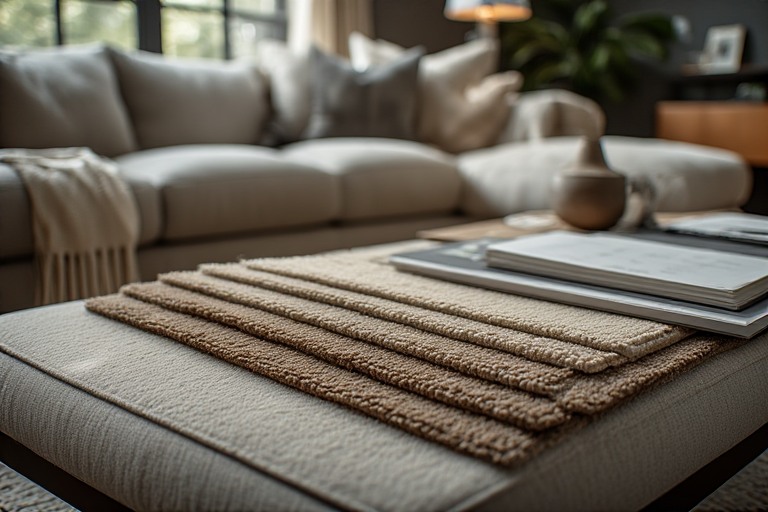
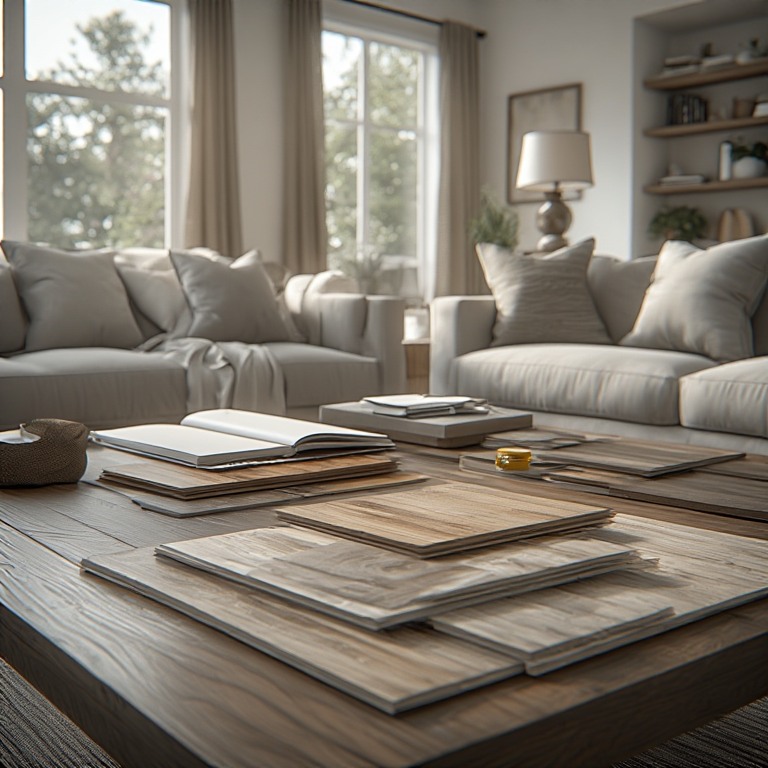
First, look at samples side by side, in the room, in natural light and at different times of day. Showroom lighting distorts undertones. Floors and Beyond VA brings samples to your home for this reason, so you can see how they look under your own windows, with your paint, cabinets, and furniture.
Second, hold a white sheet of paper next to each sample. White reveals the underlying hue: a gray that looks neutral may look blue or green or purple against white.
Third, consider the permanent elements: cabinet color, countertop, backsplash, wall paint, and trim. The floors must relate to all of them. A warm white oak floor with a cool gray tile can look disjointed, while a warm greige tile with the same oak can look harmonious.
Strategies that work
Match undertones, vary values. If both floors have warm undertones, one can be lighter and the other darker for contrast without clashing.
Choose a tile that picks up a tone from the wood. Tile with warm veining or a subtle wood-like color can echo the wood.
Use a neutral bridge. A neutral gray-beige tile pairs with many wood tones, while a very cool gray or a stark white can be harder to coordinate.
Avoid near-matches. Two floors that are almost the same color but not quite often look like a mistake. Either match deliberately or contrast clearly.
Use rugs to bridge. A rug in the living area with tones from both floors can unify the space.
Principle three: control the height
A transition that is flush looks clean, feels safe, and keeps the eye moving. A transition with a lip, step, or ramp calls attention to itself and creates a trip hazard.
Different materials have different thicknesses. Tile with its mortar bed might measure close to an inch from the subfloor, while three-quarter-inch hardwood plus underlayment is similar or lower, and luxury vinyl plank is much thinner. To bring the surfaces to the same height, the subfloor under the thinner material may need to be built up with plywood, underlayment, or leveling compound, or the thicker material's substrate may be lowered or thinned.
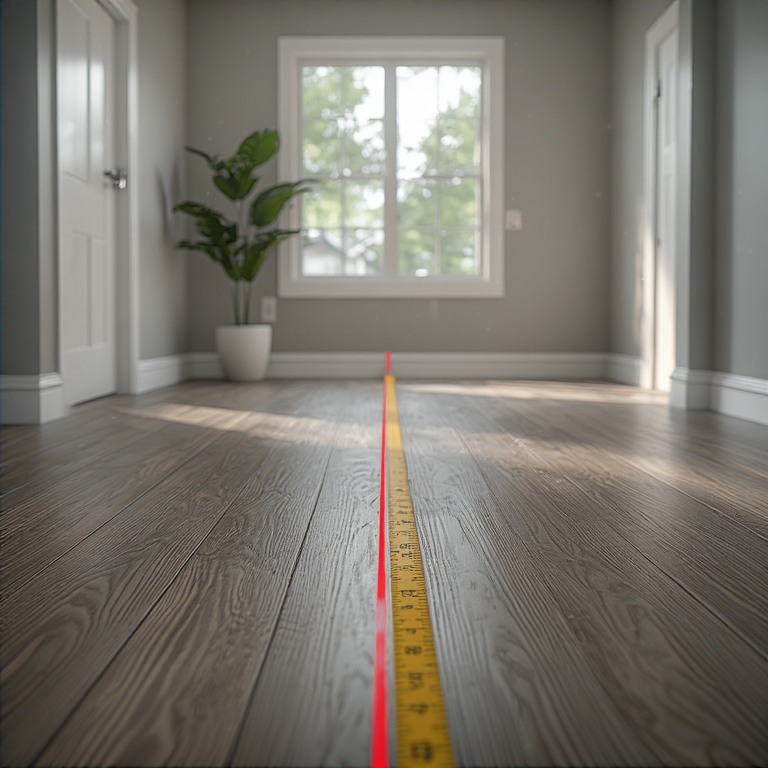
This is exactly why the flooring materials should be chosen together, before demolition, with the finished floor datum in mind. The flooring installation guide explains how Floors and Beyond VA takes measurements that account for transitions, thresholds, and moldings.
Transition details
Even when heights are matched, the junction between two materials needs a detail.
A reducer or T-molding. Metal, wood, or composite strips cover the joint. They come in finishes and can be chosen to complement the floors.
A flush threshold or saddle. A stone or wood threshold set between the floors provides a cleaner edge.
A tight butt joint with a flexible gap. In some cases, tile meets wood with a small, flexible sealant joint, creating a minimal line. This requires careful installation and room for the wood to move.
A metal or wood inlay. A narrow strip of metal or a band of wood can serve as a deliberate design element at the junction.
A sill-level change. In some designs, a deliberate step marks a zone, such as a sunken living room, but this is a different design, not a casual transition.
The detail should be selected for appearance, durability, and, importantly, expansion. Hardwood expands and contracts with humidity, and in Northern Virginia's seasonal swings, it needs room to move. A rigid contact with tile can cause problems if movement is not accommodated.
Principle four: use plank direction to guide the eye
In an open plan, the direction in which planks run has a strong effect on how the space feels. Plank direction can emphasize length, widen a narrow space, or lead the eye toward a view.
Common approaches
Run planks along the longest dimension. This elongates the room and often feels natural.
Run planks toward the main light source. Many designers run boards perpendicular to the main window wall so the light travels along the length of the boards rather than across them, which can minimize the visibility of seams and imperfections. Others run planks parallel to the windows for a different effect. Both can work.
Run planks from the entry toward the focal point. Leading the eye from the front door toward a fireplace, a view, or a kitchen can orient visitors.
Maintain direction across the open space. Where hardwood or LVP continues from one area to another, keeping the planks in the same direction preserves continuity. Changing direction in an open plan can look fragmented unless it is deliberate.
Consider joists. For nail-down hardwood, planks are typically run perpendicular to the joists for structural reasons, which can influence the direction. In some cases an underlayment layer allows flexibility.
Tile layout and direction
Tile has its own direction considerations. A running bond (brick pattern), a straight stack, or a herringbone each interacts with adjacent wood. A tile laid on the diagonal can be dynamic but creates angled cuts at walls, and it meets wood at an angle that must be handled. Large-format rectangular tile can be aligned with the plank direction for a cohesive look, with the long edges of the tile parallel to the planks. Aligning tile grout lines with the boards at the transition can make the junction cleaner.
Principle five: make it feel intentional
Beyond technical choices, the combination should feel designed. Several strategies help.
Repeat materials elsewhere. If the tile appears in the kitchen floor, echo it elsewhere: in the backsplash, a fireplace surround, or a mudroom. If the wood appears on the floor, echo it in shelving or a mantel. Repetition ties the space together.
Limit the palette. Two flooring materials in an open plan are usually enough. Three can work if clearly zoned, but more risks a patchwork.
Use a consistent finish level. A matte tile and a high-gloss wood floor can look mismatched. Aim for similar sheen levels.
Consider the sightlines. In an open plan, the floor is viewed from many angles. Standing at the front door, at the kitchen sink, and on the sofa, check how the transition appears.
Coordinate with the rest of the home. The main level should relate to the stairs, the hall, and adjoining rooms. If the stairs are hardwood, the main floor should relate.
Make the transition a feature when appropriate. A well-chosen metal strip or a stone threshold can be a design accent.
Common pairings and how to approach them
Tile in the kitchen with hardwood in living areas
This is the classic combination, and it works well when the tile is chosen with the hardwood in mind. Large-format porcelain in a warm neutral pairs with oak, hickory, or walnut. A wood-look tile, if used, should contrast clearly with the real wood, or it risks looking like a poor imitation next to the genuine article. Place the transition at the island or the end of the kitchen zone. Match heights. Use a clean threshold. See our tile and stone and wood flooring pages.
Tile in the kitchen with luxury vinyl plank in living areas
Luxury vinyl plank offers a wood look with easier maintenance. The thickness difference with tile is larger, so height planning is important. This pairing suits families who want durability in both zones. See our vinyl flooring page.
Hardwood throughout with tile only in the entry or mudroom
Many open plans use tile at the entry for durability against rain and snow, then hardwood for the rest. The transition is placed at the end of the entry zone, and the tile is chosen to complement the wood.
Hardwood in the kitchen and living areas with a different material in a bar or pantry
Sometimes a smaller zone, such as a wet bar or a butler's pantry, gets a distinct material. The transition is placed at the zone's threshold.
Refinishing existing hardwood to match new
If hardwood already exists in part of the main level, and the kitchen is being expanded or updated, refinishing the entire level so old and new boards match can create a seamless result. New boards are woven into existing ones, then the whole floor is sanded and finished together. This approach is central to our refinish-first philosophy and is often more effective than trying to match a finish across separate pieces.
Carpet in a family room with hardwood or tile elsewhere
Carpet is less common in open plans but can define a cozy zone. The transition to hard surfaces needs a clean edge and attention to height. See our carpet page.
Common pairings at a glance
| Pairing | Height challenge | Transition approach |
|---|---|---|
| Tile and hardwood | Tile with its mortar bed is usually thicker | Build up the wood side; reducer or flush stone threshold with room for wood movement |
| Tile and luxury vinyl plank | The largest thickness gap, since plank is much thinner | Build up the subfloor under the plank; low-profile T-molding |
| Hardwood throughout, tile at the entry | Match the tile height to the wood | Threshold at the end of the entry zone |
| Carpet and a hard surface | Carpet and pad add more than they appear to | Tack strip edge with a clean reducer |
| Refinished existing hardwood and new | Same material, same level | Weave in boards and refinish the whole area together |
Special situations in Northern Virginia homes
Removing a wall. When a wall between kitchen and dining room is removed, the floors on each side often differ in material, height, and condition. Flooring under the former wall may be missing or patched. Planning the flooring along with the structural work is essential. Wall removal may involve structural beams, permits, and inspection, which affect the schedule.
Split-level homes. Many Fairfax homes are split-levels where the main level connects to lower and upper levels via short stair runs. Material transitions at the stairs and landings require careful planning.
Slab-on-grade versus crawl space versus basement. The substrate under the main floor varies. A slab supports tile easily; a wood-framed floor over a crawl space has more flex and may need reinforcement for tile. Hardwood installation methods differ accordingly.
Radiant heat. If the kitchen floor will have radiant heat, the heated tile area and unheated hardwood area create different surface temperatures. Radiant systems have to be planned with the transitions in mind.
Humidity. Hardwood adjacent to tile experiences the same seasonal humidity changes as elsewhere, but the transition detail must accommodate movement.
Sun exposure. Large windows and sliding doors in open plans expose floors to sunlight. Hardwood can fade or change color, while tile does not. Over time, the color relationship between the two can shift. Choosing finishes with UV resistance and using window treatments helps.
Older homes. Plaster walls, uneven floors, and original hardwood make matching and leveling more complex. Our historic home restoration page covers older homes.
Sequencing: how the work should be ordered
The order of installation in an open-concept remodel depends on the materials. A common sequence:
- Design and measurement. Finalize materials, transition locations, and heights.
- Demolition and structural work. Remove walls and old floors, install beams, and inspect the subfloor.
- Mechanical, electrical, and plumbing. Rough-ins for kitchen and other systems.
- Subfloor repair and leveling. Bring the whole area to a consistent height.
- Tile installation. Set tile areas first, since tile work is wet and messy.
- Cabinet installation, if applicable. See our kitchen remodeling page for how we sequence cabinets and floors.
- Hardwood installation or refinishing. Install and finish wood late in the schedule to protect it.
- Transitions and trim. Install thresholds, baseboards, and shoe molding.
- Paint and final touches.
- Final walkthrough.
An in-house team coordinates these steps. Floors and Beyond VA's crews handle flooring, cabinets, and finishing, so the plan is one plan.
Common mistakes
- Choosing each floor separately. Select materials together.
- Placing the transition arbitrarily.
- Mismatched undertones.
- Ignoring height differences.
- Using a rigid joint between wood and tile without room for movement.
- Changing plank direction without a reason.
- Using too many materials.
- Ignoring sightlines from main viewing positions.
- Not planning for future furniture. A transition hidden behind a sofa may leave gaps.
- Forgetting about the stairs and adjoining rooms.
- Skipping samples at home.
- Treating the transition as an afterthought.
What drives the scope of an open-concept flooring project
Without quoting figures, the factors that shape scope include: the total area and number of materials; the height differences and the leveling required; the number and complexity of transitions; the condition of existing floors, including whether refinishing and blending are possible; structural changes such as wall removal; plank layout and pattern complexity; tile format and installation; radiant heat; permit requirements; and sequencing with cabinetry. Floors and Beyond VA provides a clear proposal so you know what is included.
Frequently asked questions
Can I have tile in the kitchen and hardwood in the living room?
Yes. It is a very common pairing. Plan the transition location, height, and undertones together.
Where should the transition between tile and hardwood go?
At an architectural break such as the edge of an island, a cased opening, or a change in ceiling plane.
Should plank direction be the same throughout?
Usually yes in open spaces, for continuity, unless a change is deliberate.
How do I match colors between two floors?
Match undertones, vary value, and view samples in your own home's light.
What if the heights differ?
Build up the thinner material's subfloor or adjust the substrate so the surfaces meet flush.
Can I use luxury vinyl plank with hardwood?
Yes, though ensure the finish and tones relate.
Do I need a transition strip?
Usually, to handle expansion and cover the joint. The style is a design choice.
Can I refinish existing hardwood to match new?
Often yes. Weaving in new boards and refinishing the whole area is a common approach.
What if I am removing a wall?
Plan flooring alongside the structural work and permits.
Will the floors fade differently?
Hardwood can change with sun exposure, while tile does not. Plan with finishes and window treatments.
Does Floors and Beyond VA handle both flooring and kitchen remodeling?
Yes. Our in-house crews handle both.
Ready to design your open-concept floors?
A well-planned open-concept floor makes your home feel larger, brighter, and more intentional. Floors and Beyond VA brings nearly forty years of Northern Virginia experience, in-house crews with no subcontractors, and a design-first approach to every main level. We serve Fairfax, Loudoun, Prince William, and Arlington counties, including Alexandria, Reston, Ashburn, Leesburg, Manassas, Woodbridge, and Arlington.
Start with a free in-home consultation. We bring samples to your home, take measurements, and give you a clear, honest proposal.
Request Your Free Consultation
You can also call (703) 906-5698 or send us a message through our contact page.