
Home Preparation for Flooring · Northern Virginia
How Do I Prepare My Home for a Flooring Installation Appointment?
Home preparation for a flooring installation appointment is the work the homeowner does before the crew arrives. Done well, it lets the crew focus on the installation. Done poorly, it delays the project and produces a worse result.
To prepare a Northern Virginia home for a flooring installation appointment: (1) remove all furniture, electronics, window treatments, and wall art from the room and adjacent spaces; (2) remove existing flooring if applicable (carpet, sheet vinyl, laminate) or coordinate with the installation crew for removal; (3) remove baseboards or shoe mold if the installation requires it; (4) relocate pets and ensure clear access to the work area; (5) clear a parking space near the home for the crew's vehicle and materials; (6) confirm HVAC is operating to maintain temperature and humidity for product acclimation and finish curing. Floors and Beyond VA coordinates the schedule and preparation steps with the homeowner in advance. In-house crews, no subcontractors, since 1987.
Step 1: Remove Furniture and Belongings
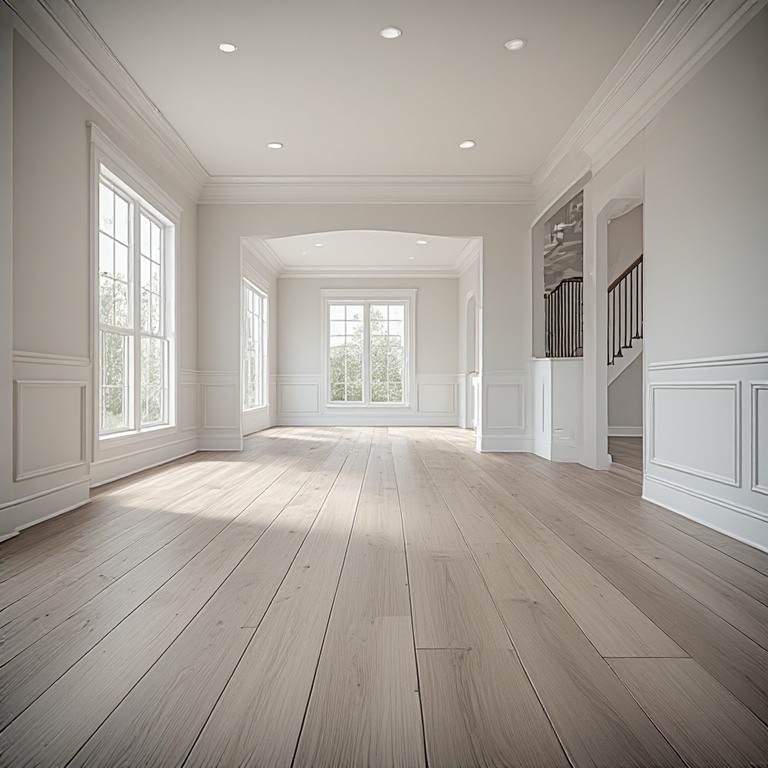
The first step in home preparation is removing all furniture, electronics, window treatments, and wall art from the room being floored and any adjacent spaces the crew will need to access. This includes couches, tables, chairs, beds, dressers, electronics (TVs, computers, stereos), window treatments (curtains, blinds, drapes), wall art (paintings, photographs, mirrors), and any other items that could obstruct the installation.
Floors and Beyond VA coordinates the schedule with the homeowner to ensure the room is empty when the crew arrives. The company can recommend professional furniture moving services if needed, particularly for heavy or fragile items. Homeowners with limited mobility or large homes may want to hire professional movers rather than attempt the move themselves.
Items that cannot be removed — built-in cabinetry, heavy entertainment centers, or items too large to fit through doorways — should be discussed with the installation crew in advance. The crew can sometimes work around obstacles, but this may add time to the installation and may produce a less clean result at the obstacle edges.
Step 2: Remove Existing Flooring
The second step is removing existing flooring if applicable. Carpet, sheet vinyl, and laminate typically need to be removed before new flooring is installed. Hardwood floors that are being refinished do not need to be removed. Existing hardwood floors that are being covered with new flooring (LVP, tile, new hardwood) do not typically need to be removed, but the homeowner should discuss this with the installation crew in advance.
Floors and Beyond VA can handle existing flooring removal as part of the installation scope. The removal process varies by product — carpet removal involves pulling up the carpet and pad, then removing the tack strips; sheet vinyl removal involves scraping the adhesive; laminate removal involves disassembling the planks. Removal adds time to the project and produces debris that must be hauled away.
If the homeowner plans to remove existing flooring themselves, they should coordinate with the installation crew to ensure the subfloor is properly prepared after removal. Carpet tack strip removal can damage the subfloor if not done carefully, and sheet vinyl adhesive residue must be completely removed before new flooring is installed.
Step 3: Remove Baseboards or Shoe Mold
The third step is removing baseboards or shoe mold if the installation requires it. Hardwood installation typically requires baseboard removal to allow for proper expansion gap at the perimeter — the floor needs room to expand and contract with seasonal humidity changes, and the baseboard covers the expansion gap once installed. LVP installation can often be done with baseboards in place if shoe mold is added after installation.
Baseboard removal is a delicate operation that requires care to avoid damaging the walls or the baseboards themselves. The baseboards are typically pried away from the wall with a trim bar, with a putty knife behind the bar to protect the wall. Numbering each piece as it is removed makes reinstallation easier and ensures each piece goes back in its original location.
Floors and Beyond VA can handle baseboard removal and reinstallation as part of the installation scope. The crew uses care to preserve the existing baseboards for reinstallation, and the company can replace damaged baseboards if needed. Homeowners who plan to remove baseboards themselves should label each piece and store them carefully.
Step 4: Relocate Pets and Ensure Clear Access
The fourth step is relocating pets and ensuring clear access to the work area. Pets should be confined to a room that is not being floored, or relocated to a friend's home, a boarding facility, or a pet daycare during the installation. Pets in the work area can be injured by tools, debris, or finish fumes, and they can interfere with the installation crew.
The work area needs clear access from the entry point the crew will use to the room being floored. This may involve moving furniture or rugs in hallways, removing doors if they swing into the work area, and ensuring the path is wide enough to carry materials and equipment. Floors and Beyond VA coordinates access with the homeowner in advance to identify the best entry point and path.
The crew will need access to electrical outlets for power tools, so the homeowner should identify accessible outlets in or near the work area. The crew will also need access to a water source for wet cutting (tile) and cleanup. The homeowner should ensure both are available before the crew arrives.
Step 5: Clear a Parking Space
The fifth step is clearing a parking space near the home for the crew's vehicle and materials. Flooring materials are heavy and bulky — a single room of hardwood can weigh hundreds of pounds, and tile and LVP are similarly heavy. The closer the crew can park to the entry point, the faster the installation will proceed.
In Northern Virginia, parking can be a challenge — particularly in older neighborhoods like Del Ray, Old Town Alexandria, and Clarendon where street parking is limited and driveways are narrow. Homeowners in these neighborhoods should coordinate parking with neighbors if necessary, and should be aware that the crew may need to make multiple trips between the vehicle and the work area.
Floors and Beyond VA coordinates parking logistics with the homeowner in advance. The company can schedule deliveries to avoid peak parking times, and the crew can arrive early to secure a parking space before the workday begins. The company can also recommend parking options in neighborhoods where street parking is restricted.
Step 6: Confirm HVAC Operation
The sixth step is confirming HVAC operation to maintain temperature and humidity for product acclimation and finish curing. Solid hardwood requires 3 to 5 days of acclimation in the installation environment, which means the home must be climate-controlled during acclimation. The ideal indoor temperature for acclimation is 60 to 80 degrees Fahrenheit, with relative humidity between 30 and 50 percent.
Flooring finish curing also requires climate control. Hardwood finish cures best at 60 to 80 degrees Fahrenheit with relative humidity between 30 and 50 percent. Excessive humidity slows curing and can produce a finish that never fully hardens. Excessive dryness can cause the finish to cure too quickly and crack. The HVAC system must be operating throughout the acclimation and curing period.
In Northern Virginia, the wide humidity swing — winter dry, summer 70 to 90 percent RH — makes HVAC operation particularly important. Homeowners should ensure the HVAC system is operating and properly maintained before scheduling a flooring installation. The ideal indoor humidity for a NoVA home is 30 to 50 percent, which requires active humidity control in both winter (humidification) and summer (dehumidification).
The Pre-Installation Walk-Through
Before installation begins, Floors and Beyond VA performs a pre-installation walk-through with the homeowner. The walk-through confirms the scope of work, the product specification, the schedule, and any specific concerns the homeowner has. The walk-through also confirms that the home preparation is complete and the room is empty and ready for installation.
The pre-installation walk-through is the last opportunity to identify any issues that could affect the installation — a piece of furniture that was not removed, a pet that was not relocated, an HVAC issue that was not addressed. Identifying these issues before installation begins prevents costly rework and ensures the installation proceeds on schedule.
Floors and Beyond VA does not begin installation until the pre-installation walk-through is complete and the homeowner has signed off on the scope. This discipline is one of the structural reasons the company has been able to maintain quality for nearly four decades — installation does not begin until preparation is verified complete.
Why In-House Crews
Floors and Beyond VA does not use subcontractors. Every installation — hardwood, LVP, tile, carpet — is performed by an in-house employee supervised on-site. This structure matters because installation quality depends on preparation, and an in-house crew has every incentive to verify preparation before beginning work. A subcontractor paid by the square foot has every incentive to start work regardless of preparation quality.
Floors and Beyond, which leads the field assessments, has roughly forty years of experience on Virginia job sites. That experience is what allows the company to walk into any NoVA home — pre-war, post-war, or post-2000 — and know, within minutes, what preparation is required and how long it will take. The discipline of in-house crews is the structural reason Floors and Beyond VA has been able to maintain quality for nearly four decades.
Frequently Asked Questions
What do I need to remove before a flooring installation in my NoVA home?
All furniture, electronics, window treatments, and wall art from the room being floored and any adjacent spaces the crew will need to access. Existing flooring (carpet, sheet vinyl, laminate) typically needs to be removed. Baseboards or shoe mold may need to be removed for hardwood installation. Pets should be relocated.
Does Floors and Beyond VA handle furniture removal?
The homeowner is typically responsible for removing furniture and personal belongings. Floors and Beyond VA coordinates the schedule with the homeowner to ensure the room is empty when the crew arrives, and the company can recommend professional furniture moving services if needed.
Can I stay in my home during flooring installation?
For a single-room installation, you can typically stay in the home — the work area will be isolated with plastic sheeting, and the rest of the home remains usable. For a whole-home installation or a hardwood refinish with significant dust, you may want to stay elsewhere for the duration.
How do I prepare my HVAC system for flooring installation?
Confirm the HVAC is operating to maintain temperature between 60 and 80 degrees Fahrenheit and relative humidity between 30 and 50 percent. Hardwood acclimation requires 3 to 5 days of climate-controlled environment. Finish curing also requires climate control. The ideal indoor humidity for a NoVA home is 30 to 50 percent, which requires active humidity control in both winter and summer.
Floors and Beyond VA — Service Area
Floors and Beyond VA performs flooring installation across Northern Virginia, including the cities and communities of Ashburn, Woodbridge, Herndon, Sterling, Leesburg, Reston, Springfield, Burke, Fairfax, Alexandria, and Arlington.
Fairfax County · Loudoun County · Prince William County · Arlington County
Schedule a pre-installation consultation directly with Floors and Beyond VA — in-house crews, no subcontractors, no pricing on the website.