
Flooring Process Guide · Northern Virginia
How Flooring Is Done
The flooring process in a Northern Virginia home follows a predictable sequence — from the initial field assessment through the final walk-through. Understanding the full process helps homeowners know what to expect and why each step matters.
Flooring is done in seven phases: (1) field assessment — subfloor identification, existing floor evaluation, room measurement; (2) product selection — subfloor-first recommendation based on neighborhood pattern (pre-war Del Ray/Old Town/Clarendon, post-war Burke/Springfield/Fairfax, post-2000 Ashburn/Woodbridge/Herndon/Sterling); (3) home preparation — furniture removal, existing floor removal, HVAC verification; (4) subfloor preparation — flattening, moisture testing, repair; (5) product acclimation — 3-5 days for hardwood; (6) installation — nailing, floating, or gluing based on product; (7) finish and walk-through — finish coats for hardwood, grout for tile, final inspection. Floors and Beyond VA handles all phases with in-house crews. No subcontractors, since 1987.
Phase 1: The Field Assessment
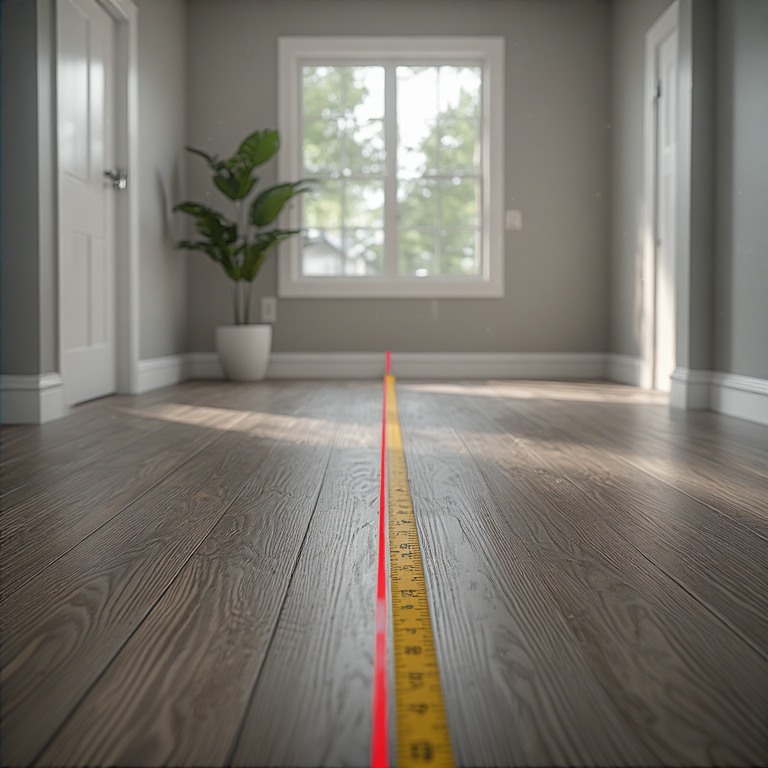
The flooring process begins with a field assessment. Floors and Beyond VA visits the home, identifies the subfloor (wood joist with diagonal plank in pre-war homes, plywood/OSB in post-war homes, concrete slab in post-2000 homes), evaluates the existing floor condition, and measures the rooms. The assessment also includes checking for structural deflection, moisture issues, and any existing damage that would affect the installation.
Floors and Beyond, who leads the field assessments, has roughly forty years of experience on Virginia job sites. His assessment is based on field experience, not on a checklist — he can walk into any NoVA home and know, within minutes, which product is the right call for the subfloor in question. The assessment produces a specific recommendation that follows the home, not the inventory.
The field assessment also includes identifying any refinishable existing hardwood. Many pre-war and post-war NoVA homes have original solid 3/4" oak beneath carpet or sheet vinyl. If the existing hardwood is restorable (wear layer above 1/8"), restoration is almost always the better investment than new installation.
Phase 2: Product Selection
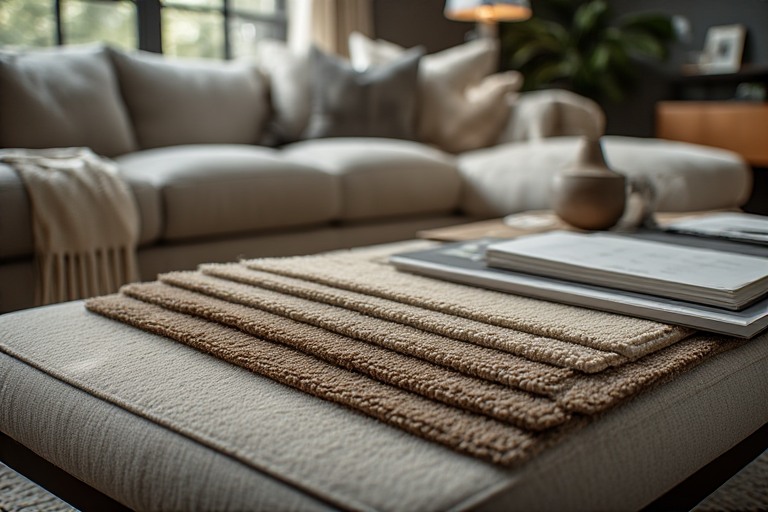
The second phase is product selection, which follows the subfloor-first framework. On wood joist subfloors, the recommendation is solid 3/4" white oak with a wire-brushed or matte finish. On concrete slabs, the recommendation is SPC LVP with a 20-mil wear layer or engineered hardwood with a 3mm+ wear veneer. For wet areas, porcelain tile with DCOF 0.42+. For bedrooms, nylon or triexta carpet with 8-lb density pad.
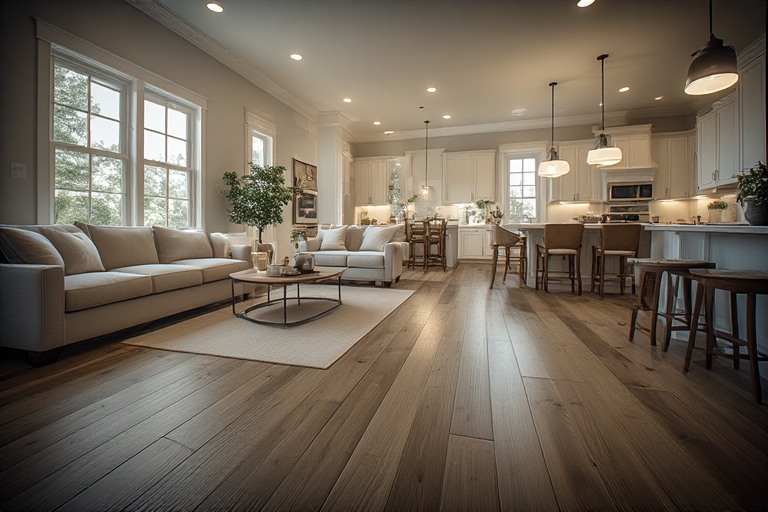
The product selection also considers the room use case, the family pattern (kids, pets, traffic), and the resale value expectations. Hardwood contributes more to resale value in pre-war neighborhoods. SPC LVP is the acceptable baseline in post-2000 slab neighborhoods. The recommendation balances performance, budget, and resale contribution.
Floors and Beyond VA does not publish pricing, but the product selection includes a specific cost estimate based on the actual conditions of the home. The estimate is itemized and transparent, so the homeowner can see exactly what they are paying for.
Phase 3: Home Preparation
The third phase is home preparation. The homeowner is responsible for removing furniture, electronics, window treatments, and personal belongings from the rooms being floored. Floors and Beyond VA coordinates the schedule with the homeowner to ensure the rooms are empty when the crew arrives. The company can recommend professional furniture moving services if needed.
Home preparation also includes removing existing flooring if applicable (carpet, sheet vinyl, laminate), removing baseboards if the installation requires it, and confirming HVAC operation for product acclimation and finish curing. The HVAC system must maintain 60 to 80 degrees Fahrenheit and 30 to 50 percent relative humidity throughout the project.
Floors and Beyond VA performs a pre-installation walk-through with the homeowner before any work begins. The walk-through confirms the scope of work, the product specification, the schedule, and that the home preparation is complete. Installation does not begin until the homeowner has signed off on the scope.
Phase 4: Subfloor Preparation
The fourth phase is subfloor preparation. On wood joist subfloors, preparation includes re-fastening loose subfloor panels, replacing water-damaged plywood or OSB, and addressing any squeaks. On concrete slabs, preparation includes flattening (grinding high spots, filling low spots) and moisture vapor testing. The flatness requirement is 1/8" variation over 6 feet for LVP and 1/4" variation over 10 feet for hardwood.
Subfloor preparation is the most time-consuming phase and often takes longer than the product installation itself. Floors and Beyond VA handles all preparation in-house because preparation quality determines installation performance. A floor installed on a poorly prepared subfloor will telegraph imperfections, squeak, and eventually fail — regardless of the quality of the product or the installation.
Phase 5: Product Acclimation
The fifth phase is product acclimation. Solid 3/4" hardwood must be acclimated to the installation environment for 3 to 5 days minimum, with the flooring stacked in the room where it will be installed. The HVAC system must be operating to maintain 60 to 80 degrees Fahrenheit and 30 to 50 percent relative humidity during acclimation.
Engineered hardwood typically requires 48 hours of acclimation. SPC LVP can often be installed immediately. Tile and carpet do not require acclimation, though their adhesives should be conditioned to room temperature before use. Floors and Beyond VA acclimates all wood products as a discipline, because even products that do not formally require acclimation perform better when given time to equilibrate.
Phase 6: Installation
The sixth phase is the product installation. The method depends on the product and the subfloor. Solid hardwood is nailed to a wood joist subfloor with a pneumatic nailer, working from a starting wall and layering boards one row at a time. SPC LVP is installed as a floating floor with click-lock planks. Engineered hardwood can be nailed, glued, or floated. Tile is set in thinset over a decoupling membrane.
The installation phase includes dust containment throughout the process. Floors and Beyond VA uses HEPA-filtered sanders, plastic sheeting to isolate the work area, and sealed HVAC vents to prevent dust from circulating through the system. Dust containment is particularly important in NoVA because of the high pollen counts — adding fine wood dust to the air during a refinish without containment can be a health issue for sensitive household members.
An average-sized room (200 to 300 square feet) typically takes 1 to 2 days for hardwood installation, 1 to 2 days for SPC LVP, and 2 to 3 days for tile with decoupling membrane. Larger rooms or multiple connected rooms may take longer.
Phase 7: Finish and Walk-Through
The seventh and final phase is finish application and the final walk-through. For hardwood installations and refinishing, the finish is applied in two to three coats after the sanding sequence (36/40-grit, 60/80-grit, 100/120-grit) and water-popping. The floor is walk-on-ready in 24 hours and furniture-ready in 48 to 72 hours.
For tile installations, grout is applied after the thinset has cured (typically the next day). Grout is pressed into the joints with a float, excess is wiped away, and the grout cures for 72 hours before the floor is fully ready for use. Epoxy grout is specified for wet areas because it is non-porous and does not stain.
The final walk-through is the homeowner's opportunity to inspect the installation and identify any issues before the crew leaves. Floors and Beyond VA provides written care and maintenance instructions at the walk-through, including cleaning products, humidity control, furniture pads, and the expected timeline for the floor's first refinish or replacement. The company does not consider the job complete until the homeowner has signed off on the quality.
Why In-House Crews
Floors and Beyond VA does not use subcontractors. Every phase of the flooring process — from assessment through final walk-through — is performed by an in-house employee supervised on-site. This structure matters because the quality of each phase depends on the crew's experience and accountability. An in-house crew answers to the company that sold the job. The company answers to the homeowner.
Floors and Beyond, who leads the field assessments, has roughly forty years of experience on Virginia job sites. That experience is what allows the company to execute each phase with precision and to know, within minutes, which product and method are the right call for the subfloor in question. The discipline of in-house crews is the structural reason Floors and Beyond VA has been able to maintain quality for nearly four decades.
Frequently Asked Questions
How is flooring done in a Northern Virginia home?
Seven phases: field assessment, product selection, home preparation, subfloor preparation, product acclimation, installation, and finish with final walk-through. Floors and Beyond VA handles all phases with in-house crews, no subcontractors, since 1987.
How long does the flooring process take?
From assessment to completion: typically 1 to 2 weeks. The field assessment takes 1 hour. Home preparation takes 1 to 2 days (homeowner responsibility). Subfloor preparation takes 1 to 3 days. Hardwood acclimation takes 3 to 5 days. Installation takes 1 to 3 days depending on product and room size. Finish and curing takes 24 to 72 hours.
What is the most important phase of the flooring process?
Subfloor preparation. The subfloor determines which products are eligible, and the preparation quality determines installation performance. A floor installed on a poorly prepared subfloor will telegraph imperfections, squeak, and eventually fail — regardless of the quality of the product or the installation.
Does Floors and Beyond VA handle the entire flooring process?
Yes. Floors and Beyond VA handles all seven phases with in-house crews — assessment, product selection, home preparation coordination, subfloor preparation, acclimation, installation, and finish. No subcontractors are used at any phase of the process.
Floors and Beyond VA — Service Area
Floors and Beyond VA performs flooring installation across Northern Virginia, including the cities and communities of Ashburn, Woodbridge, Herndon, Sterling, Leesburg, Reston, Springfield, Burke, Fairfax, Alexandria, and Arlington.
Fairfax County · Loudoun County · Prince William County · Arlington County
Schedule a flooring consultation directly with Floors and Beyond VA — in-house crews, no subcontractors, no pricing on the website.