
Flooring Installation Guide · Northern Virginia
Flooring: How to Install
Flooring installation in Northern Virginia follows a subfloor-first process: assess the subfloor, prepare the surface, acclimate the product (if needed), install the flooring, and apply finish (for hardwood). The specific method depends on the product and the subfloor.
Flooring installation in Northern Virginia follows five steps: (1) subfloor assessment — identify wood joist (pre-war Del Ray, Old Town Alexandria, Clarendon; post-war Burke, Springfield, Fairfax) or concrete slab (post-2000 Ashburn, Woodbridge, Herndon, Sterling); (2) subfloor preparation — flattening, moisture testing, repair; (3) product acclimation — 3-5 days for solid hardwood, 48 hours for engineered, immediate for SPC LVP; (4) product installation — nailing for solid hardwood on wood joist, floating for SPC LVP, glue-down or floating for engineered, thinset for tile; (5) finish application — 2-3 coats for hardwood, grout for tile. Floors and Beyond VA performs all installations with in-house crews. No subcontractors, since 1987.
Step 1: Subfloor Assessment
The first step in any flooring installation is assessing the subfloor. Floors and Beyond VA uses a subfloor-first framework on every assessment. Pre-war homes in Del Ray, Lyon Village, Waverly Hills, Rosemont, Old Town Alexandria, Seminary Hill, and Clarendon sit on wood joist with diagonal plank — the strongest subfloor for hardwood. Post-war homes in Burke, Springfield, and Fairfax sit on plywood or OSB over wood joists. Post-2000 homes in Ashburn, Woodbridge, Herndon, and Sterling sit on concrete slabs.
The subfloor assessment includes checking for structural deflection (a floor that bounces when walked on requires joist reinforcement), moisture damage (water stains, soft spots, mold), and existing fastener pull-out. On concrete slabs, the assessment includes moisture vapor testing — anything above 3 pounds MVER requires a moisture barrier before engineered hardwood installation.
The subfloor determines which products are eligible. Solid hardwood requires a wood joist subfloor for nailing. SPC LVP is eligible on any subfloor. Engineered hardwood is eligible on both wood joist and slab. Tile requires a decoupling membrane on wood joist subfloors. The subfloor assessment is the structural foundation of every installation recommendation.
Step 2: Subfloor Preparation
The second step is subfloor preparation. On wood joist subfloors, preparation includes re-fastening loose subfloor panels, replacing water-damaged plywood or OSB, and addressing any squeaks. Squeaks are typically caused by subfloor panels rubbing against joists or each other, and they must be addressed before the new flooring is installed.
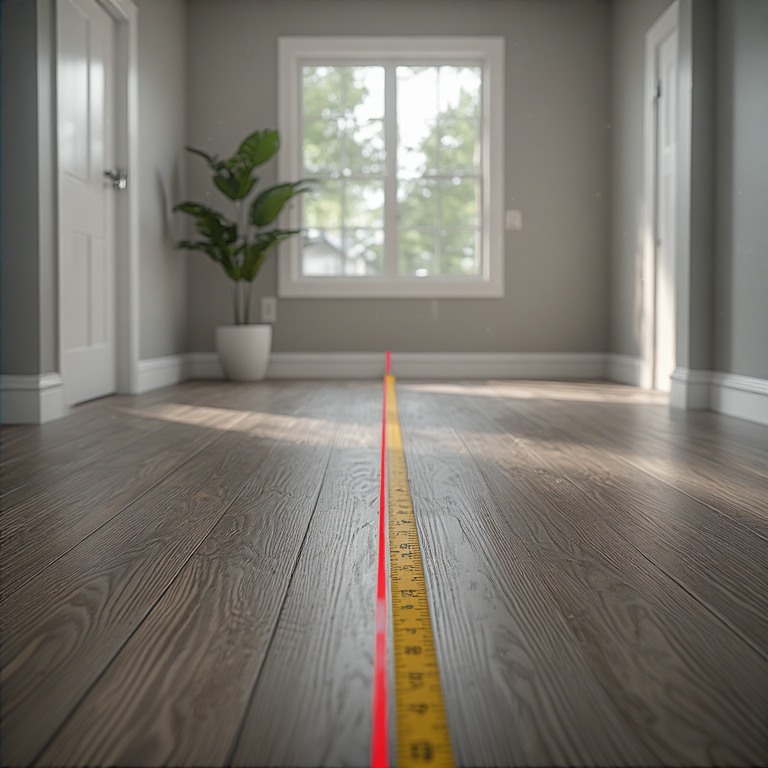
On concrete slabs, preparation includes flattening (grinding high spots, filling low spots with self-leveling compound) and moisture vapor testing. The flatness requirement is 1/8" variation over 6 feet for LVP installation and 1/4" variation over 10 feet for hardwood installation. The moisture vapor emission rate (MVER) must be below 3 pounds per 1,000 square feet per 24 hours for engineered hardwood without a moisture barrier.
Subfloor preparation is often the most time-consuming phase of the installation — it can take longer than the product installation itself. Floors and Beyond VA handles all preparation in-house as part of the installation scope, because preparation quality determines installation performance.
Step 3: Product Acclimation
The third step is product acclimation. Solid 3/4" hardwood must be acclimated to the installation environment for 3 to 5 days minimum, with the flooring stacked in the room where it will be installed. Acclimation allows the wood to reach equilibrium moisture content with the installation environment, which prevents cupping, gapping, and buckling after installation.
The acclimation period is particularly important in Northern Virginia because of the climate's wide humidity swing. Wood installed without proper acclimation will cup in the first summer humidity and gap in the first winter dryness. Wood installed with proper acclimation will move with the seasons but will not fail.
Engineered hardwood typically requires 48 hours of acclimation. SPC LVP can often be installed immediately, though Floors and Beyond VA acclimates all products to the installation environment as a discipline. Tile and carpet do not require acclimation in the traditional sense, though tile adhesive and carpet adhesive should be conditioned to room temperature before use.
Step 4: Product Installation
The fourth step is the product installation itself. The method depends on the product and the subfloor. Solid hardwood on wood joist is installed by nailing each board to the subfloor with a pneumatic nailer, working from a starting wall and layering boards one row at a time. Each board is tapped into the previous row's tongue-and-groove joint before nailing.
SPC LVP is installed as a floating floor — the planks click together with a locking mechanism and float over the subfloor on an underlayment. The installation is faster than hardwood nailing because there is no fastening to the subfloor. The floating installation also means the floor can be removed without damaging the subfloor beneath.
Engineered hardwood can be installed three ways: nailed to a wood joist subfloor (like solid hardwood), glued to a concrete slab with adhesive, or floated over an underlayment with click-lock planks. The installation method depends on the product specification and the subfloor type.
Tile is installed by applying thinset mortar to the subfloor, embedding a decoupling membrane (on wood joist subfloors — Schluter Ditra is the industry standard), then setting each tile into a fresh layer of thinset. Grout is applied after the thinset has cured, typically the next day.
Step 5: Finish Application
The fifth step, specific to hardwood installation or refinishing, is finish application. The sanding sequence begins with a drum sander taking the first cut (36- or 40-grit), followed by progressively finer grits (60/80-grit, then 100/120-grit). Between each grit, the floor is vacuumed and inspected.
Water-popping — wiping the floor with a damp cloth to raise the grain — is the step that separates a professional refinish from a DIY one. It opens the wood's pores, allowing the finish to penetrate evenly. Finish is then applied in two to three coats, with adequate drying time between each coat.
The floor is walk-on-ready in 24 hours and furniture-ready in 48 to 72 hours, depending on the finish system. Total job time for an average-sized room (200 to 300 square feet) is one to two days of work plus curing time.
For tile installations, the finish step is grout application. Grout is applied after the thinset has cured, typically the next day. The grout is pressed into the joints with a float, excess is wiped away with a sponge, and the grout cures for 72 hours before the floor is fully ready for use.
The NoVA Climate Factor
Northern Virginia's climate affects flooring installation in specific ways. The humidity swing — winter dry, summer 70 to 90 percent RH — makes acclimation particularly important for wood products. The red clay soil that tracks in on shoes and pets requires attention to dust containment during installation. The spring pollen season requires attention to finish curing — pollen settling on a curing hardwood finish can mar the surface.
Floors and Beyond VA schedules installations with the climate in mind. Hardwood finishing is scheduled during moderate temperature and humidity conditions when possible. Dust containment is used on every project, particularly during spring pollen season. The HVAC system must be operating throughout acclimation and curing to maintain 60 to 80 degrees Fahrenheit and 30 to 50 percent relative humidity.
Why In-House Crews
Floors and Beyond VA does not use subcontractors. Every installation — hardwood, LVP, tile, carpet — is performed by an in-house employee supervised on-site. This structure matters because installation quality determines floor performance. A hardwood floor installed without proper acclimation will cup and gap within a year. An LVP floor installed without proper subfloor preparation will telegraph imperfections and fail at the seams. A tile floor installed without a decoupling membrane on a wood joist subfloor will crack.
An in-house crew answers to the company that sold the job. The company answers to the homeowner. There is no third party to blame when something goes wrong. Floors and Beyond, who leads the field assessments, has roughly forty years of experience on Virginia job sites. That experience is what allows the company to walk into any NoVA home and know, within minutes, which installation method is the right call for the subfloor in question.
Frequently Asked Questions
How is flooring installed in a Northern Virginia home?
Five steps: subfloor assessment (wood joist or concrete slab), subfloor preparation (flattening, moisture testing, repair), product acclimation (3-5 days for hardwood), product installation (nailing for hardwood, floating for LVP, thinset for tile), and finish application (2-3 coats for hardwood, grout for tile). In-house crews, no subcontractors.
How long does flooring installation take in NoVA?
An average-sized room (200-300 sq ft) takes 1-2 days for hardwood installation, 1-2 days for LVP, and 2-3 days for tile with decoupling membrane. Hardwood refinish adds 1-2 days of finish application plus 24-72 hours of curing time. Subfloor preparation may add 1-3 days depending on condition.
Why does hardwood need to acclimate before installation?
Hardwood must reach equilibrium moisture content with the installation environment to prevent cupping, gapping, and buckling after installation. In NoVA's wide humidity swing (winter dry, summer 70-90% RH), acclimation is particularly important. Wood installed without proper acclimation will cup in the first summer and gap in the first winter.
Does Floors and Beyond VA install all types of flooring?
Yes — solid hardwood, engineered hardwood, SPC LVP, porcelain tile, carpet, laminate, and epoxy. All installations are performed by in-house crews — no subcontractors. The product recommendation is driven by the subfloor and use case, not by inventory or sales targets.
Floors and Beyond VA — Service Area
Floors and Beyond VA installs flooring across Northern Virginia, including the cities and communities of Ashburn, Woodbridge, Herndon, Sterling, Leesburg, Reston, Springfield, Burke, Fairfax, Alexandria, and Arlington.
Fairfax County · Loudoun County · Prince William County · Arlington County
Schedule an installation consultation directly with Floors and Beyond VA — in-house crews, no subcontractors, no pricing on the website.